The restoration of the 1956 XM Turnpike Cruiser continues....
By Tom Maruska
MORE RUST REPAIR
Once I complete the rust repair on the front of the car around the bumpers,
grill inserts and headlights I'll be done with the sheet metal work
all the way around the 'sides' of the body.
I have some work to do on the structure on the underside of the roof
that holds the butterflies in place.
There will also be quite extensive fabrication work to be done at the bottom
of the windshield bunk as well as around the bottoms of the quarter and rear windows,
not to mention the bottoms of the doors
and complete new fabrication of a hood and deck lid.
This front end work will be easy compared to the work around the bottoms
of the windows so I'll get on with it. I will be posting a couple videos on youtube showing some
of this work and the will be located at Youtube.com/tpls63,
click on videos and scroll to the end for videos of this project.
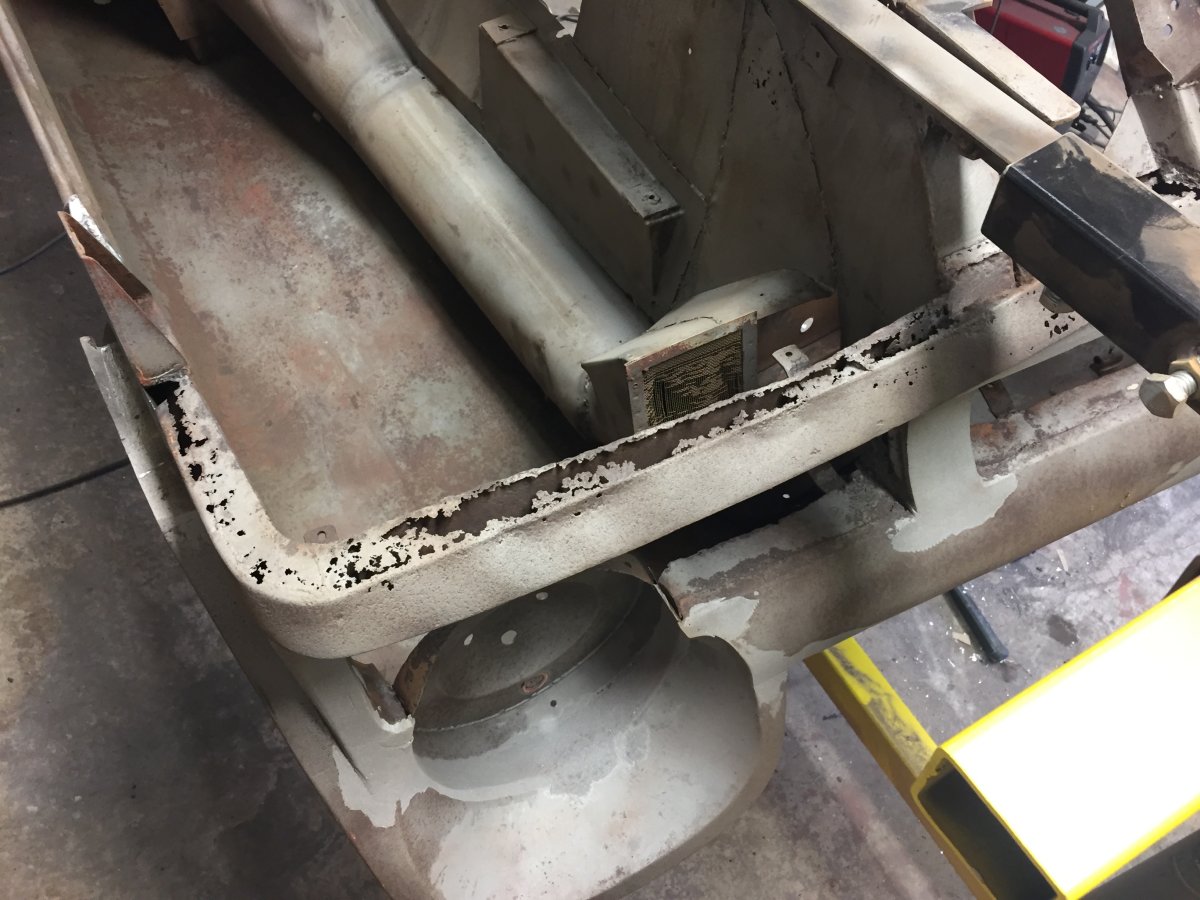
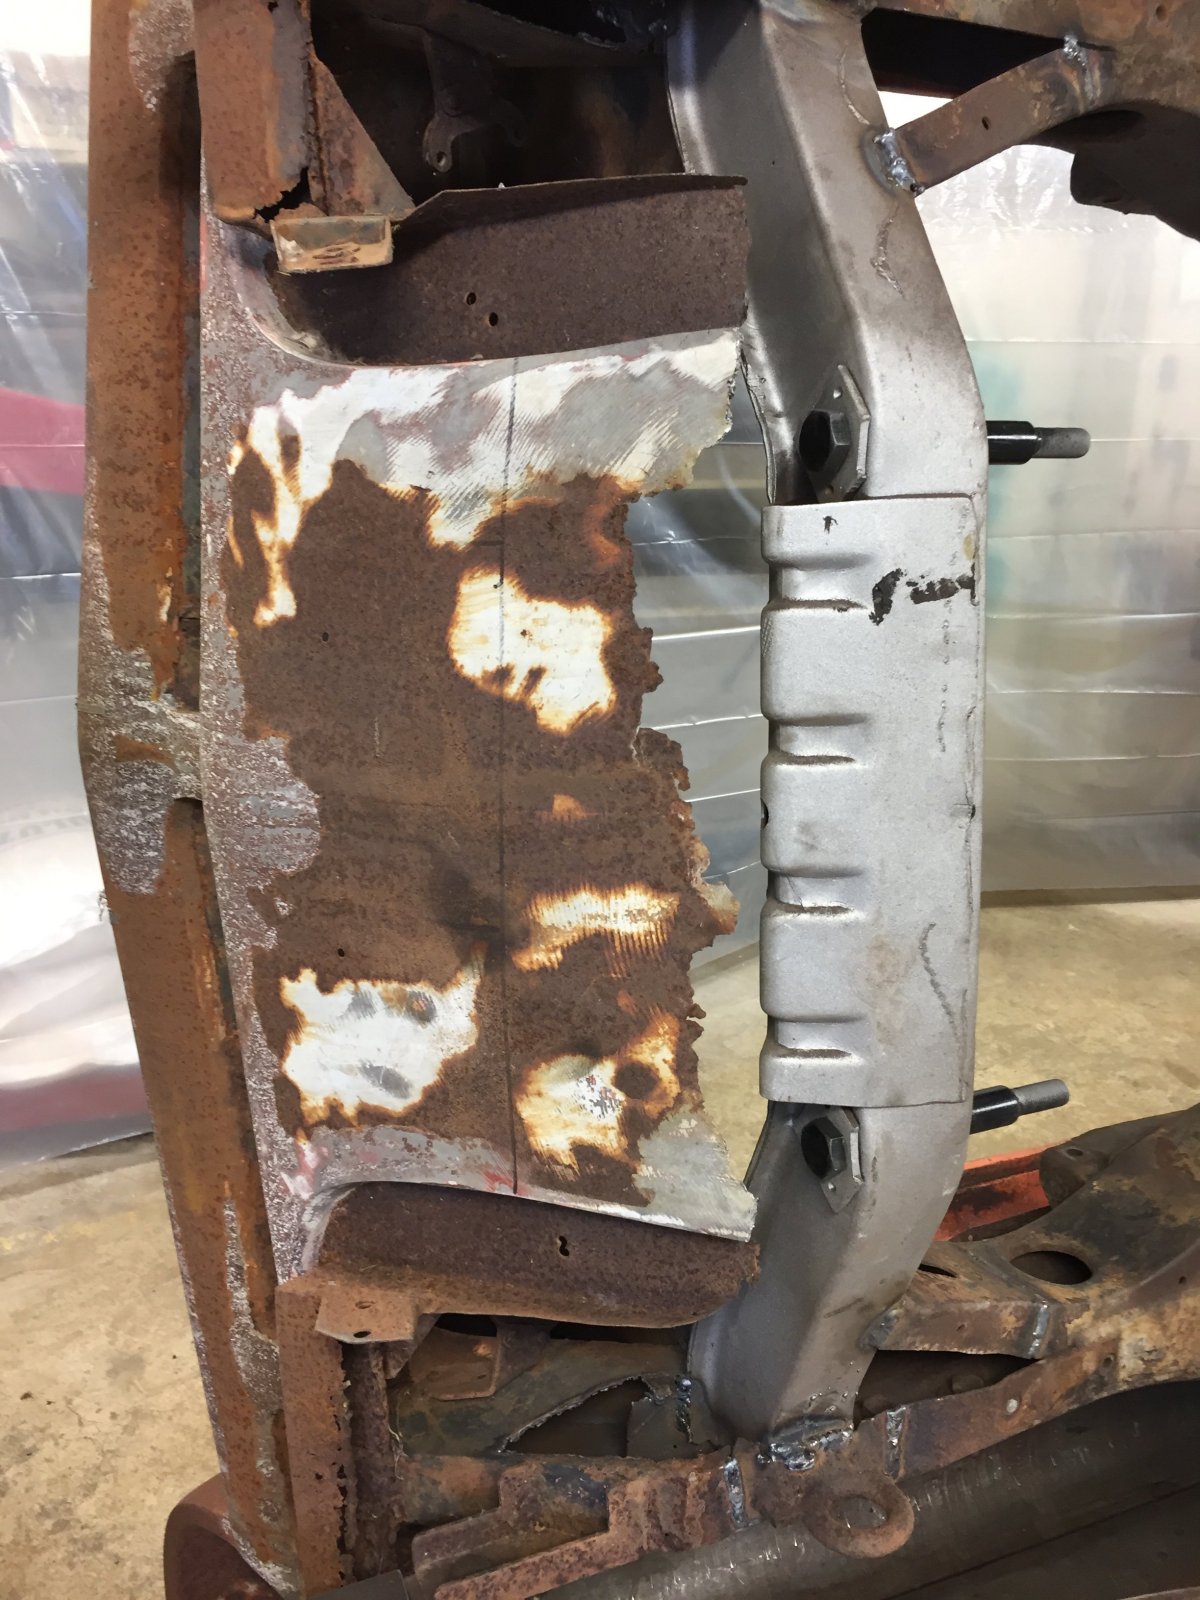
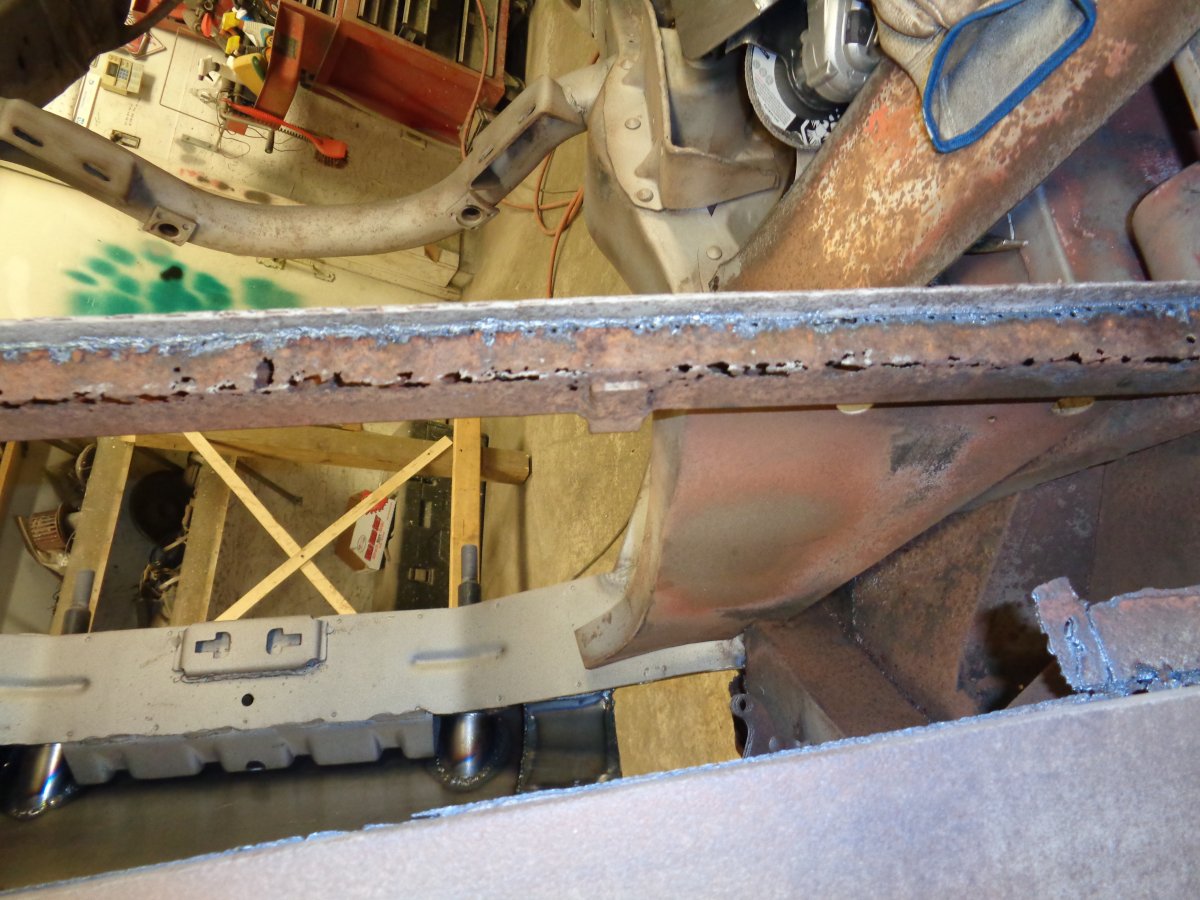
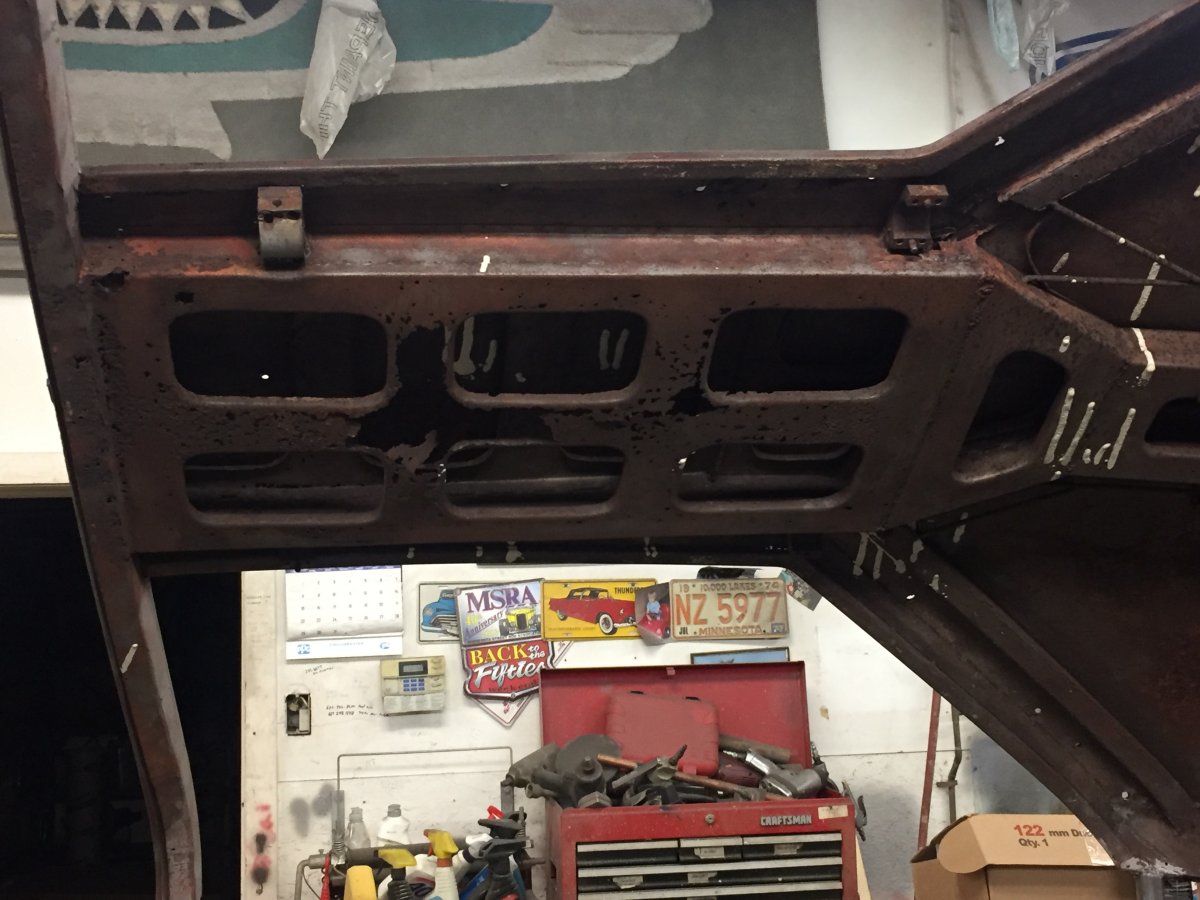
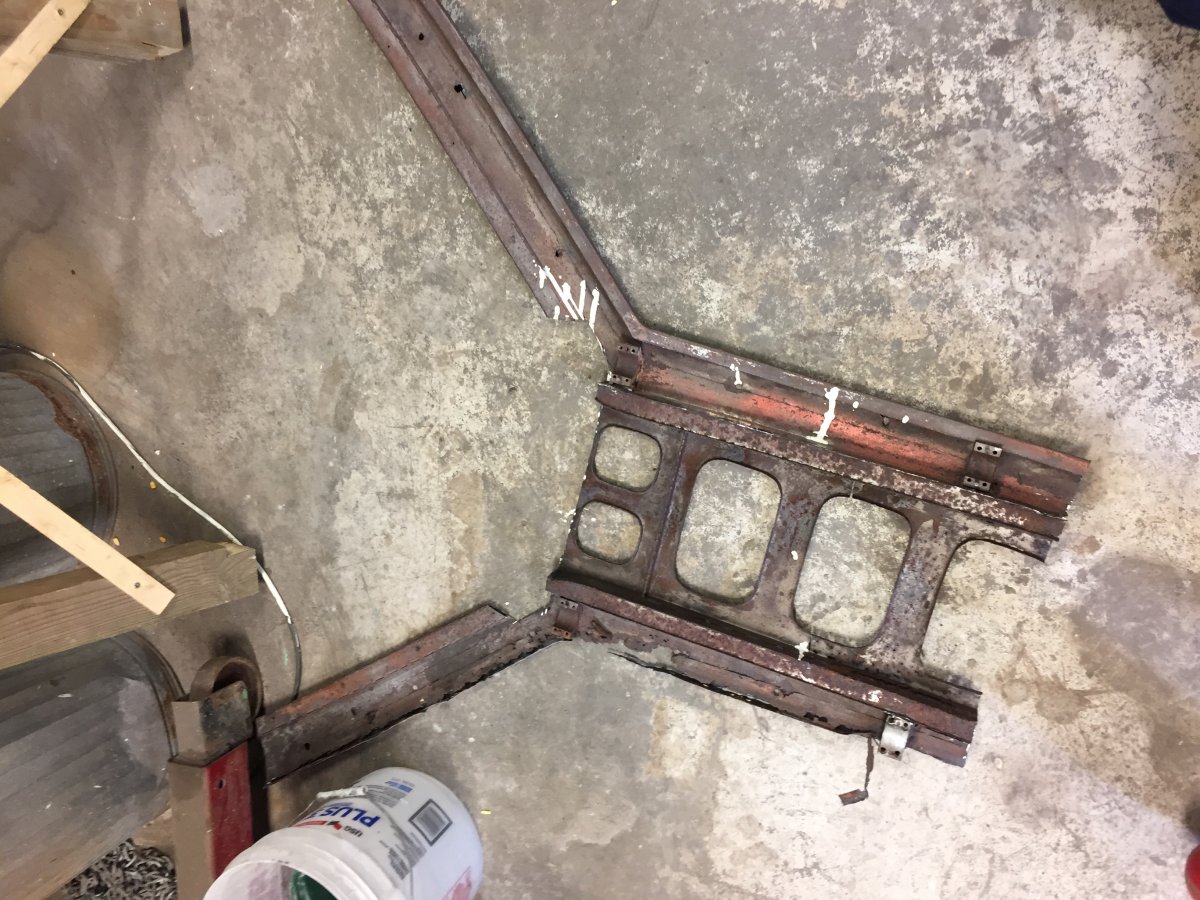
This picture show the extent of the rust on the structure that will be behind
the front bumper pods. It's typical on both sides of the car.
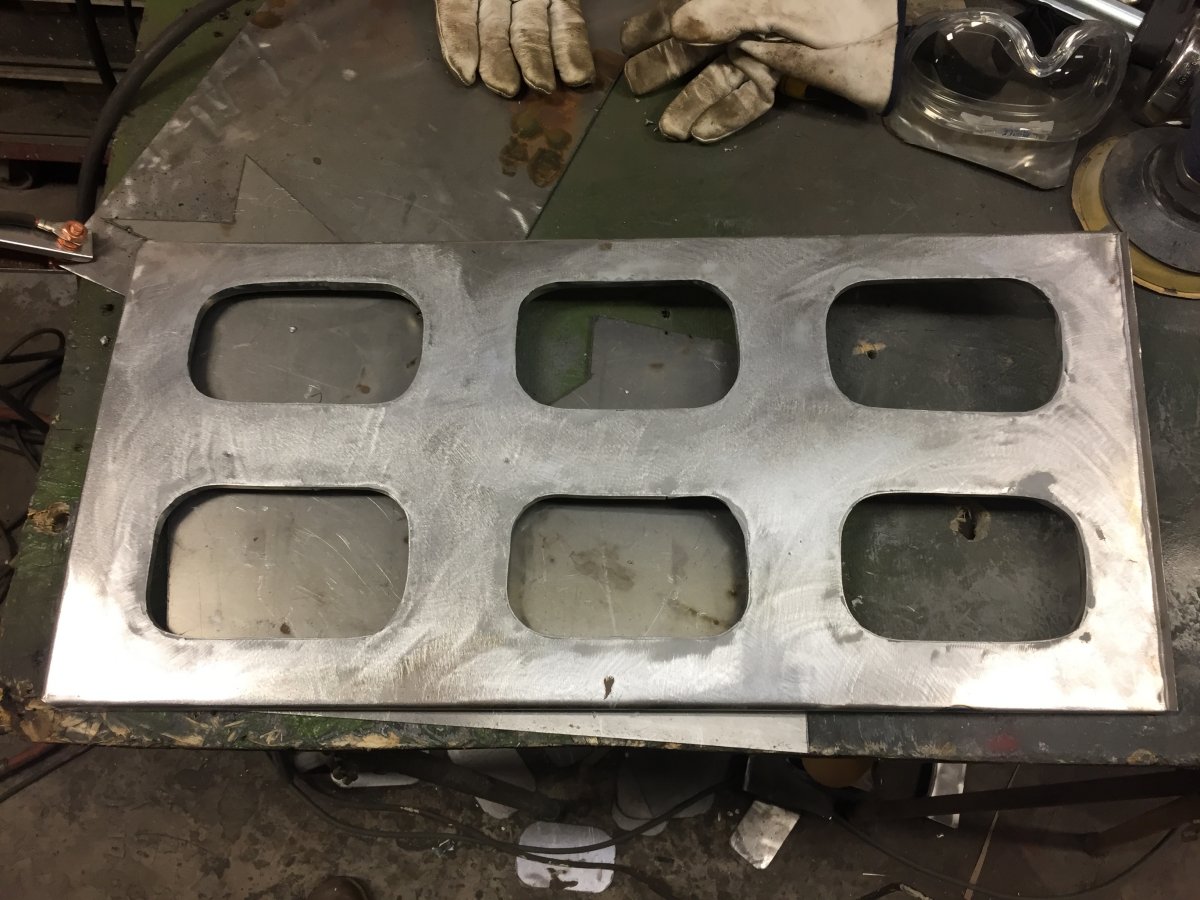
I used my plasma cutter to cut the rust perforated pieces off the car
and then used those cut away pieces as patterns
for cutting out the new pieces that would get welded together and back onto the body.
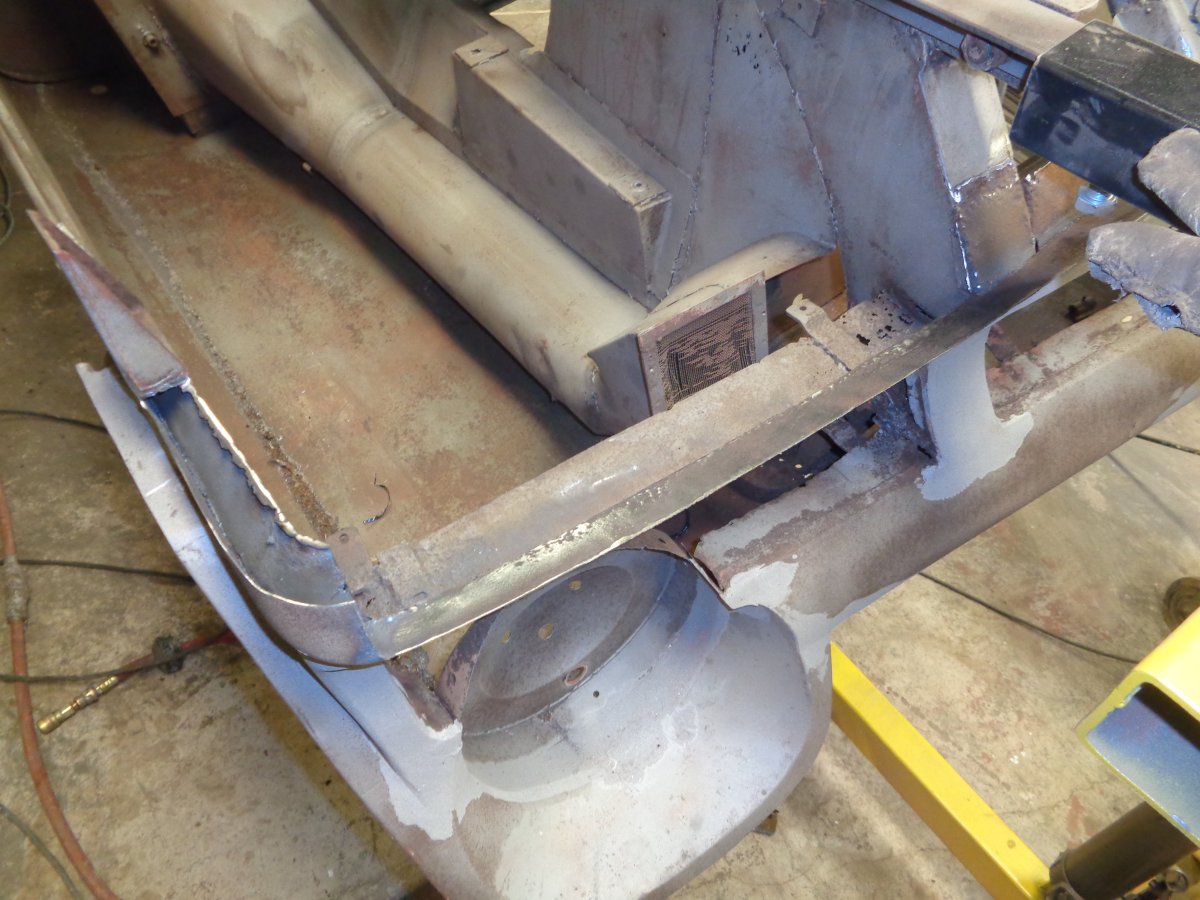
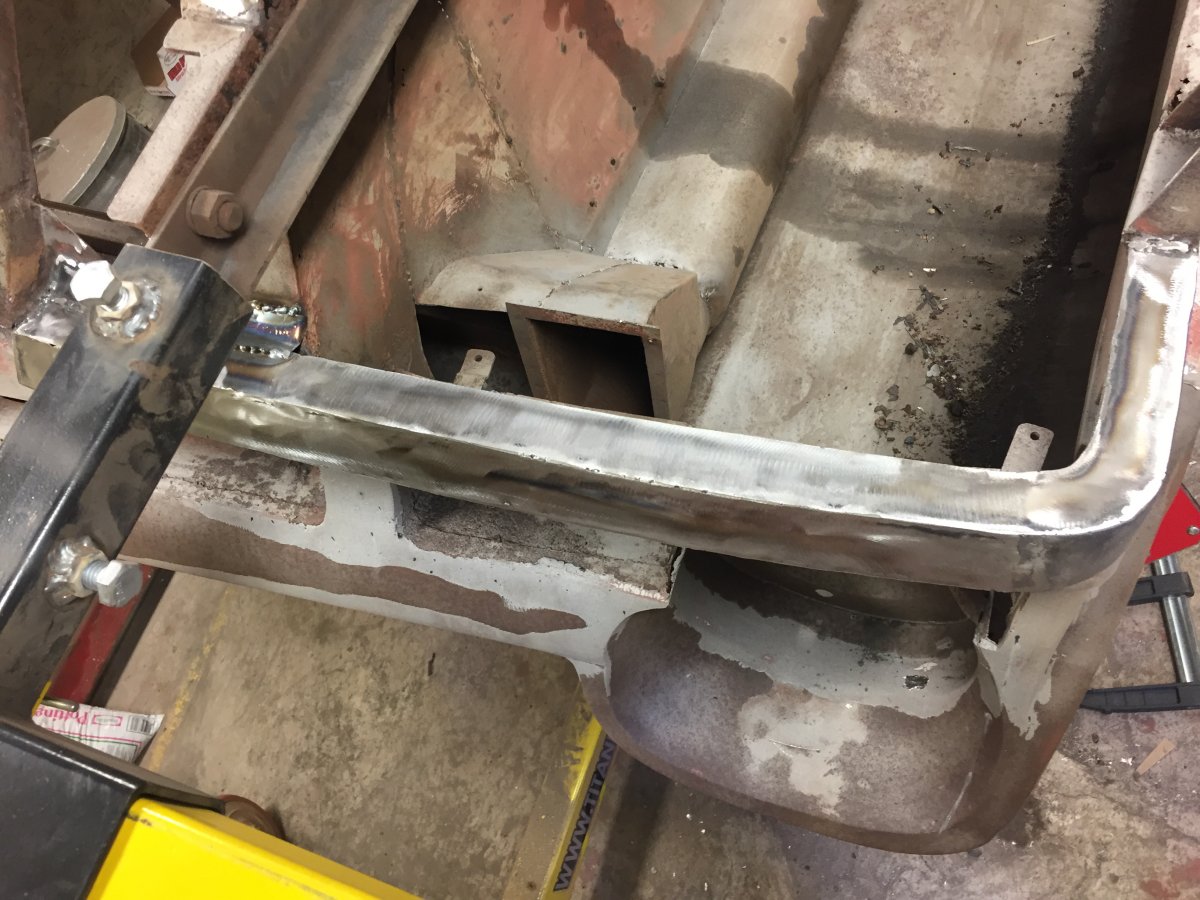
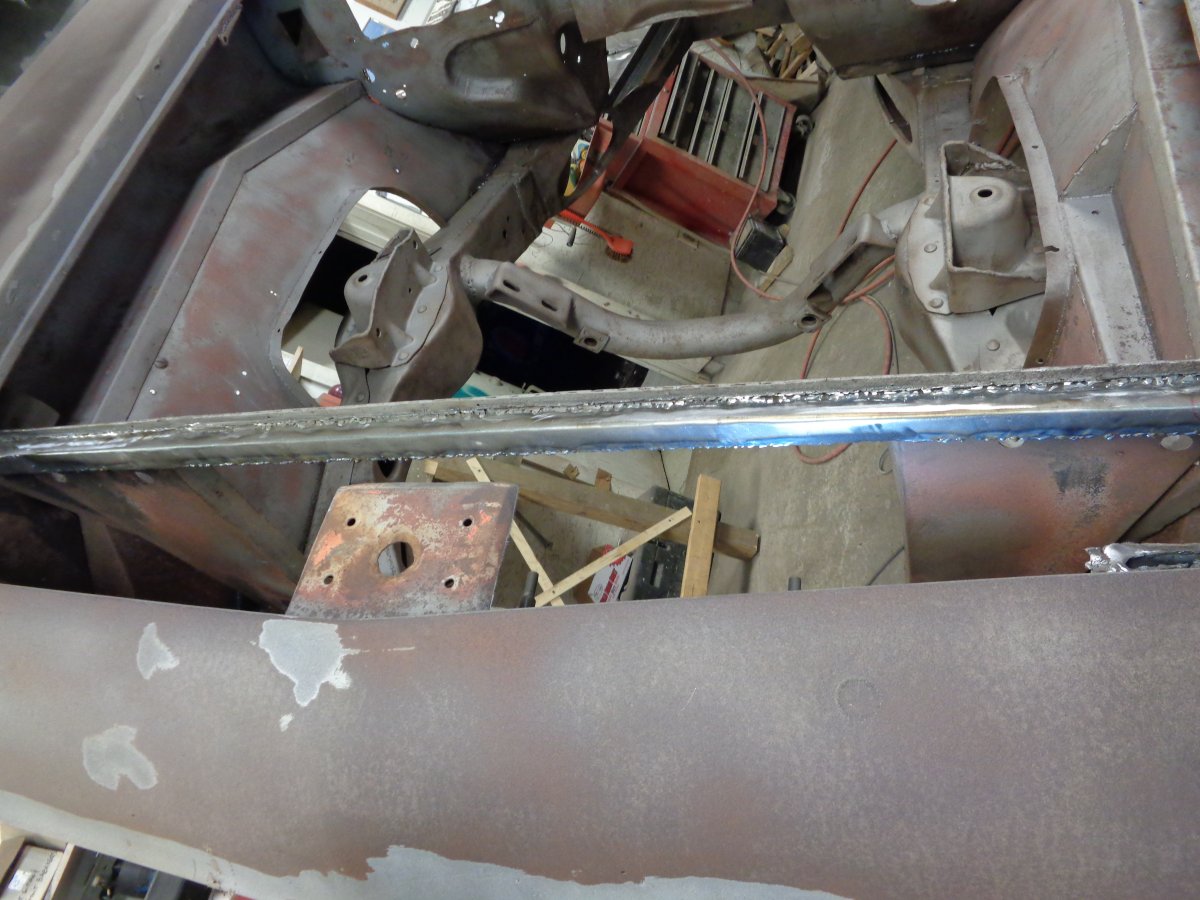
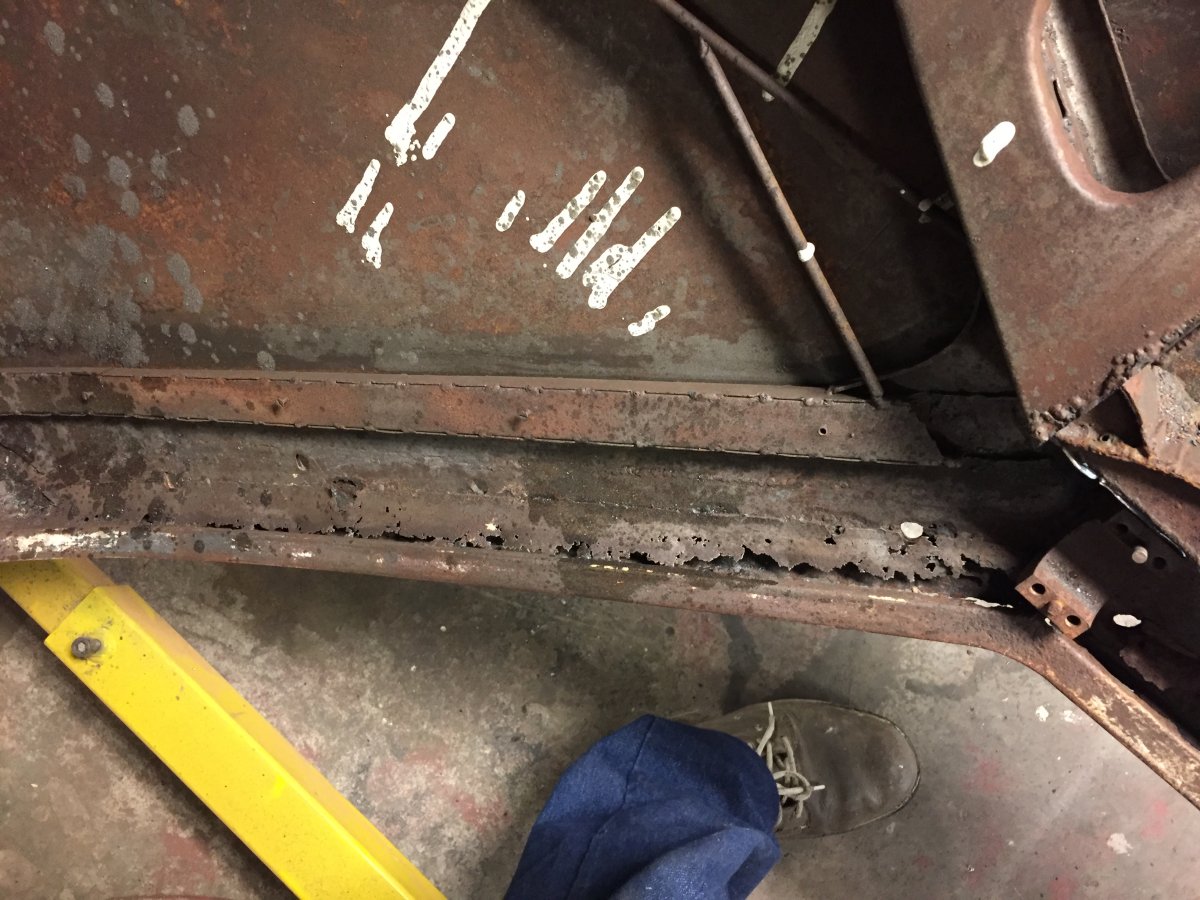
This photo shows the same area after the rust was cut away:
And here again with the new sheet metal welded in place:
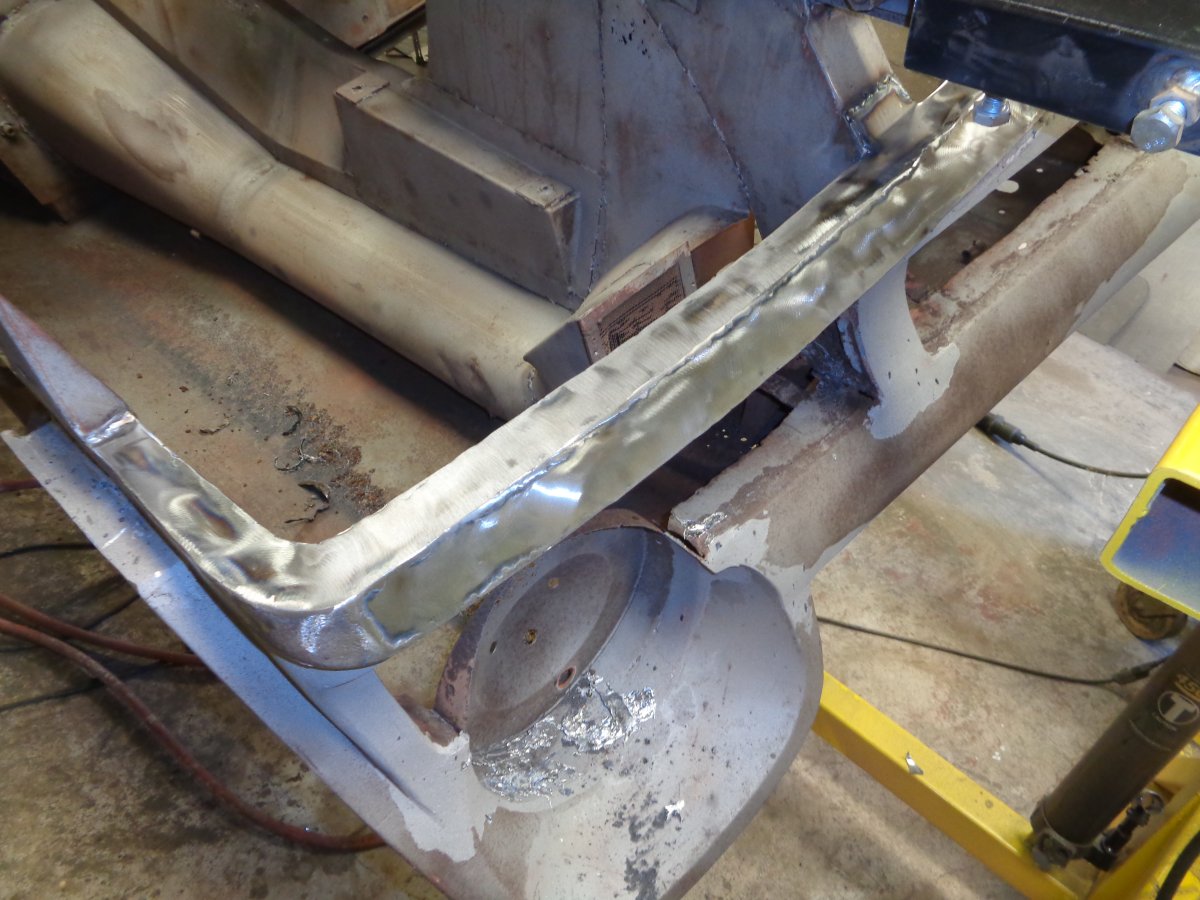
This was repeated on the other side of the car as well as around the headlights,
grill openings and the bottom of the roll pan between the bumpers.
This was repeated for the other side of the car as well as
around the grill openings and headlight openings

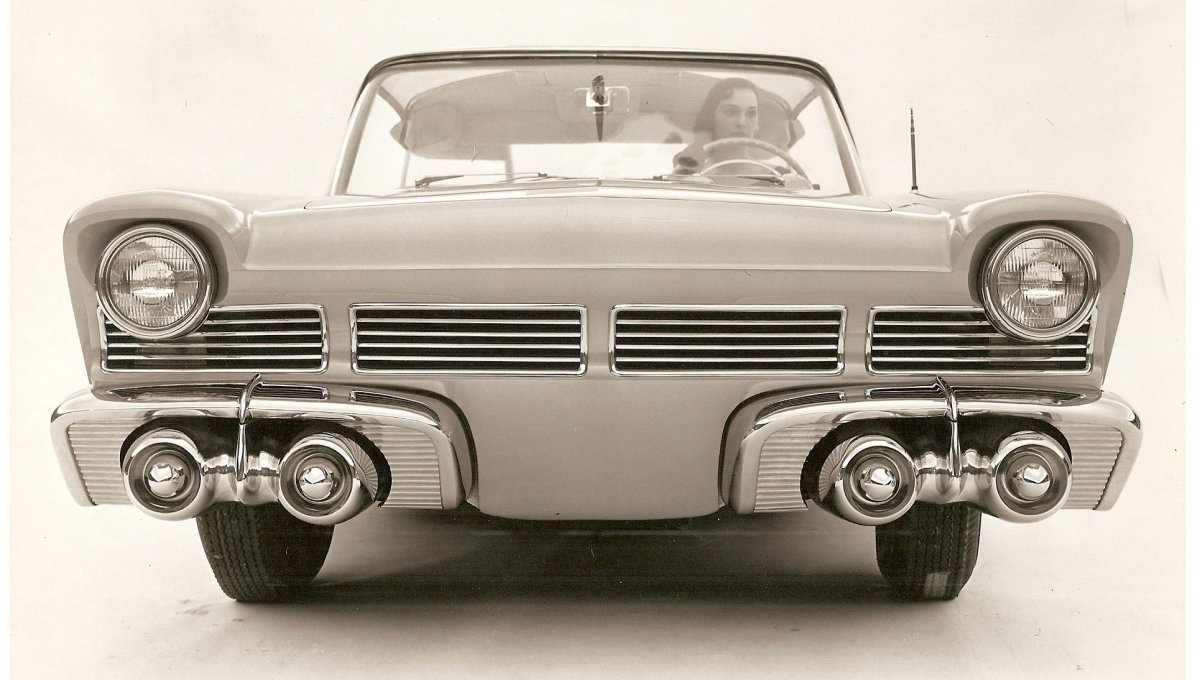
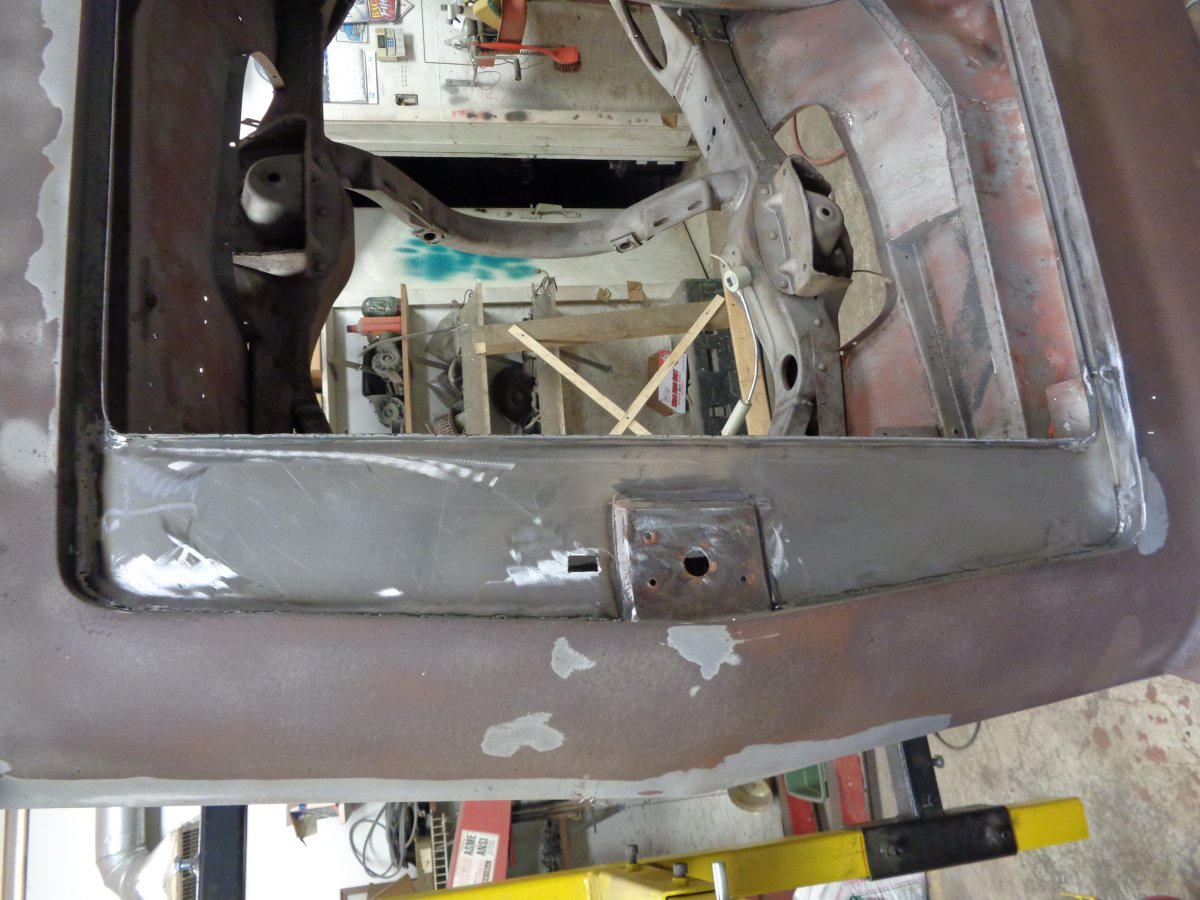
In this picture of the bottom of the roll pan you see the access holes
for the bolts that hold the lower control arms in place.
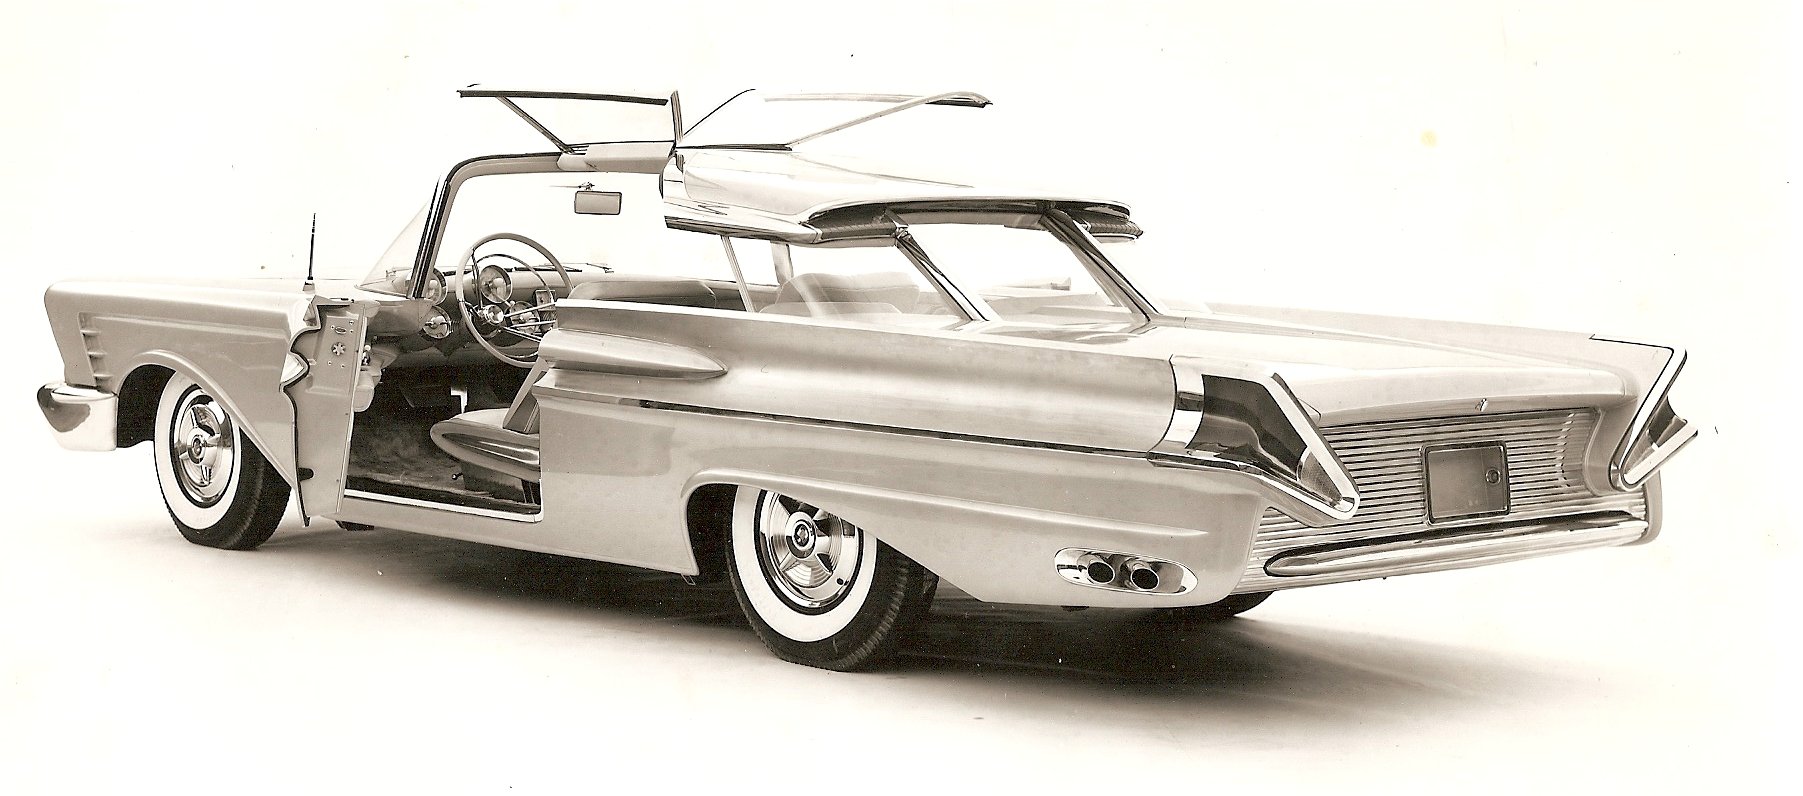
If you look at this original picture of the front of the car
you'll see that those holes are not there.
You may recall from earlier articles that Ford sent the complete
rolling chassis over to carrozzeria Ghia in Turin Italy
to have the body constructed.
Since the lower control arms were in place and this was a one off concept car,
they saw no need to leave access to get at the bolts for replacing
the control arm bushings should it be required some day.
Since the roll pan was completely rusted away at the bottom
and I had to remove the control arms for restoration,
I needed to have access to the bolts for when I reassemble the suspension.
Once the control arms are back in place
I will install flush mounting covers over these holes
with just a small screw attaching them at the very bottom.
They'll then be finished along with the rest of the body
and will disappear from view.
I sincerely doubt this car will ever sit out in the weather again
and will be driven very little so it's likely the
control arm bushings will never need replacing again.
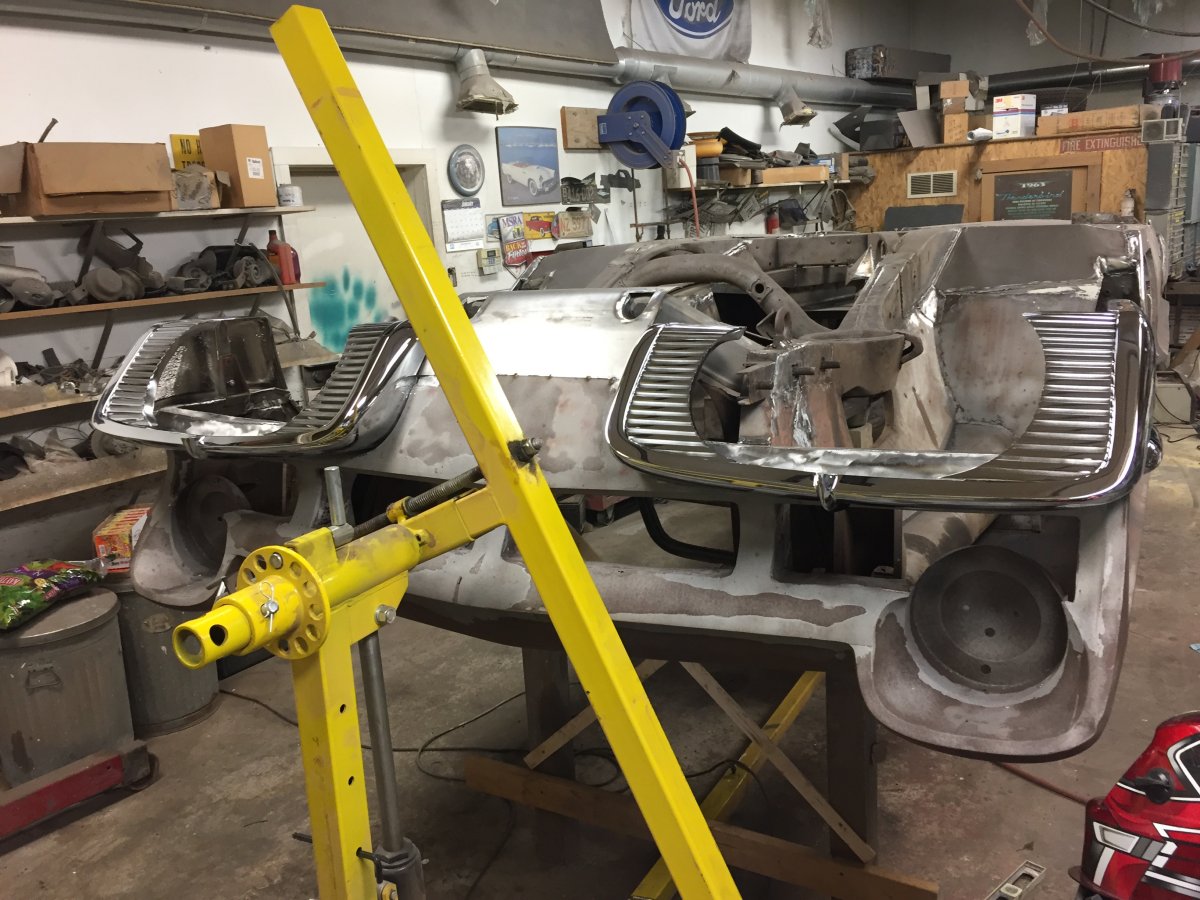
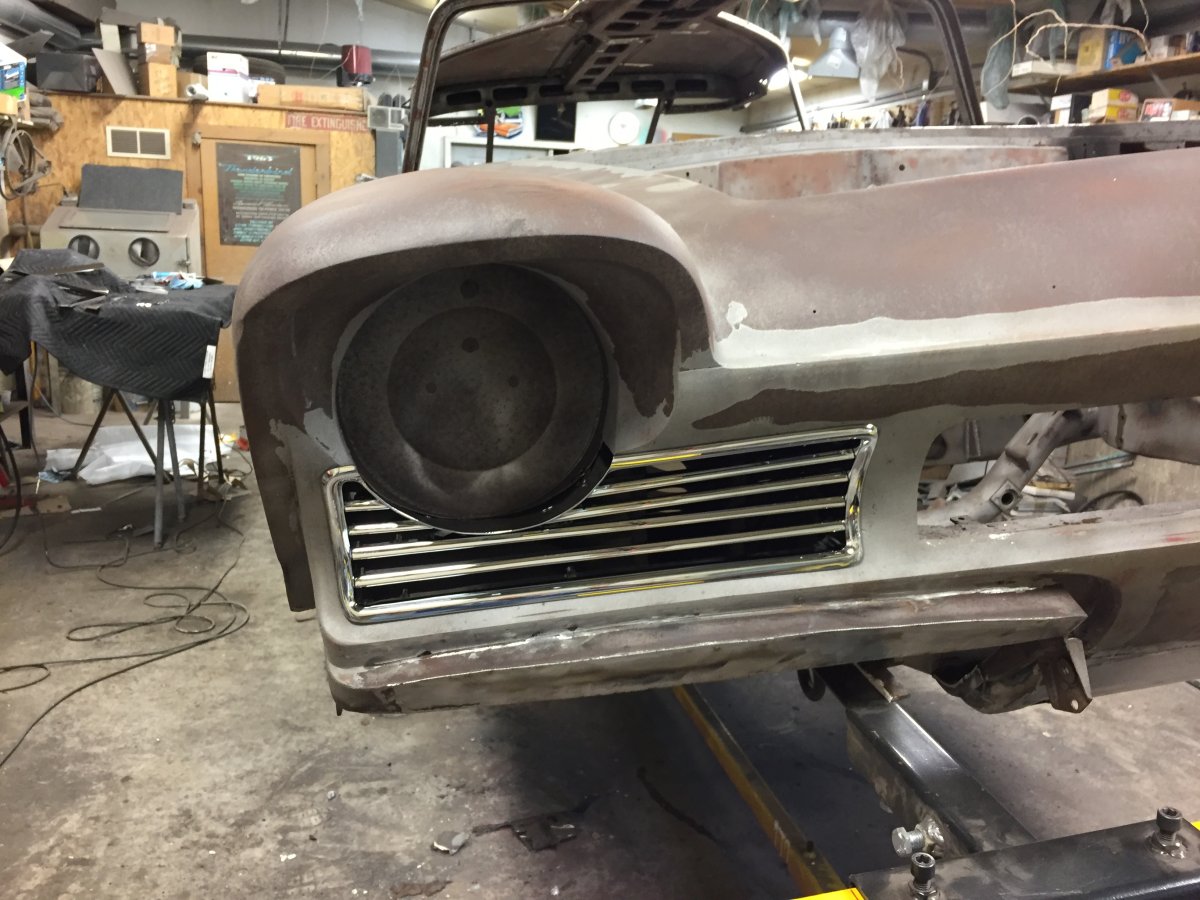
Here are pictures of the newly chromed bumper pods and grill insert in place
The deck panel just behind the front header panel under the hood
also needed to be replaced.
It was (like everything else) rusted beyond repair
so it needed to be cut out and replaced.
The center section that the hood latched through was still solid
so I left that and made the new panel to go around it.
When I removed the rusty panel I also found more rust
in the structure beneath much to my surprise (not).
I cut out and replaced the rusty pieces below
and then welded the new top panel back in place.
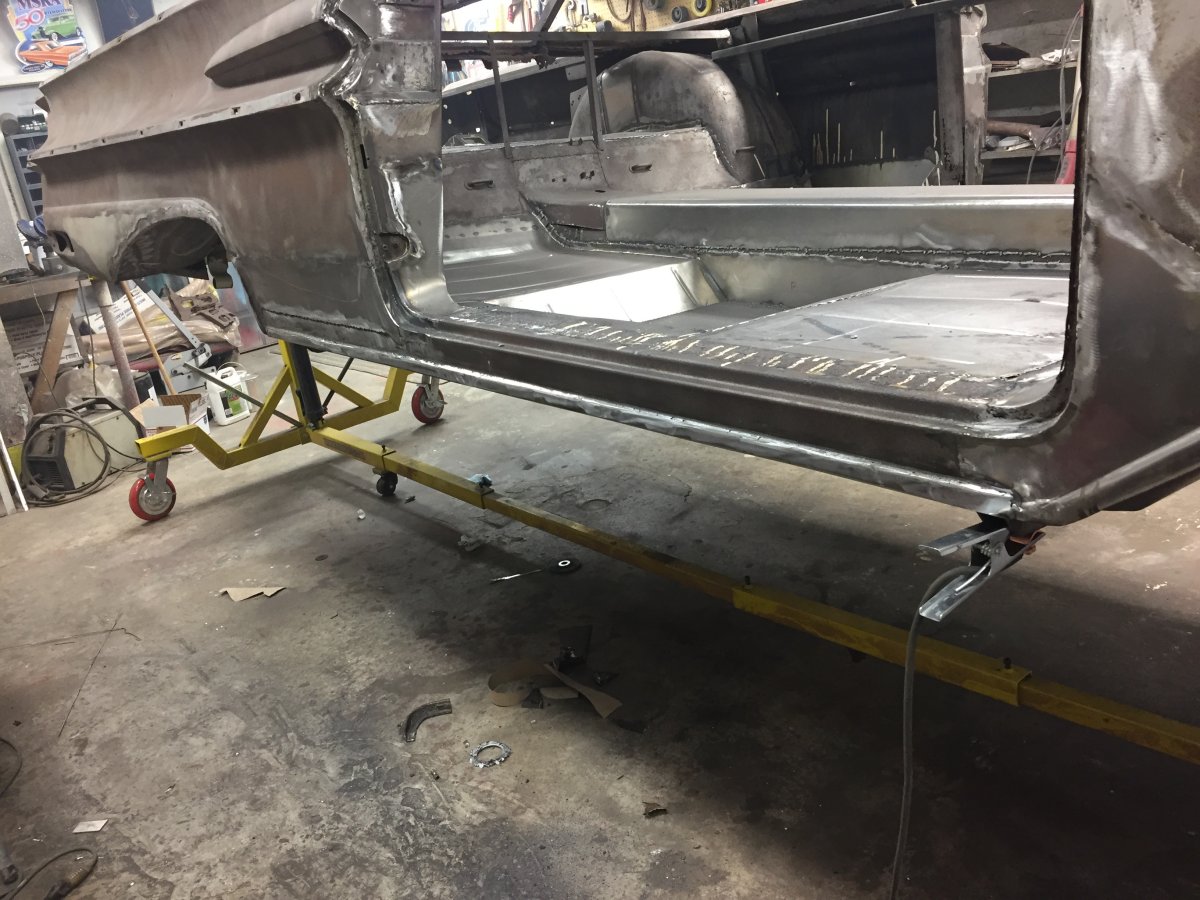
Sometime in the past one of the previous owners replaced the rocker panels
on the car but he didn't duplicate the body ridge
line along the bottom edge of the rockers
so before I moved on I fabricated some pieces
for that and welded them in place.
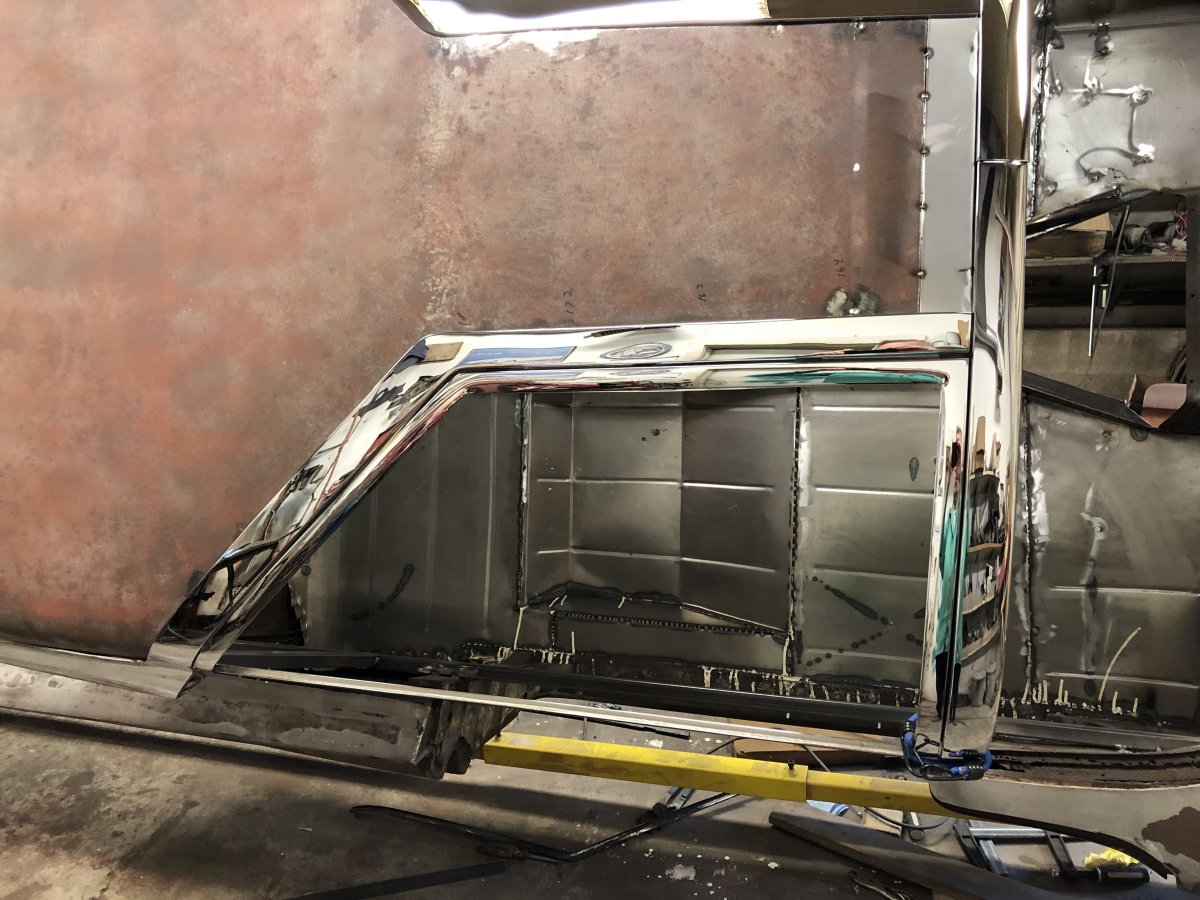
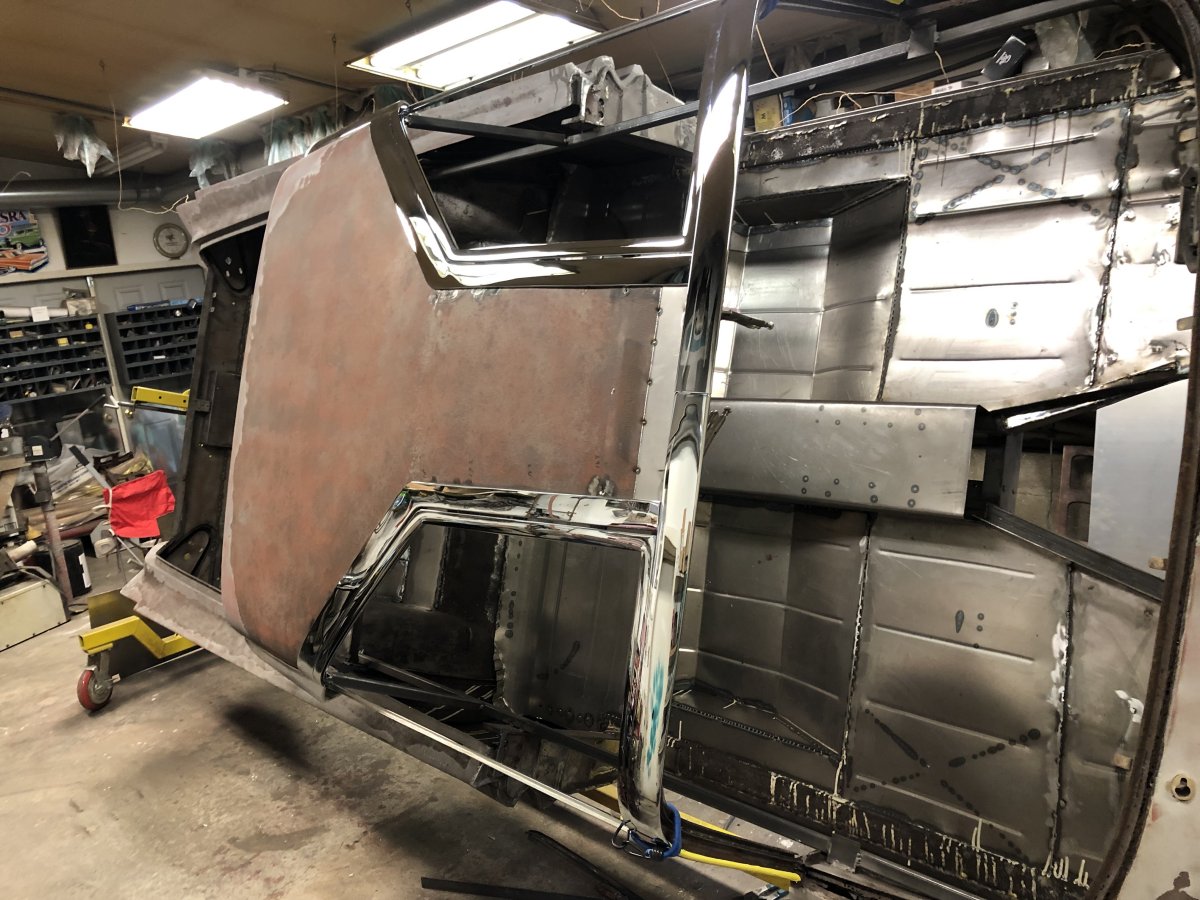
THE BUTTERFLIES
This section turned out to be tougher than I imagined.
There is a lot of structure on the underside of the roof
that supports the butterfly window operating system and guess what?
Yep, it was severly rusted and needed rebuilding.
One of the bad things about it is there are no adjustments
built into the system.
It has to be welded perfectly so that the alignment up and down,
forward and back and all the gaps are perfect.
I would tack the butterfly mounts in place,
then install the roof rail trim,
install the butterflies
and see how it looked, mark the adjustments needed,
cut the tack welds off and try again.
It took quite a while before I got them just right.
The mounts are still just tacked in place and I won't weld them in solid
until I get the roof refinished to a point it's ready for paint,
then I'll refit all the pieces and burn them in.
Here is a series of pictures showing the area I cut out and rebuilt.
Before welding it back in place I coated it all around with the KBS
rust proofing I've been using throughout the project.
I should note that the main structure is all welded solidly in place,
just the brackets that mount the butterflies
may need to be adjusted later and then welded in solid later on.
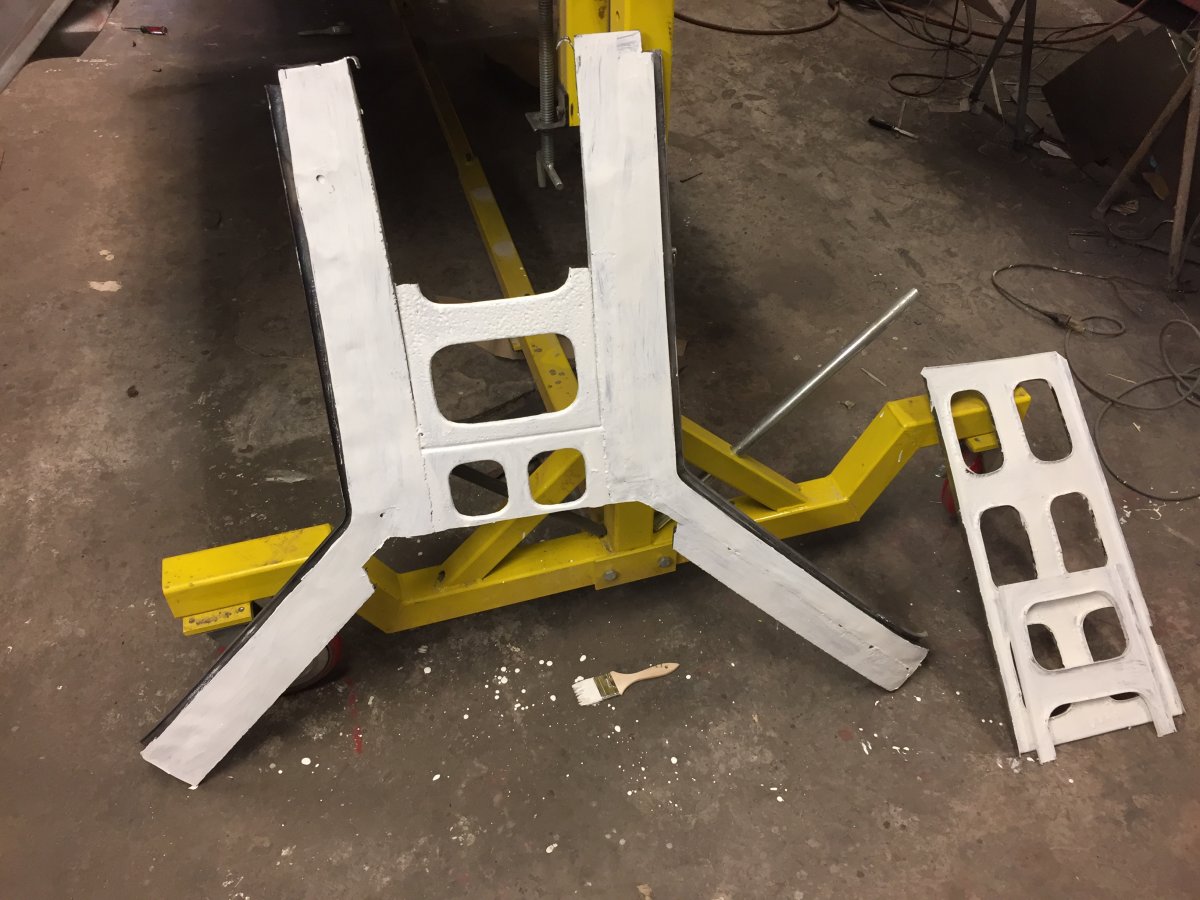

REFINISHING SUSPENSION PARTS
I need to take another break from the rust repair
and do something for a little while that looks like I'm accomplishing something.
I decided to sandblast, prime and paint all of the suspension parts.
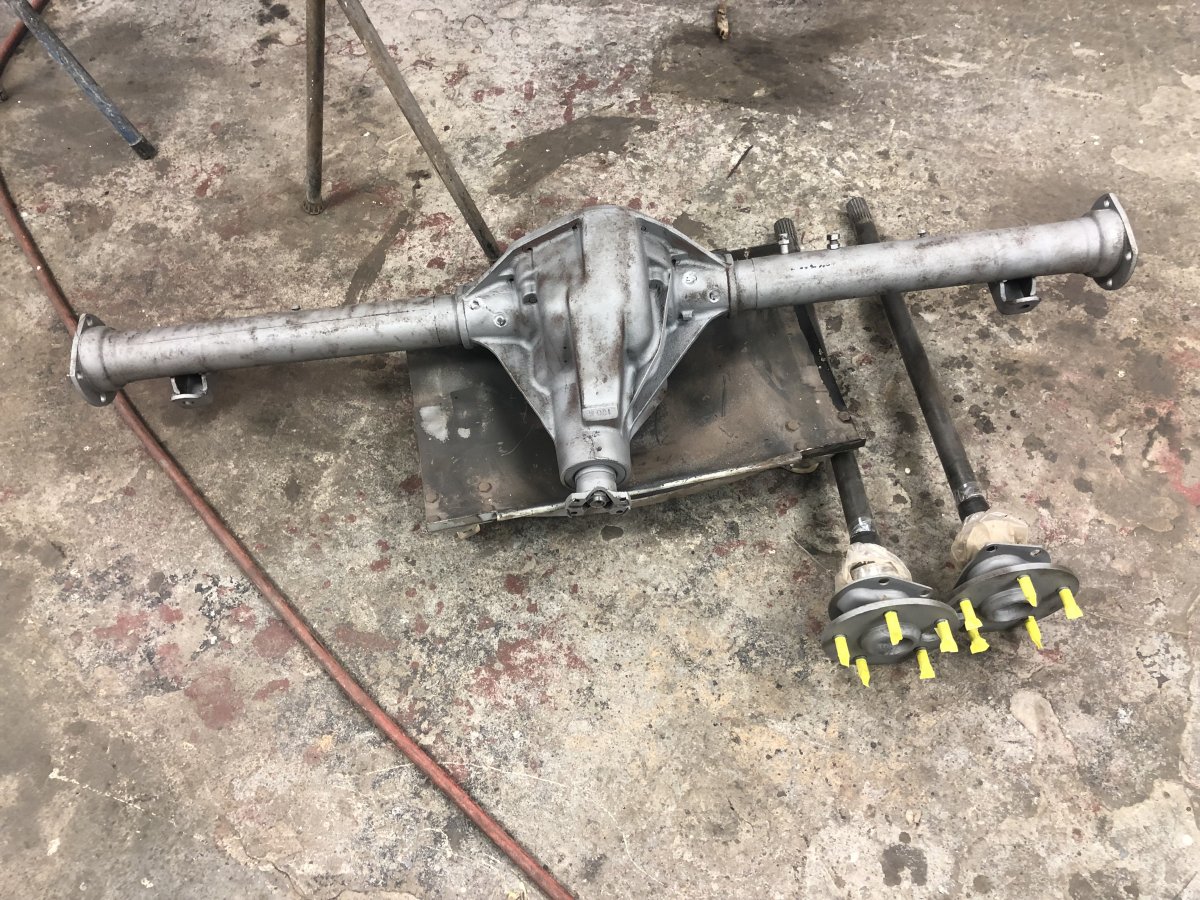
These include the coil and leaf springs, the brake drums,
tie rods and upper and lower control arms, spindles, axel ends,
rear end and backing plates as well as a few other miscellaneous parts.
Here are a couple pictures of that work.
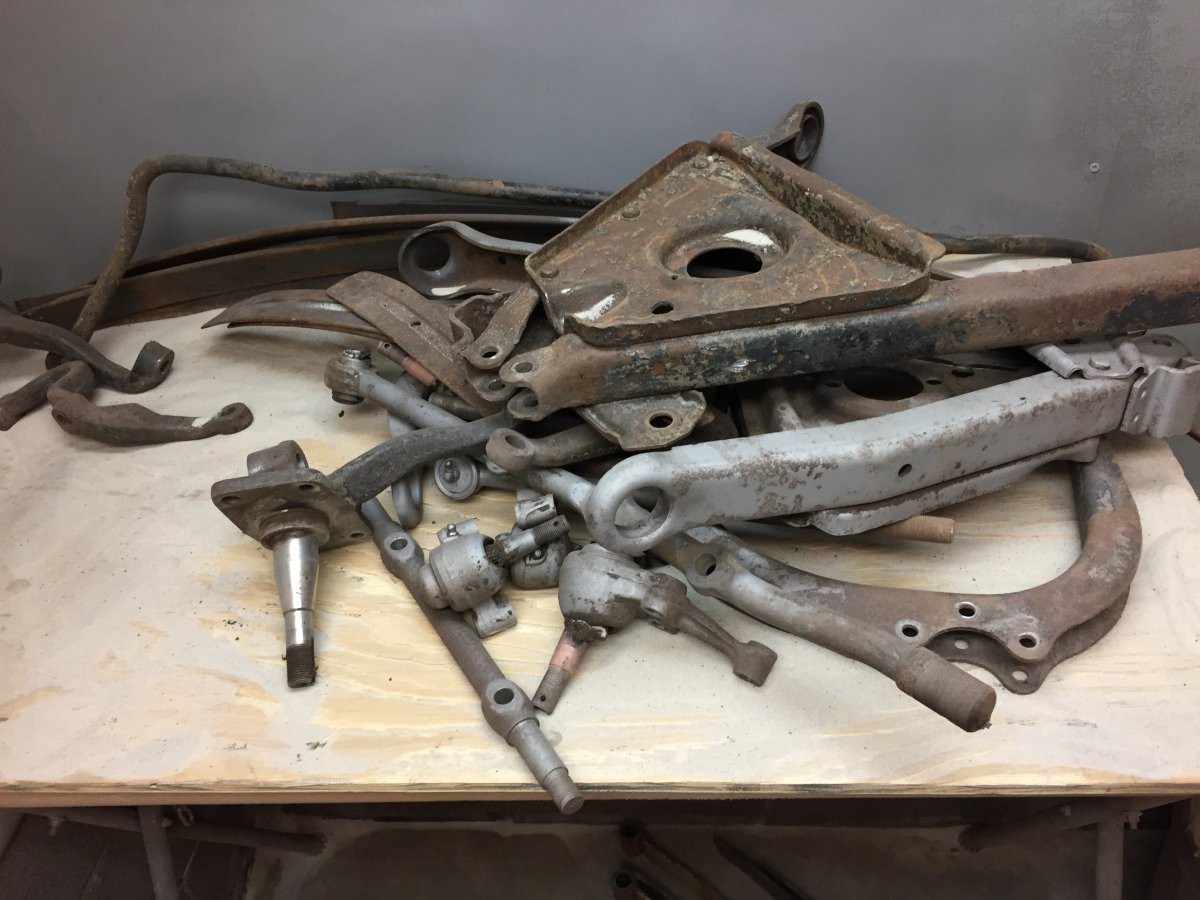
Dirty parts ready to be sandblasted
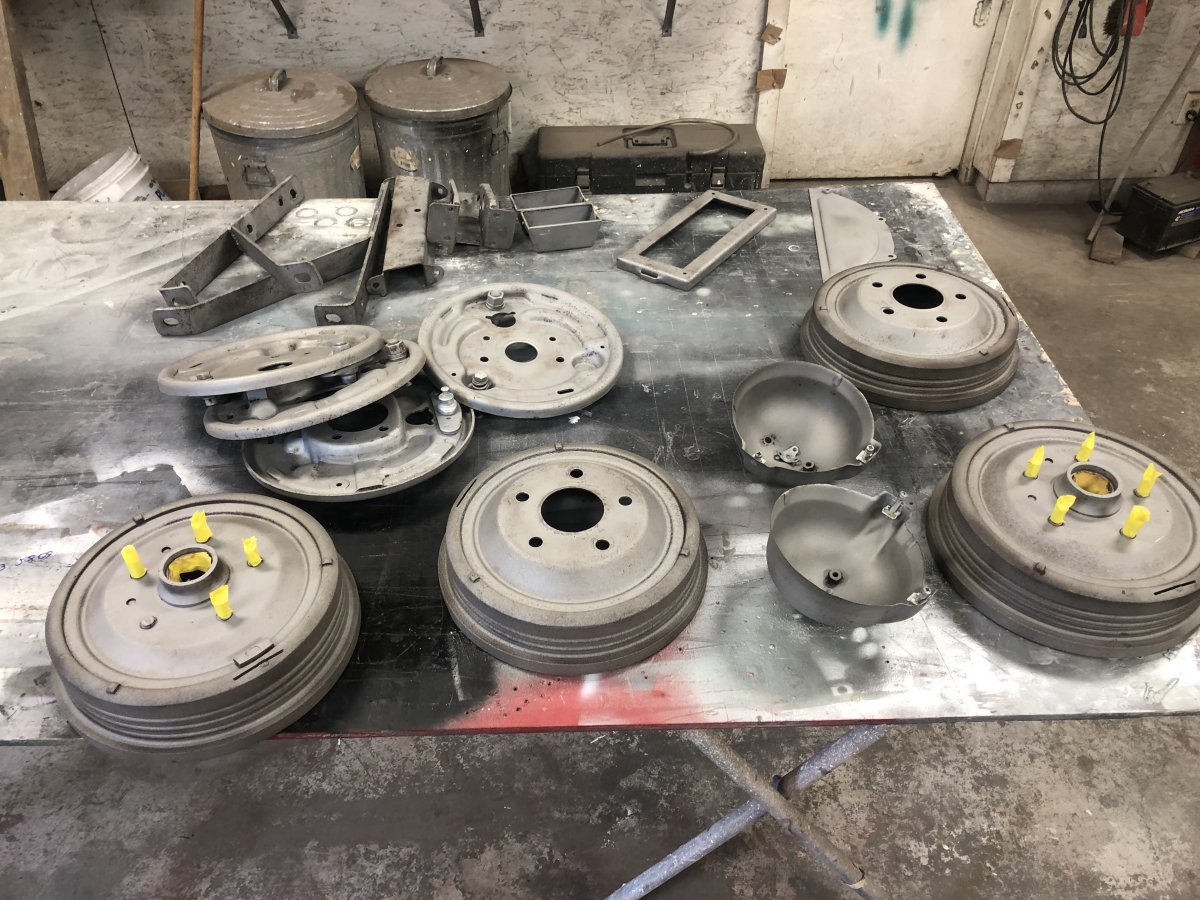
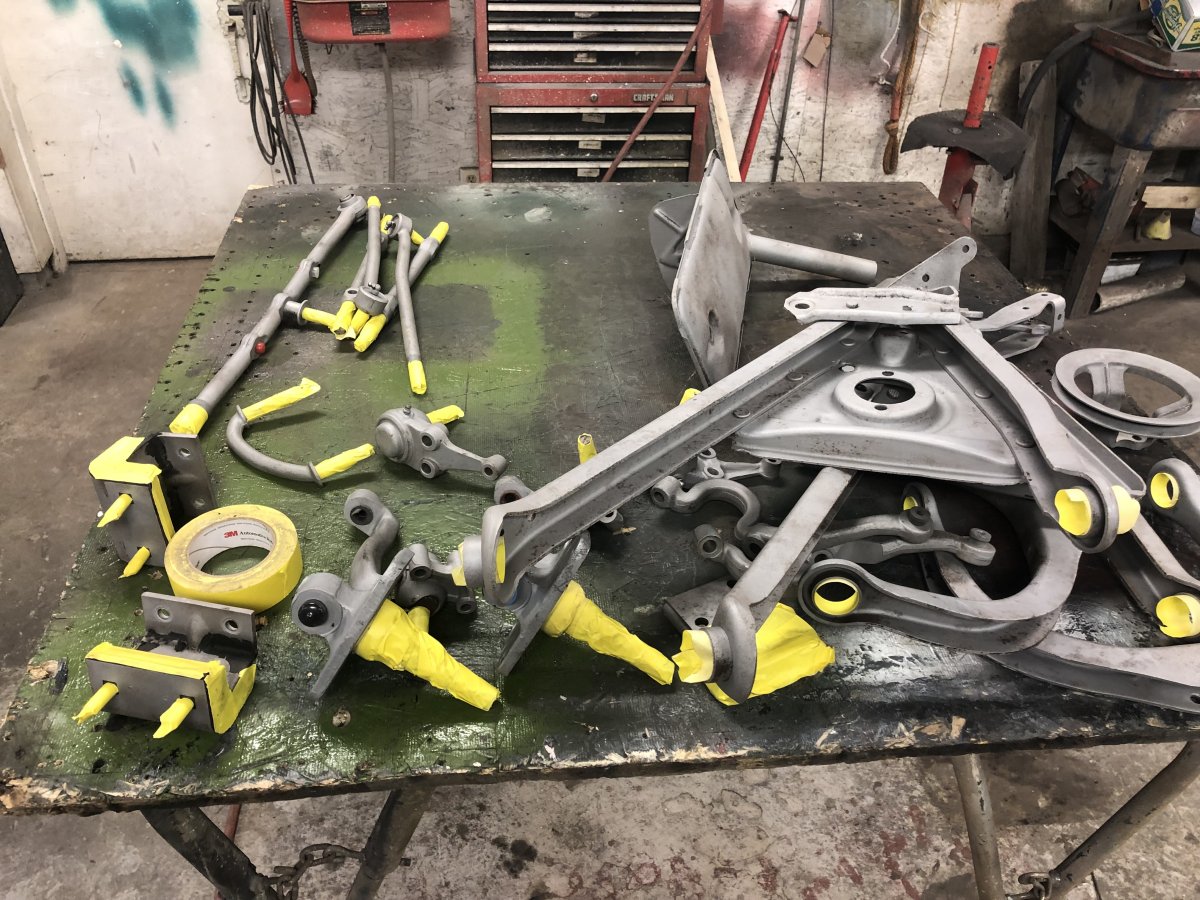
I mask any part with threads or that contact bushing or bearing surfaces.
I've learned the hard way that any paint on those surfaces
has to be removed before installing nuts, bearing and bushings.
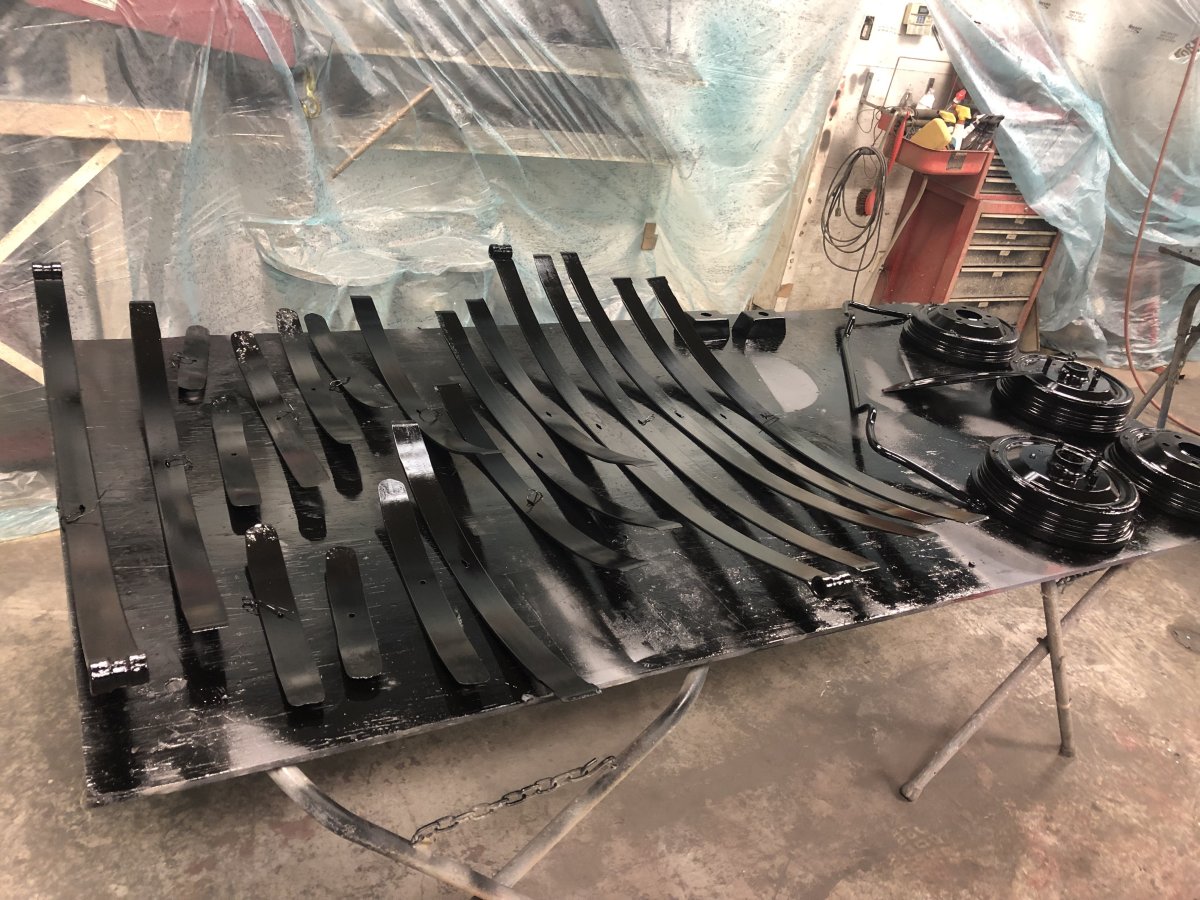
This picture will give you an idea how heavy the car is.
There are ten leafs on each side.
The standard full size vintage car has 3-5 leafs on each side.
I don't know what the curb weight of the car was
but I plan to have it weighed when complete.
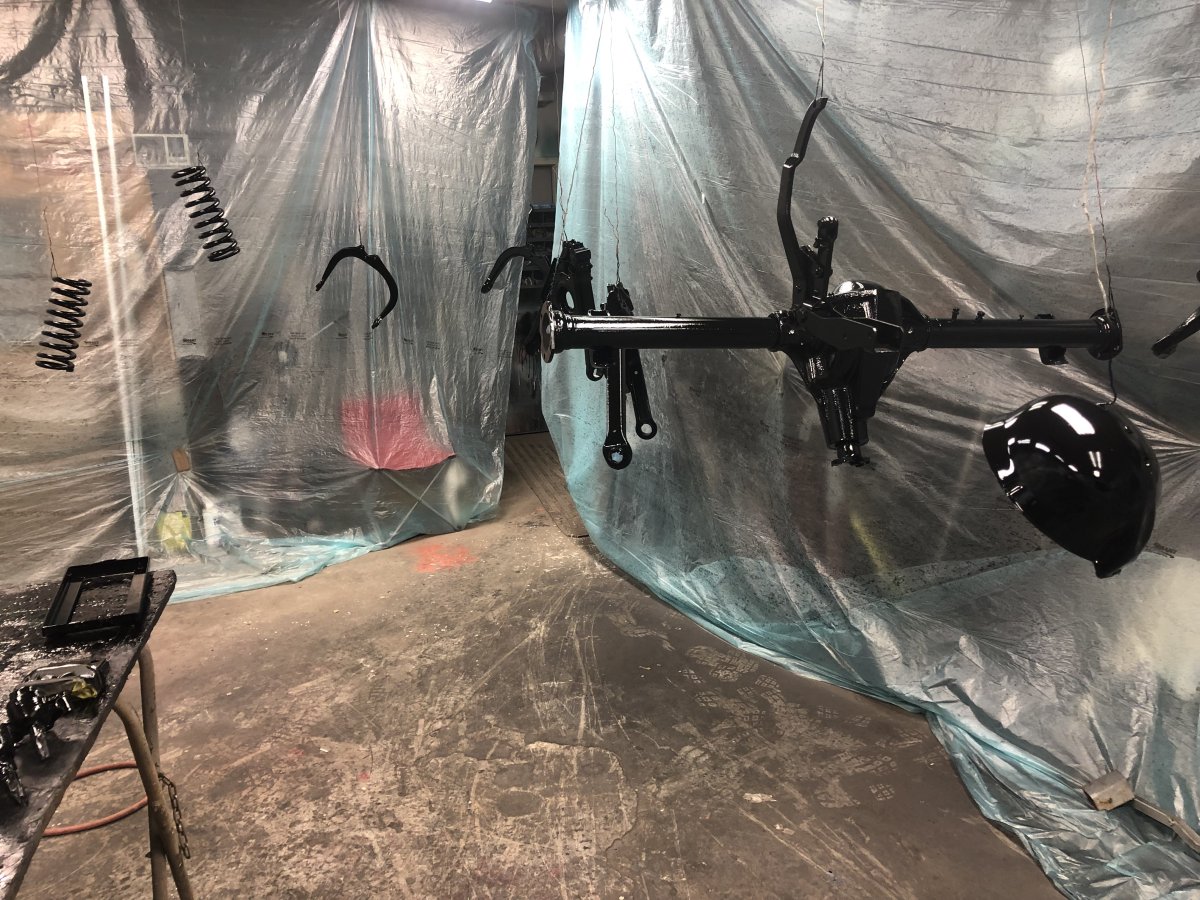
I hang all the parts I have room for and the smaller parts
get painted on the table.
I don't mind jumping around to different parts of the restoration
to get a break from one thing or another,
it all has to be done anyway.
Now I'm on to another 'break'.
NEW UPHOLSTERY
One of the reasons I like to order all the parts I can think
of that I'll need for the restoration early
is because I like to jump around and do different things
to break the monotony.
I want to get one of the seats completely done
just because I want to see what it will look like.
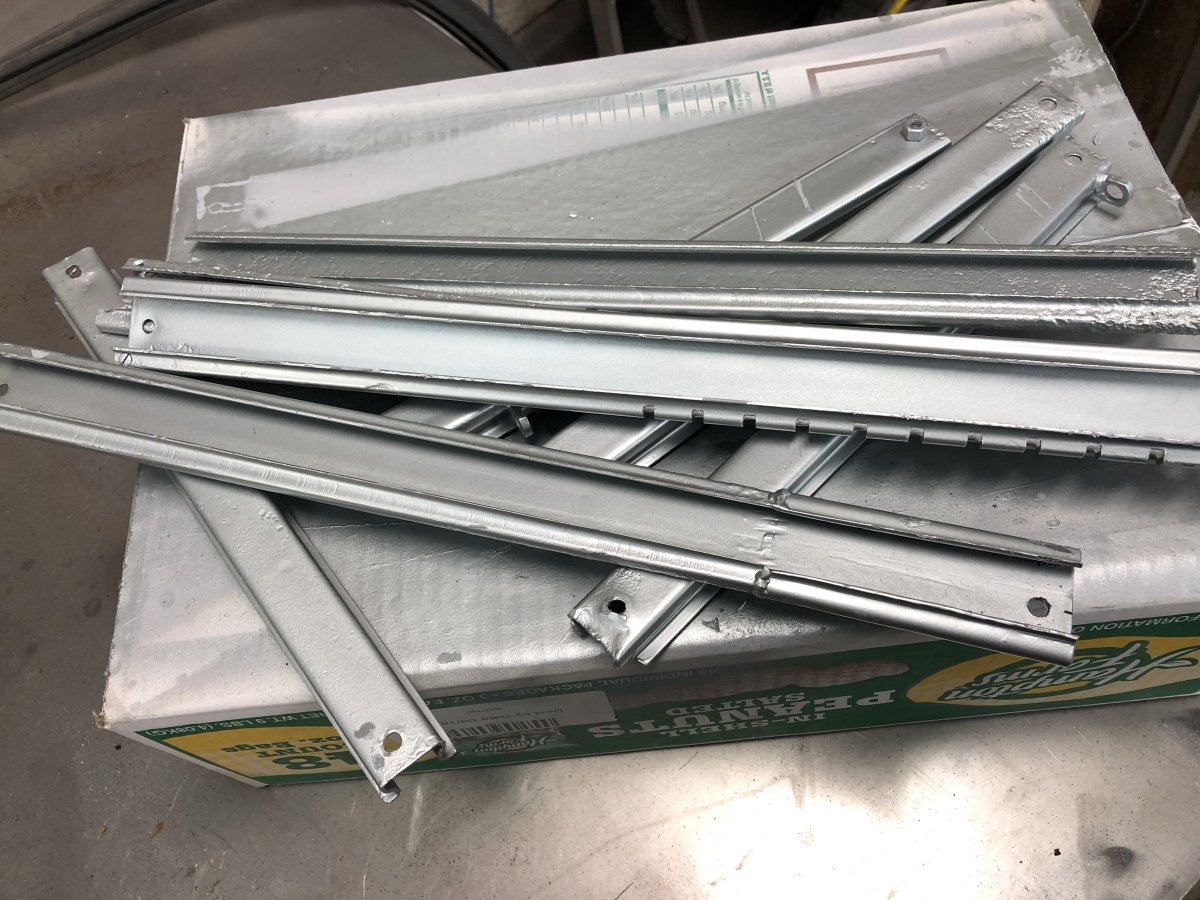
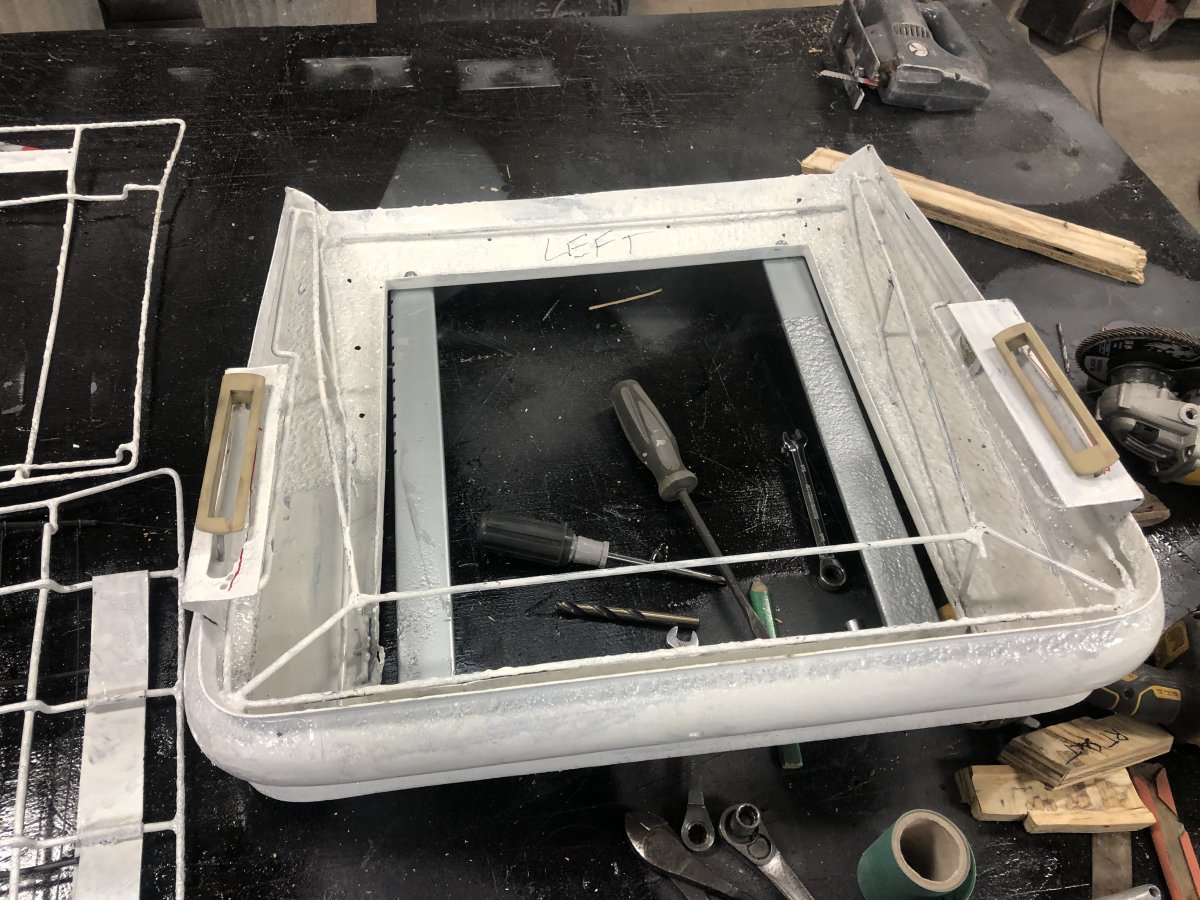
I started with the drivers' seat.
I sandblasted and painted with KBS the drivers' seat frame.
I had to do a little rust repair to the seat frame too,
why would I think it would be any different than every other part of the car?
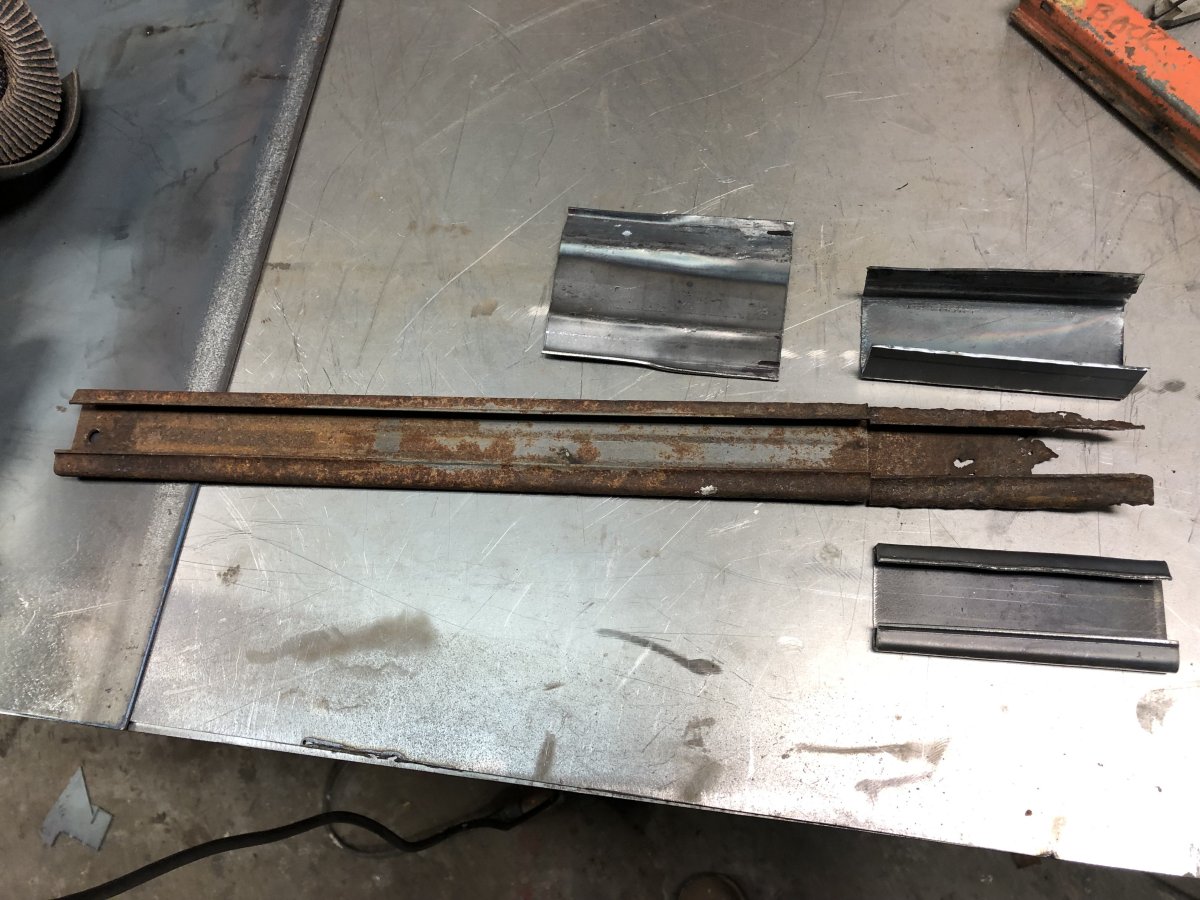
One of the seat tracks was also rusted off on one end
and I had to fabricate a new five inch section and weld it on.
This part looked like it was likely a production part
so I could probably have found one someplace
but I don’t know how much time I would have spent on the internet
or the phone trying to find it
so in pretty short order I had it made and welded on.
It did take two trial attempts before I got the third piece bent right.
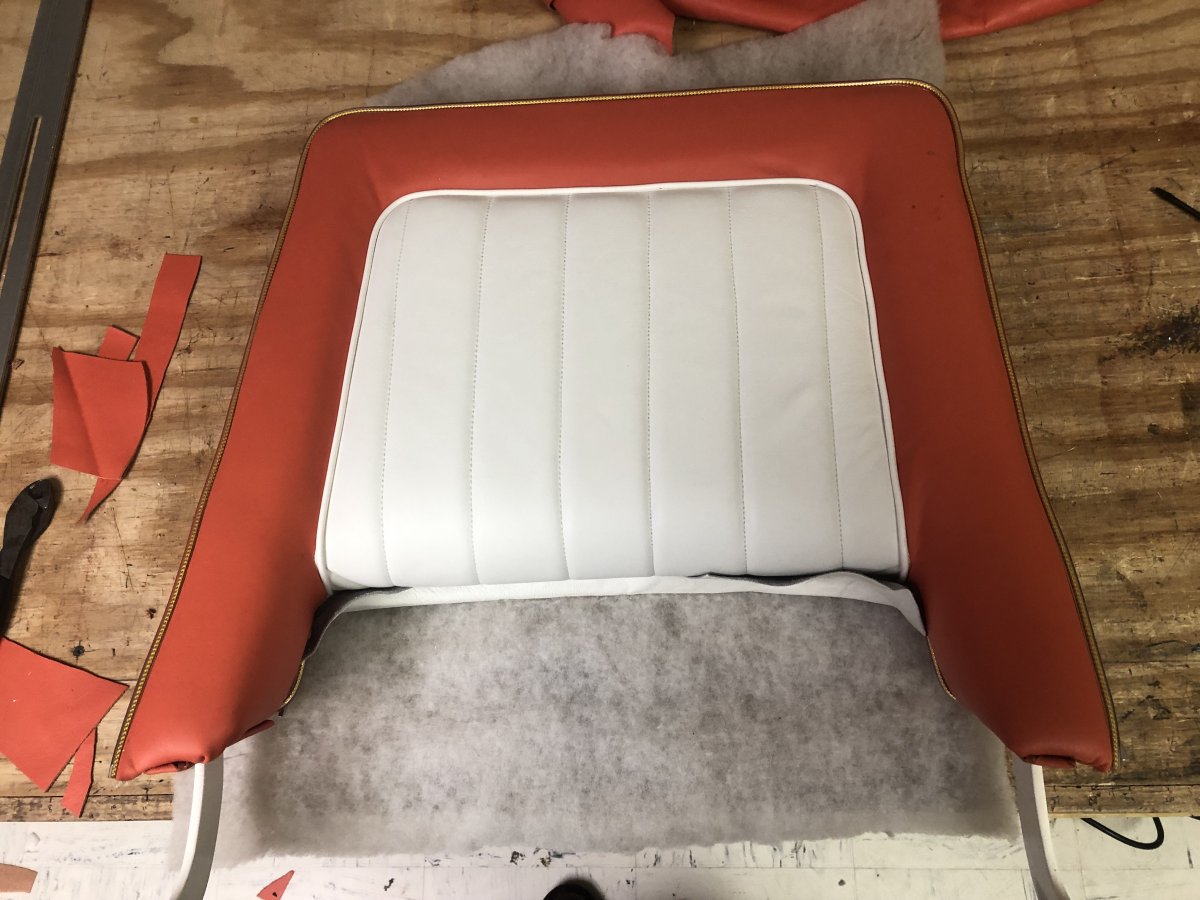
The first part of the seat I finished was the panel on the back of the seat.
It's adorned with a large 'L' shaped chrome piece with a handle
on the top corner and a chrome finger cup under the handle.
This is to pull the seat back back into upright position
after accessing the back seat area.
There are two different piping's used on the seats.
Gold piping is used between two sections of the orange leather
and white piping between white and orange leather.
I have a Consew Premier commercial sewing machine
that will sew through seven layers of leather and it works great.
Because it's a double needle machine, two needles 3/8" apart,
and you can sew with either or both needles depending on what the project is,
anyway they don’t make a pressor foot specially for sewing with piping.
I made one myself and it works perfectly.
It rides on the piping and sews perfectly close to the piping for a great looking seam.
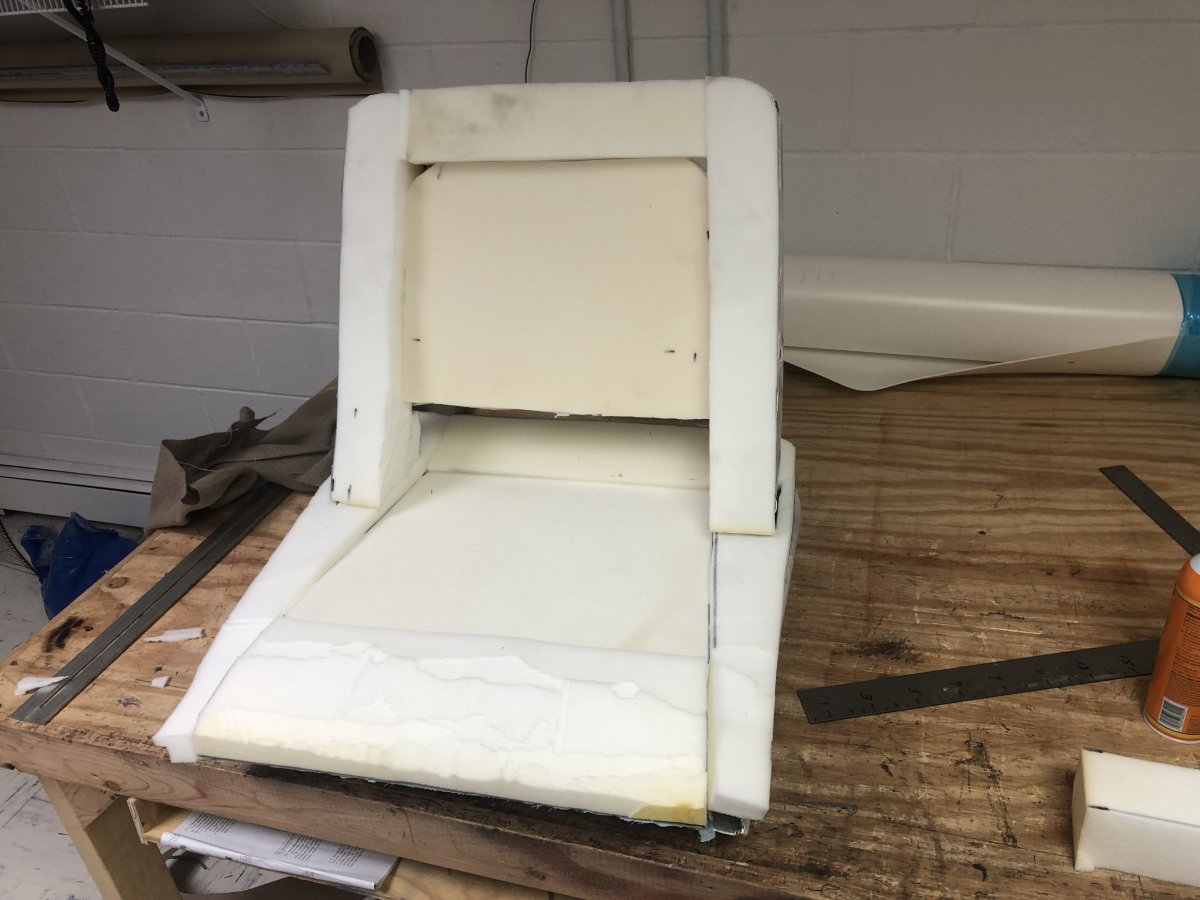
I have the back of the drivers' seat completed
at this point and the foam rough cut for the seat bottom
and with the following pictures I'll wrap up this restoration update.
Thanks again for your interest!

Be sure to watch for further updates and
visit www.tommaruskacars.us for more on this fabulous historic car.
Click here to go back to the Restoration page Or
here to Go back to TOM MARUSKA CARS