|
The Restoration of the XM

Continues
(When you click on a picture to enlarge it you can move it around by clicking on the grey bar along the top. To close it click on "CLOSE" at the upper right corner of the picture)
|
|
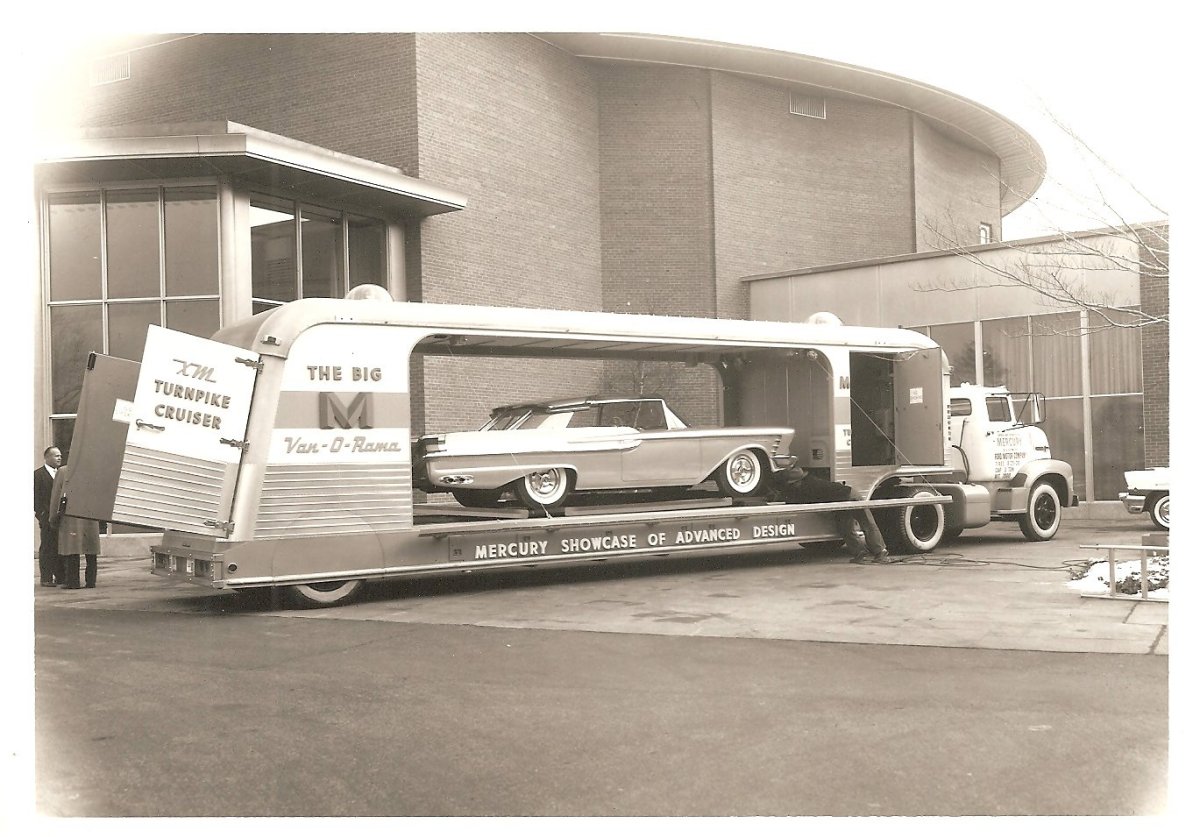
Setting up the Big M Van-O-Rama for display
|
Moving On...
The reconstruction of both doors for the car is complete.
It consisted of cutting off the bottom eight inches of the doors both inside and outside and rebuilding them and reinstalling the original mounting bracket for the power window mechanisms.
I also sandblasted the remainder of the doors so they are ready for refinishing.
They have also both been on the car several times making adjustments for proper fit.
Inside the passenger door
A Sneak Preview...
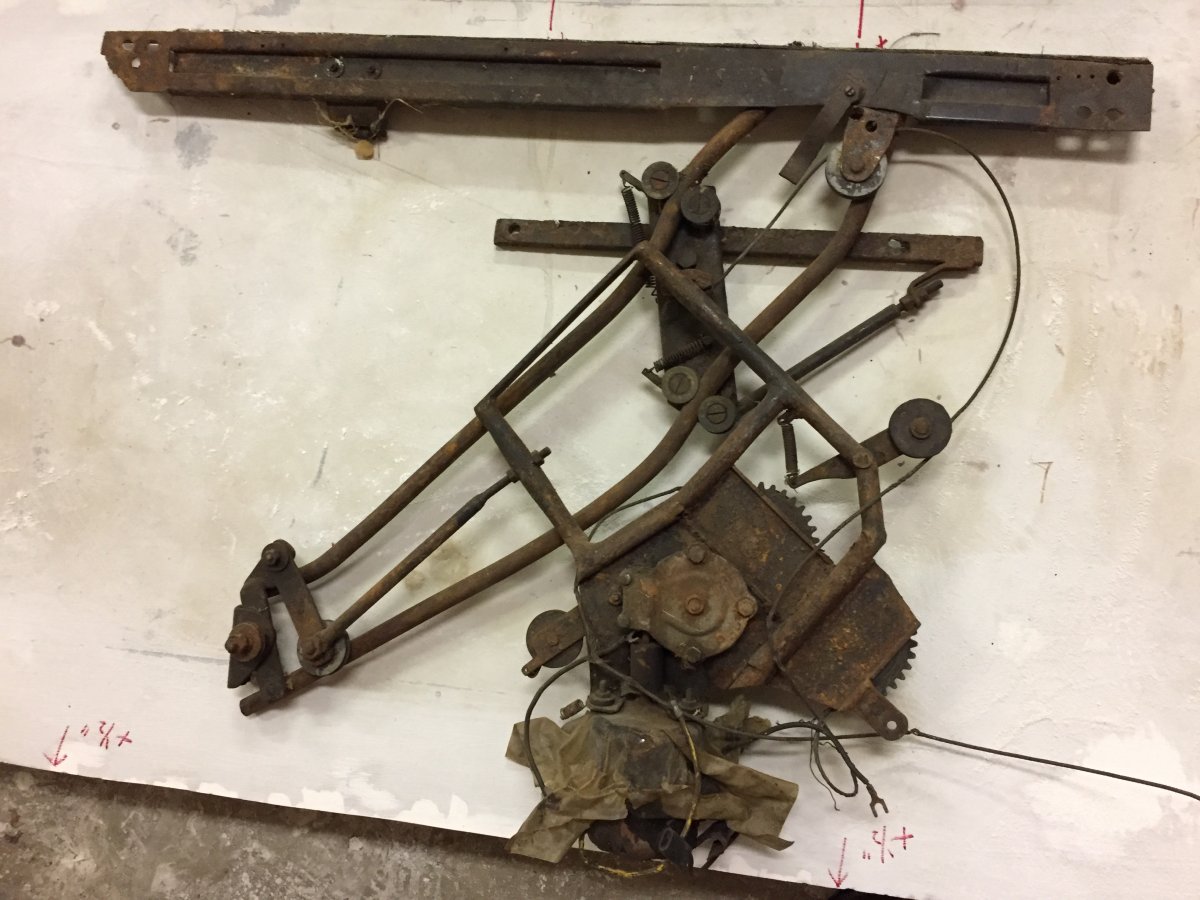
Although I haven't done any restoration work on the power window mechanisms as yet, I thought you might like to take a peek at them.
They are quite interesting.
They are completely handmade mechanisms and I like to call them "dinosaurs".
It's tempting to install modern mechanisms in the doors as they are so simple nowadays but I will restore and install the originals sometime down the road.
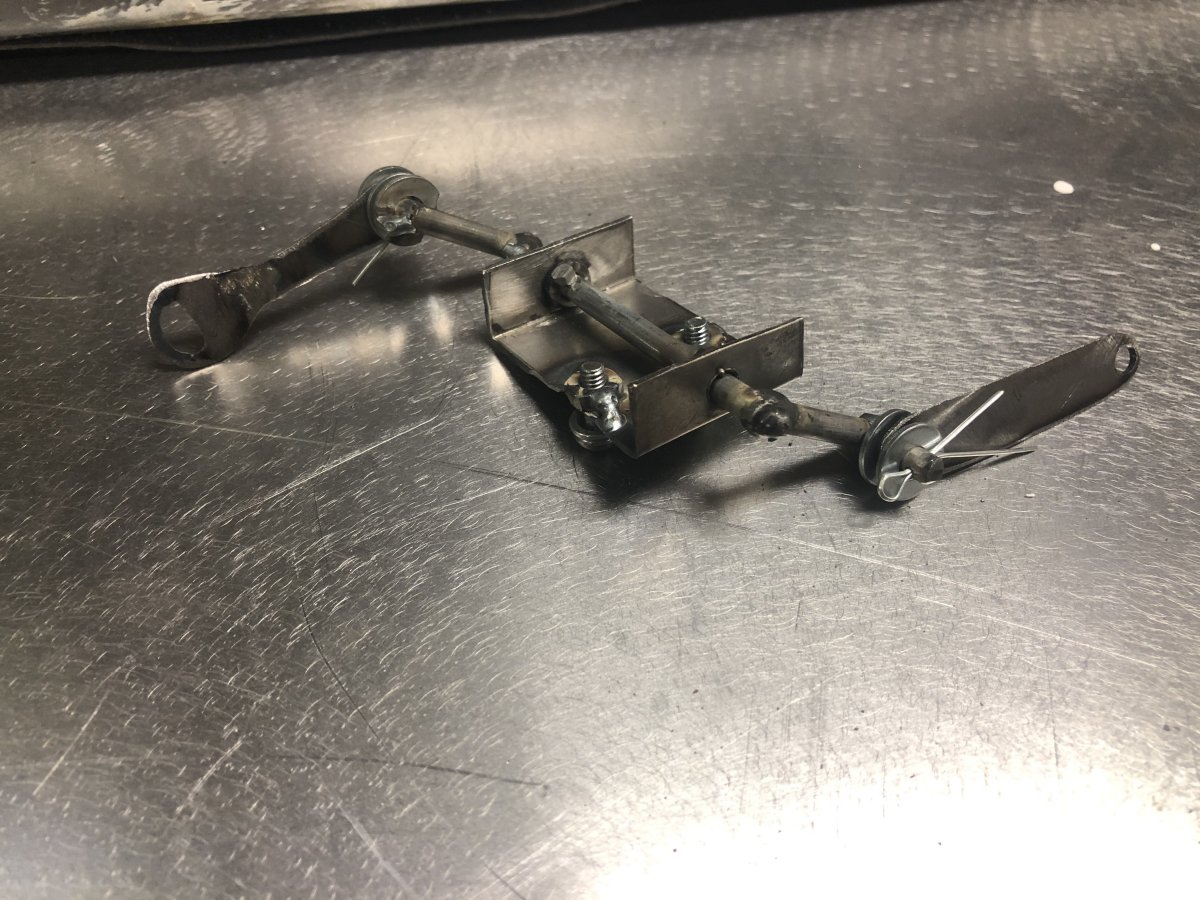
Here is one of them, this being a quarter window mechanism but the door mechanisms are very similar.
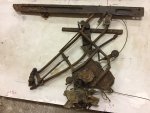
Dinosaur
Another Fabrication...
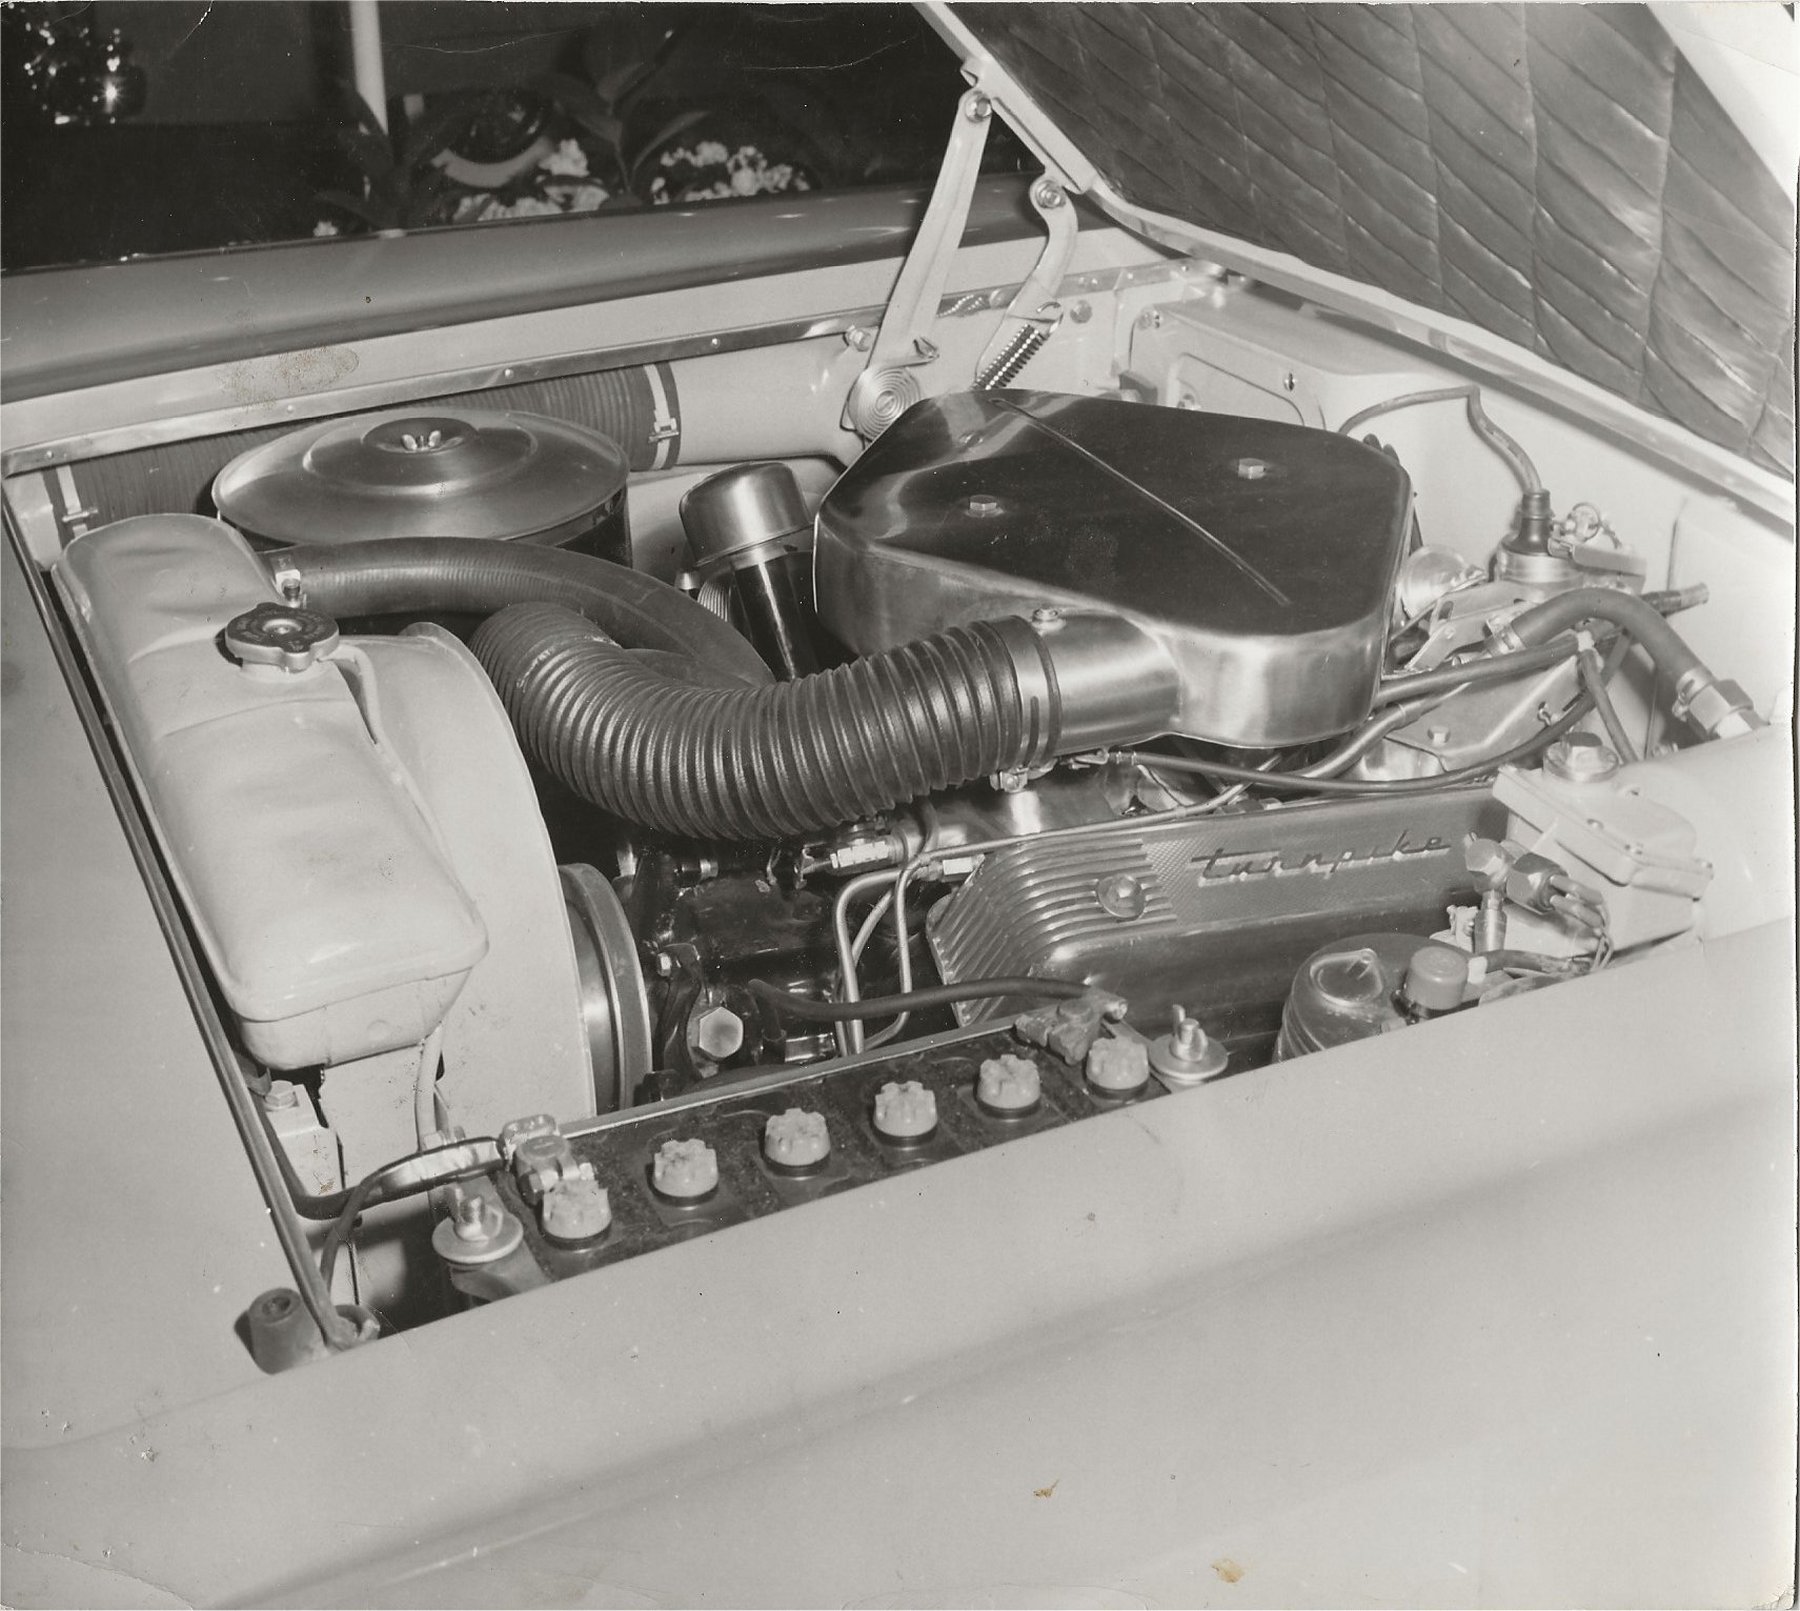
In the right front of the engine bay sits an air cleaner. It's remotely located and connected to the dual carburetion via a flexible 3" duct.
This air cleaner was used on the 1955 C600 Cab Over Engine (COE) Ford trucks just like the one pictured above pulling the Big M Van-O-Rama.
(By the way, if anyone knows anything about the whereabouts of the Big M Van-O-Rama Trailer I would sure like to hear from you! CONTACT TOM)
Here is a picture of the air cleaner in the engine bay:

Original Engine Bay
FYI the housing surrounding the carburetors is simply a choking mechanism.
Note the cable attached to a flap on the housing inlet.
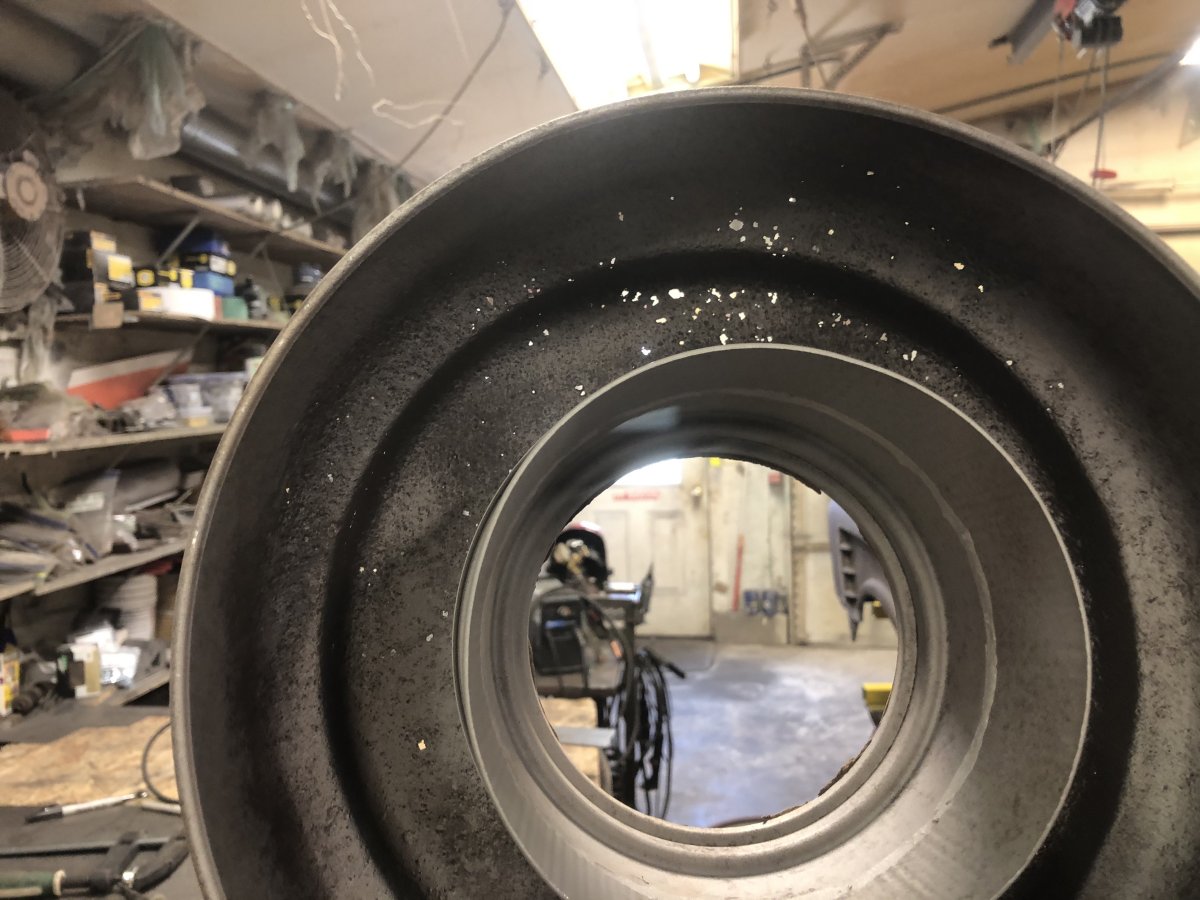
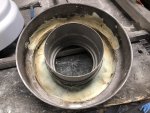
Anyway the air filter was originally an oil bath filter which I planned to convert to a paper filter.
I sandblasted the housing and it came out looking like a strainer, full of holes.
And with the thin metal it would be impossible to weld up.

Noodle Strainer
I tried to find a solid replacement but none was to be found so I decided to construct one from fiberglass.
I smeared body filler on the inside of the rusty original to make sure and cover all the rust holes,
sanded the outside smooth where the filler bled out and then coated it with form release agent.
Body filler over the holes
Next I coated the outside with several layers of resin and a couple layers of glass cloth.
When it all hardened I removed the fiberglass mold from the original air cleaner.
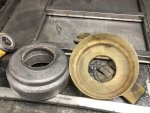
New Fiberglass Mold
Now I had a perfect copy of the housing albeit reversed from what I needed.
The next step was to coat the inside of the "buck" with form release followed by several layers of resin and glass cloth.
I fabricated a 3/16" steel wire loop the diameter of the top of the buck and embedded that in more cloth and resin.
After setting overnight the next morning I separated the new glass housing from the buck and after a little more finishing on the inside I had a perfect duplicate of the original steel part.
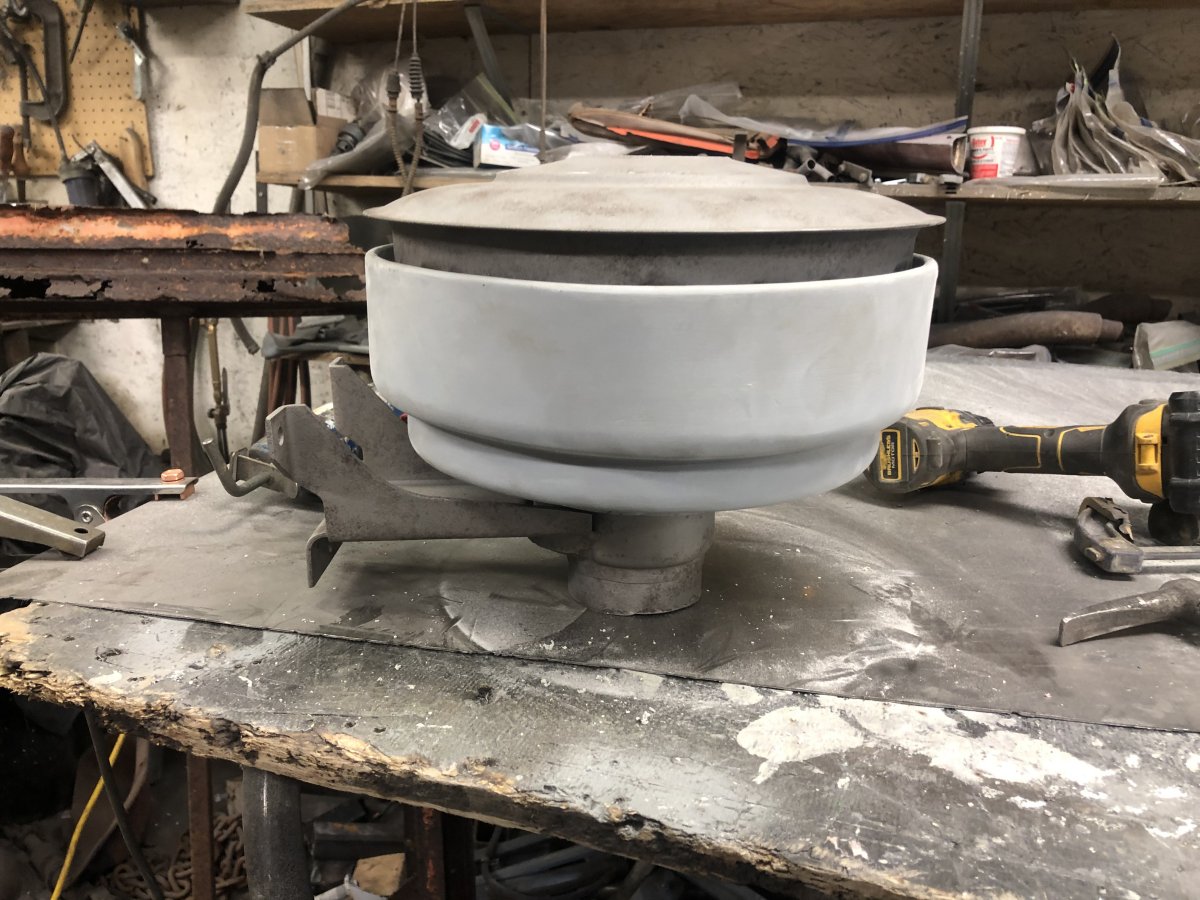
I cut the bottom mounting area from the original and glued and screwed it to the new part so it will fit and look like the original.
You can see the "OIL LEVEL" mark in the steel part and that is also perfectly duplicated on the fiberglass part.
Then I found an oil filter to fit and it's ready to go to work.

Completed Air Cleaner
Special Valve Covers...
As you can see in the picture of the engine bay above, the XM Turnpike Cruiser also had special valve covers.
You may recall from an earlier update that the original valve covers were stolen
long ago along with the intake, carburetors and choke housing.
The valve covers were originally 1955-1957 Thunderbird dress up valve covers
with the bird emblem removed and the Turnpike Cruiser Pace Car emblems in their place.
Mr. Cosh who I purchased the car from during his many years of planning to restore the car
found and purchased a set of T-bird valve covers and pace car emblems which I got with the purchase.
I had to make the appropriate modifications.
Here are a couple pictures of the parts and process.
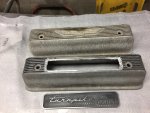
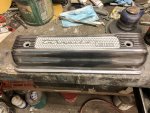
Replacing the Bird Turnpike Cruiser Valve Cover
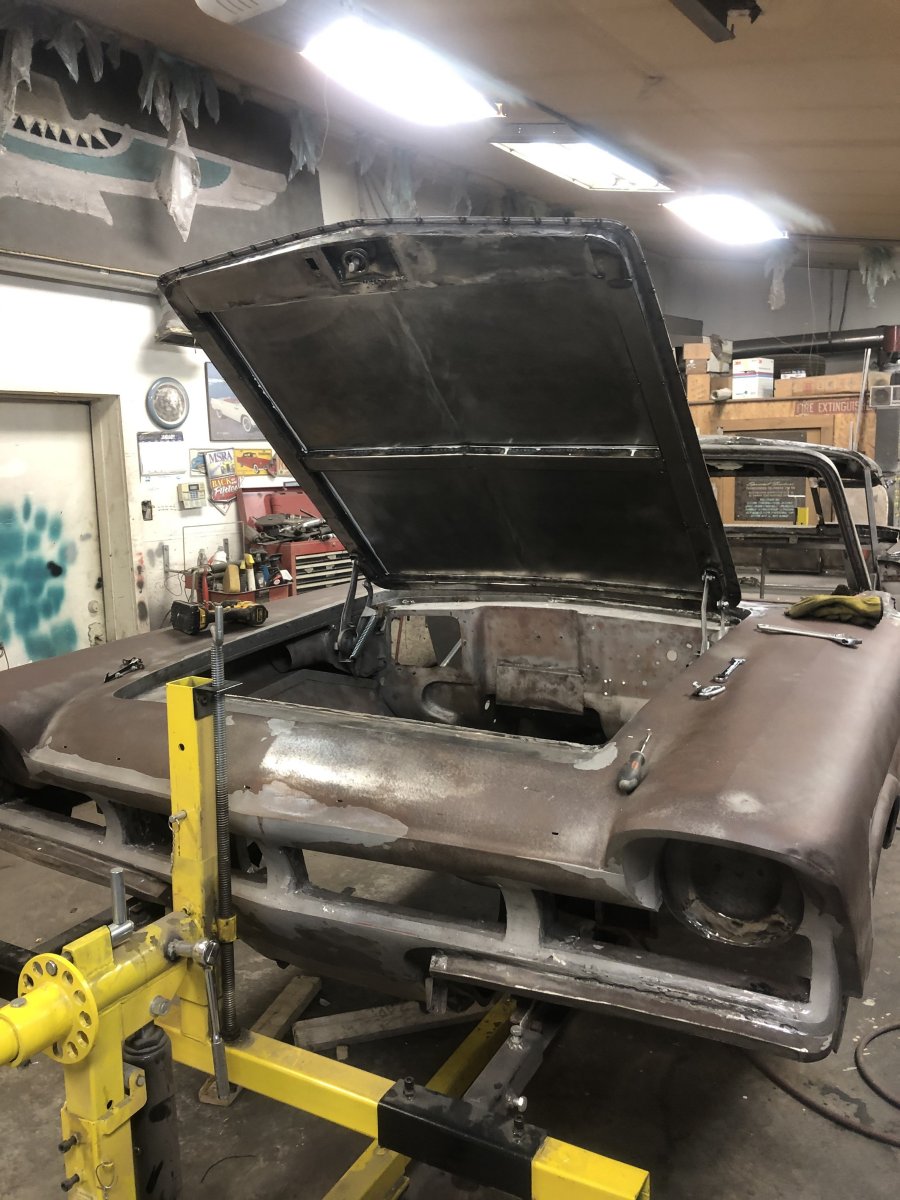
The Last of the Fabricating (I think)...
Now that I have some more of the easy stuff out of the way I still had to build a completely new hood.
I did not have the original hood as it had been replaced sometime in the past with a "cobbled" hood which wasn't even close.
All I had to go by was the vintage pictures of the car.
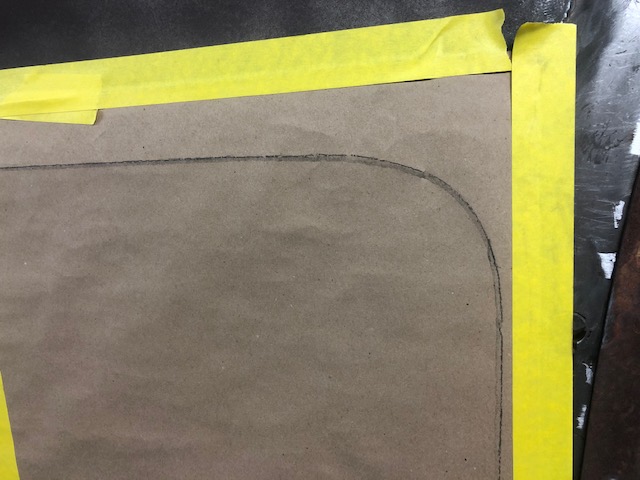
I began by taping heavy paper over the hood opening on the car.
I’m sure most of you at one time or another have done pencil rubbings
over coins or other items to transfer their image to paper,
well that what I did next. I traced the opening onto the paper by rubbing the pencil over the edge of the hood opening.
This gave me the cutout size for the hood skin.
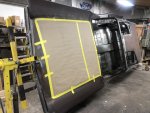
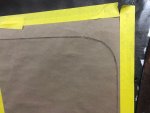
Pattern making paper over Hood opening Pencil Tracing of Hood Opening
Then I cut out the pattern and traced it onto the sheet metal
for the hood and cut that out with a plasma cutter and set it aside.
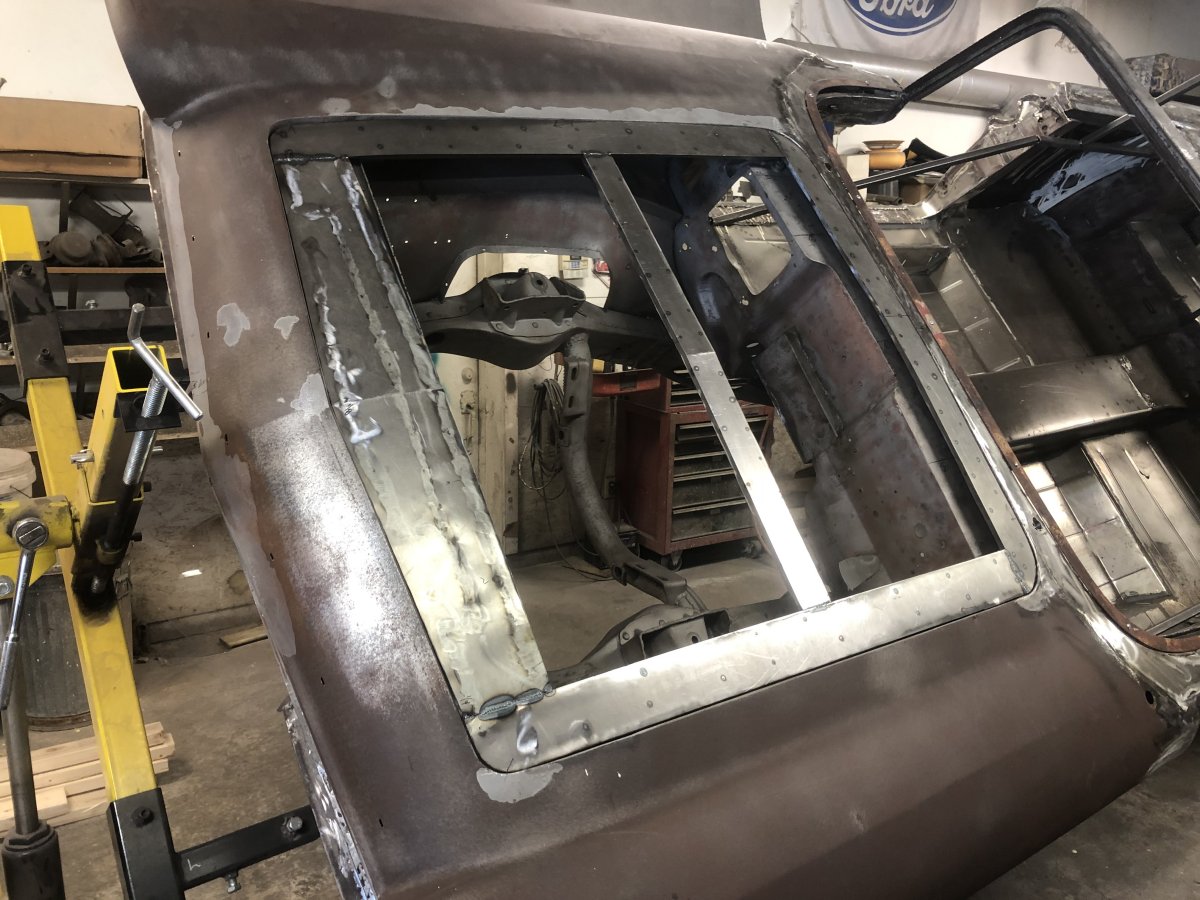
I still had to build the webbing, (framework for the hood).
I made similar patterns from paper of the contours along both edges and front and back edges of the hood openings on the body.
These I again transferred to sheet metal
and cut out two of each of them to make the box work for the webbing.
Then I made a top and bottom for the webbing boxes and cut 1/4" steel for reinforcement
where the hinges will mount and in all four corners where the levelers will hit and welded them in place.
I also reinforced the area at the front where the latch is mounted
and then began welding the webbing boxes all together.
Hood Webbing pieces taking shape Hood Webbing installed on car
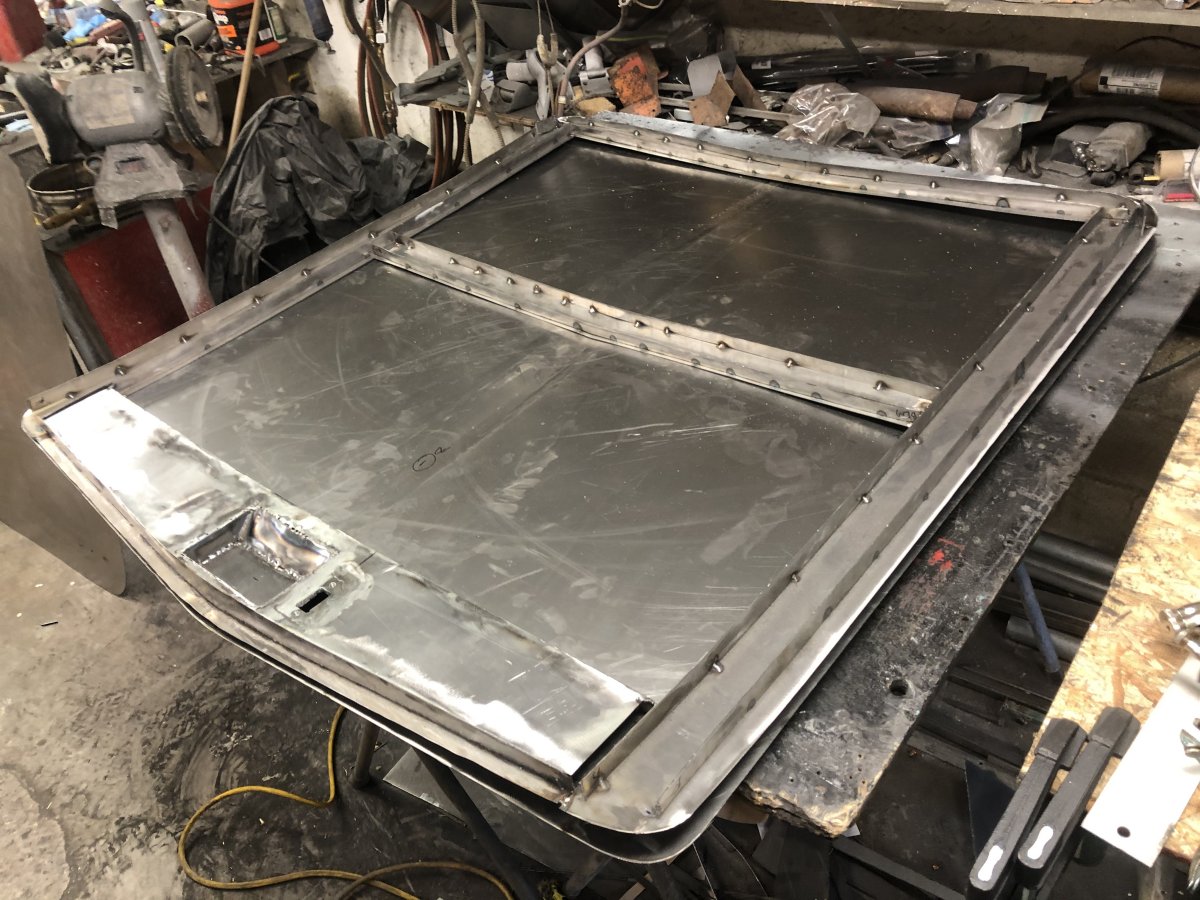
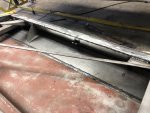
I had to put a very slight crease down the center of the hood skin
which was accomplished quite easily on my break which accepts up to 48" 16 gauge steel.
The hood skin and all the webbing pieces incidentally are 18 gauge.
I also needed to put a small curve on the leading edge of the skin
which I did by beating on a 2x4 with a rubber mallet with a sand bag under the skin.
It worked quite nicely and without dents.
Attaching the Hood Skin to the Webbing The new Hood

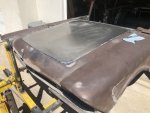
Completed Hood
One more "last" Fabrication...
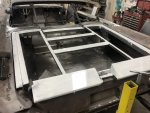
One more big sheet metal project to complete before moving
into the finishing stages and that was to build a complete new trunk lid.
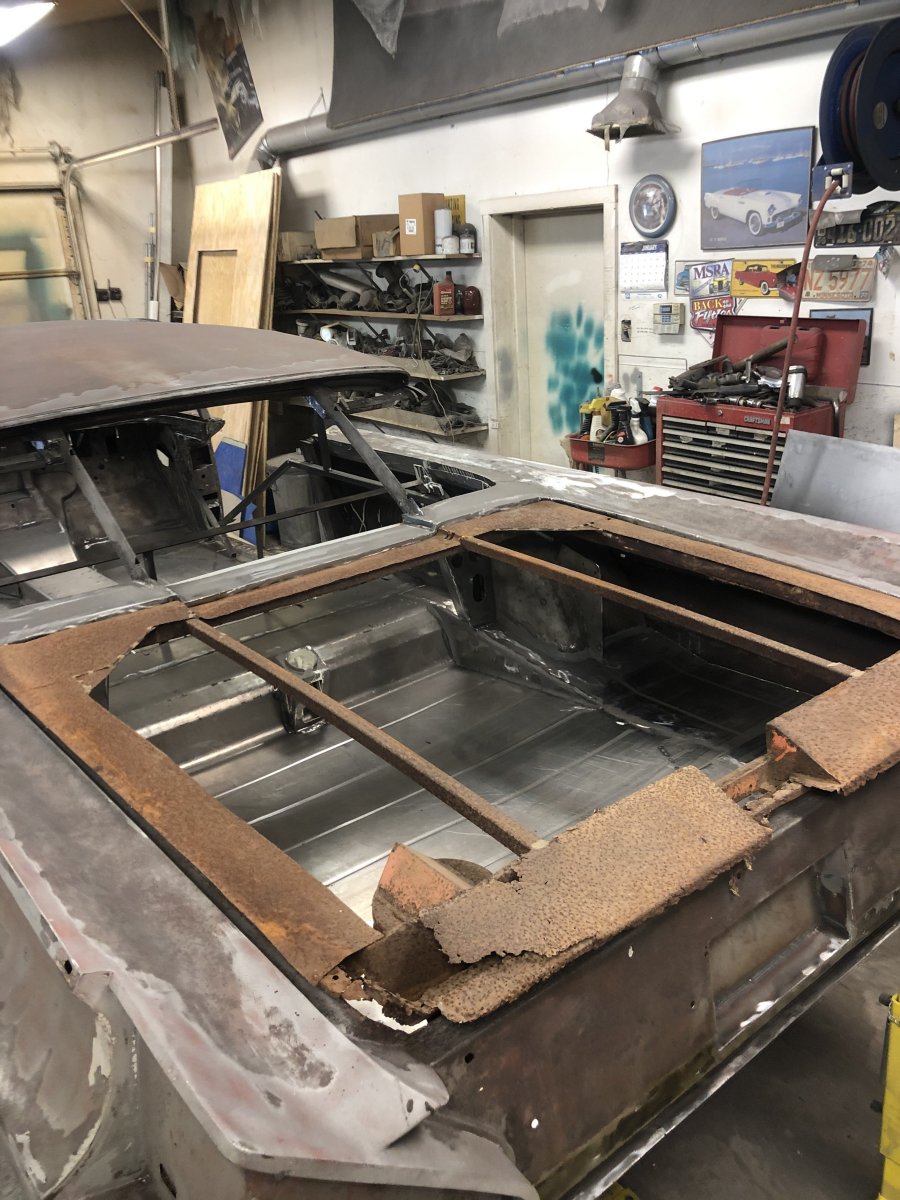
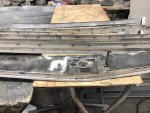
For this I did have the original severely rusted trunk and webbing to use as a pattern for the new construction.
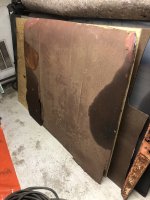
Rusty Trunk Frame (aka "Webbing") Rusty old trunk skin
Once again I began by making the paper patterns of the curves
along the sides and front of the trunk openings and transferred them to the steel,
built the boxes and welded them together
and attached the webbing structure to the trunk hinges to check the fit.
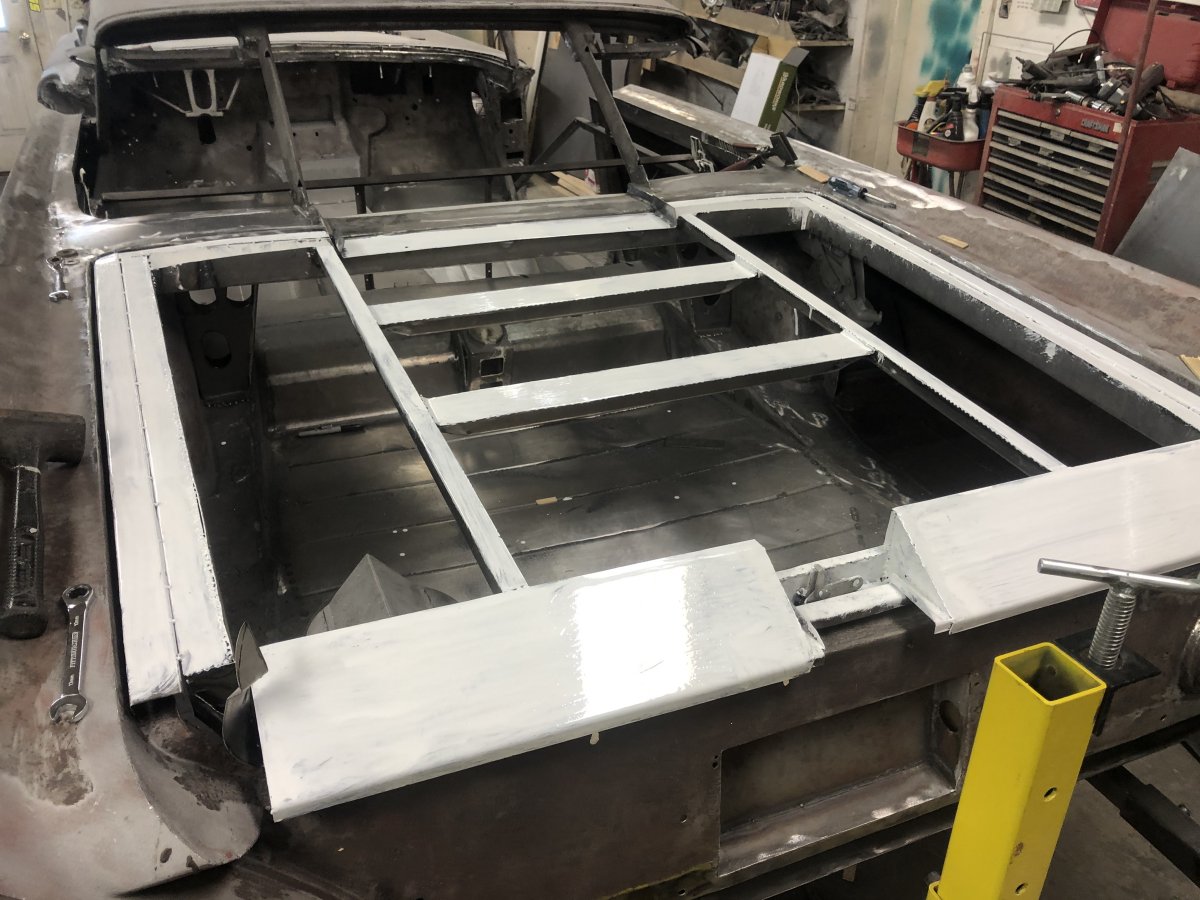
When I was satisfied I painted on the KBS,
adhered the tarpaper and then started on the skin.
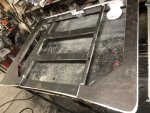
New Trunk Webbing on the car Tar paper for noise control
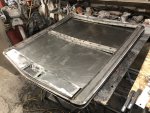
This was a little more complex than the hood.
I had to build it in five pieces. I made the center section first.
As you can see it is curved up about an inch along each edge
and the curve disappears near the back and becomes flush with the two side pieces.
It's not real noticeable in the pictures but the webbing is built to allow this transition.
Because the three top skin pieces are narrow,
25" for the center and 15" on each side
I was able to put the roll down at the back edge
in with my sheet roller which handles up to 30".
That worked slick!
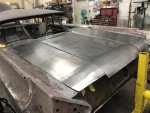
New Trunk Skin (not yet welded together)
Before I put the curl in the back end of the center section
I had to bend the sides up about 3/4" which I did in the Break.
I did the bends in 1/8" increments so I would have pretty close to a rounded curl up.
It will eventually get finished with body filler for a nice smooth curve.
The two side pieces sit on top of the center section and are welded together along that edge.
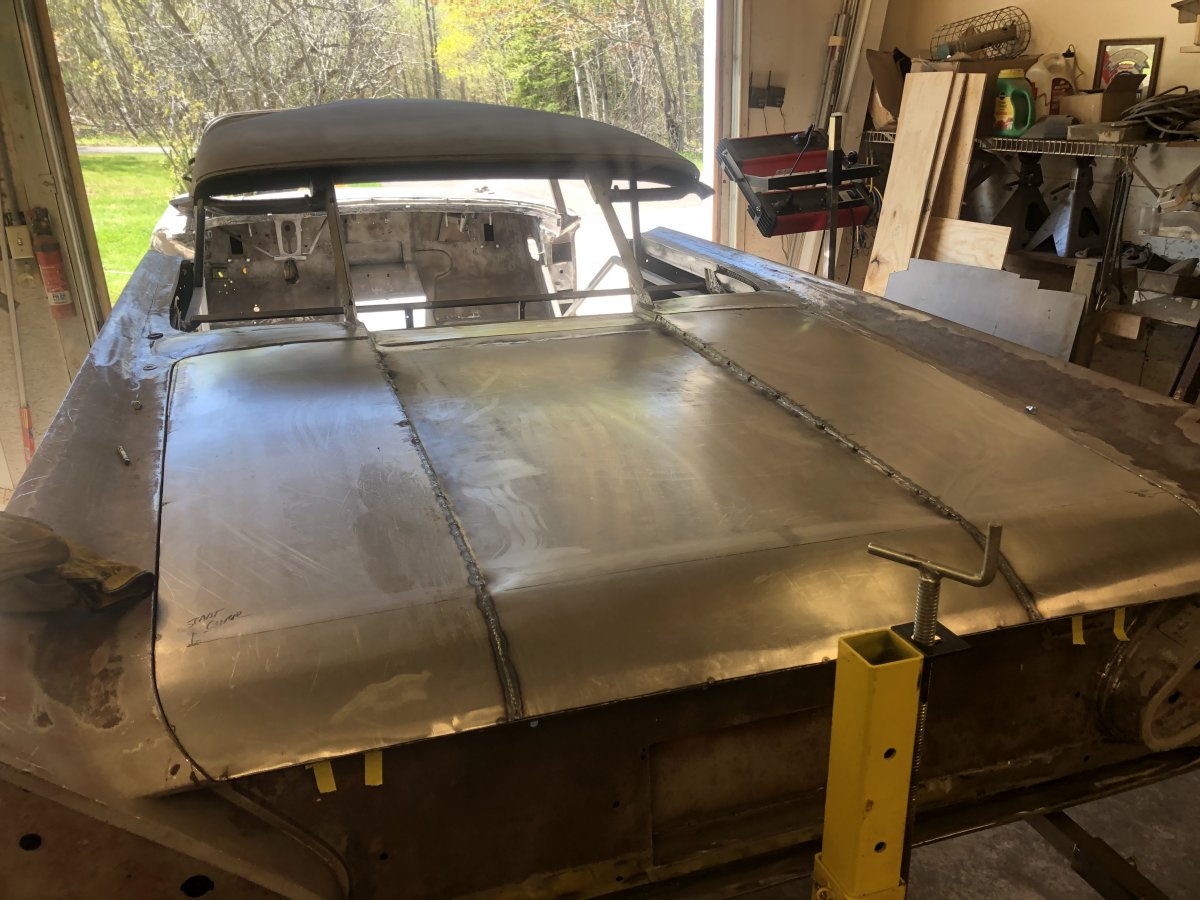
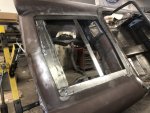
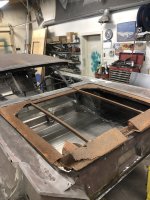
The next step was to tack weld the skin to the webbing in several locations
around the perimeter so I could install the trunk on the car
and check the fit which turned out to be pretty nice.
Then I clamped a straight edge along the back edge
lined up with the points on the back of the body and used the plasma cutter to cut the back edge off even.
I still had to make the curl on the bottom of the back edge
that returns to the body and houses the key lock mechanism.
I made that out of three pieces again as it worked so nice in my roller
and then welded them end for end and tack welded them to the top skin
and to the underside of the webbing.

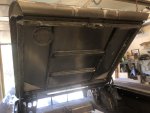
New Trunk all tacked together Underside of new Trunk
I may have mentioned it before so bear with me if I’m being redundant.
Some of you may have wondered what the round thing is on the underside of the trunk lid.
It will eventually have a thick, soft foam pad inserted in it with a leather skin on it.
Inside the trunk is a funnel which houses the gas filler neck inside.
When the trunk lid is closed the leather covered pad seals down over that funnel
preventing any gas fumes from entering the car.
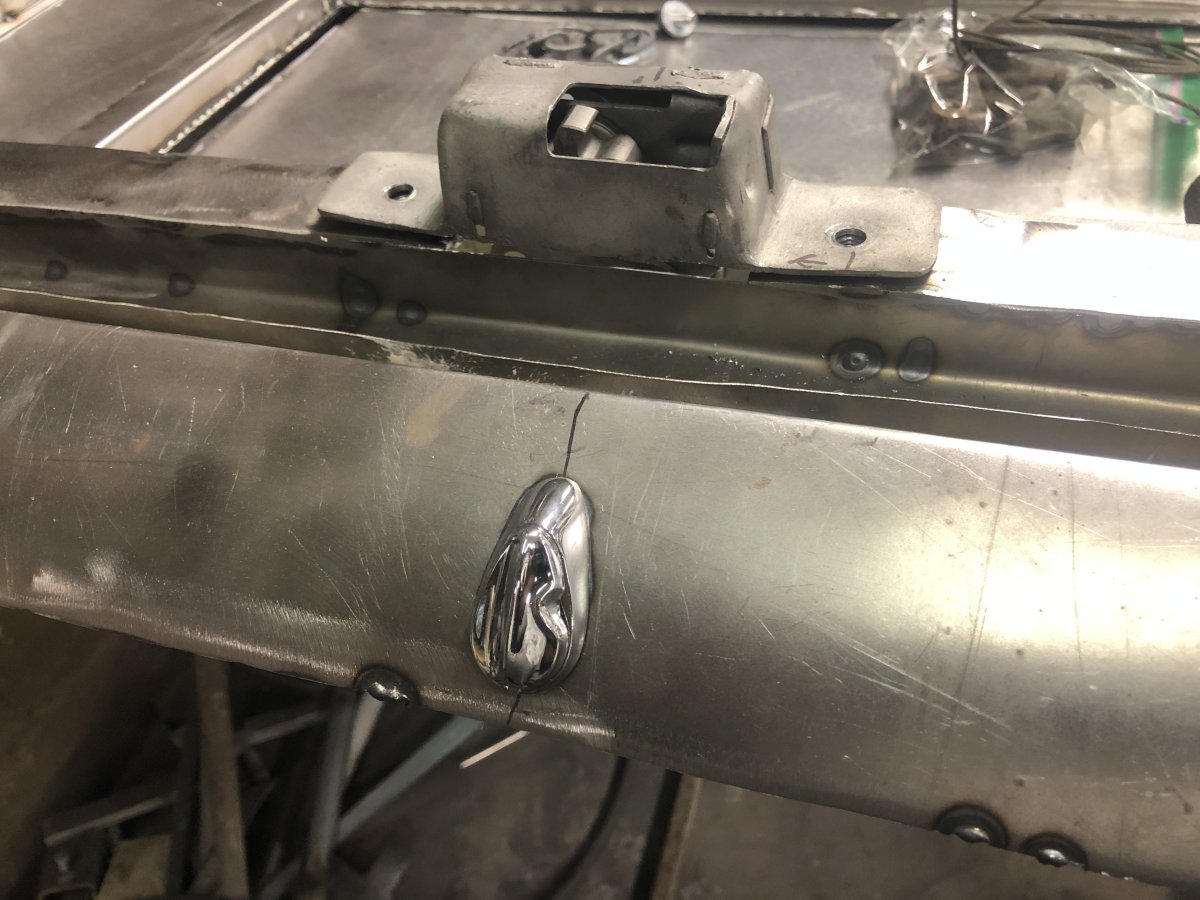
Now I was ready to cut the hole for the key lock and fabricate the linkage from the lock to the latch.
It sounds simple but it turned out to be an eight hour job
and if anyone would have been in the shop during that process they surely would have
learned some new words.


Trunk key lock Linkage from trunk lock to latch
Stay Tuned...
In addition to the sand blasting and body filler work
I mentioned there's a lot more interesting work to be completed on the many unique parts
that make up this wonderful car.
I'm not sure what order I'll work on these parts as I like to skip around
but be assured you'll see it all right here.
If you missed an update and wish to catch up
you can do so by visiting my RESTORATION PAGE by clicking the link just below.
As always, thanks for reading!
|
|