The restoration of the
1956 Mercury XM TURNPIKE CRUISER Dream car
continues
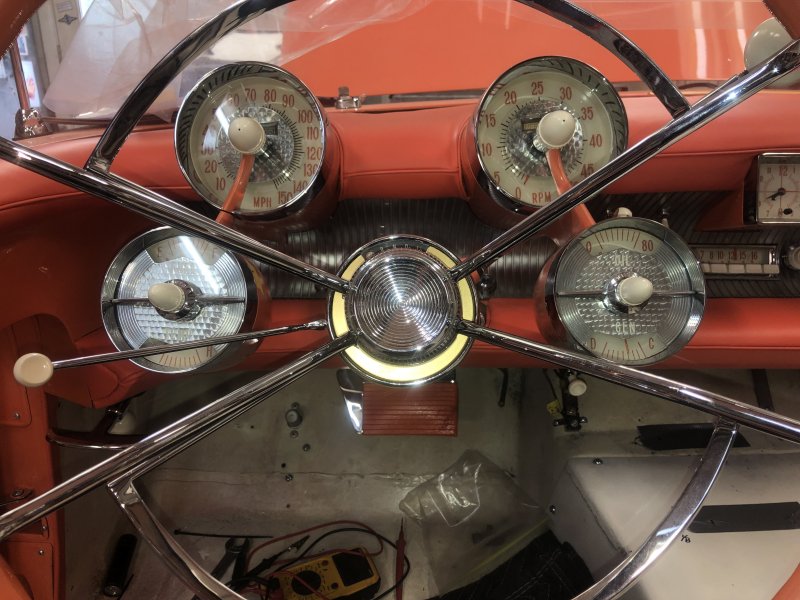
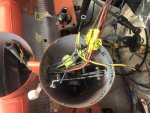
THE BRAINS OF THE XM TURNPIKE CRUISER
After two attempts
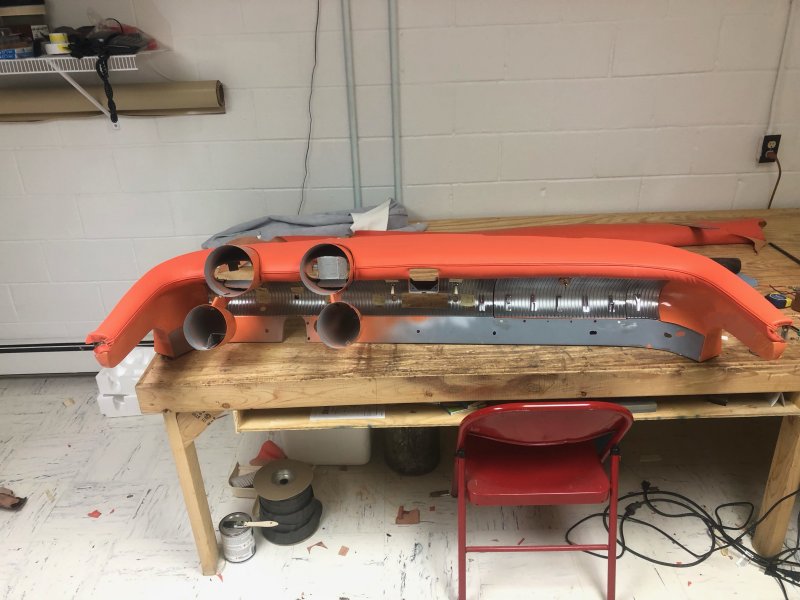
I finally got the dash sewed so it fits correctly around the gauges.
This is one of the toughest things I've ever had to sew,
but it's done now and it's installed on the dash and it looks wonderful.
I installed the dash in the car
pulling wires and control cables into the correct openings
for the gauges and switches.
I needed the dash in place in order to line up
the center accent sewn into the dash
which continues along the top garnish molding
on the door panels and quarter panels.
That accent is also on the knee bumper on the lower dash
and it continues across the arm rests
on the doors and quarter panels as well.

The original door and quarter panels were nearly non-existent
but with the pieces and original pictures
I have I was able to carve new wood arm rests and garnish moldings.

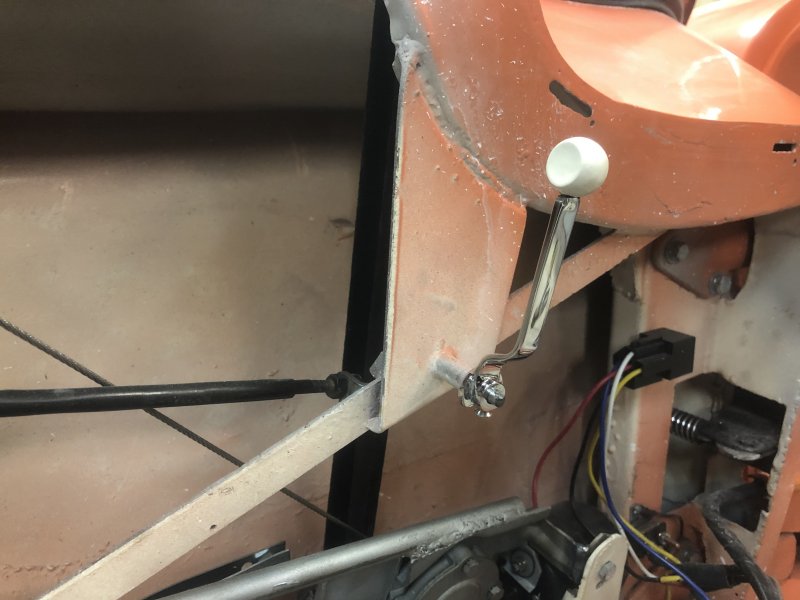
The new door panels will be a little tricky to install
because of the unique door opening levers
that have to be installed on the operating mechanism
before the panels are installed on the doors.
The panels will have to be turned at 90 degrees
and the lever inserted into a recess in the wood arm rest
and then the panel turned back into place
while massaging the lever into the small slot in the bezel.

Of course the knob will be installed after the door panel is in place.
The door panels have tabs
about every 10 inches around the perimeter
that insert into slots in the doors
and then there are screws around the perimeter of the doors
that get inserted into the tabs.
It will give a nice clean look on the interior.
Another quirk on this car is that the arm rests and garnish
are attached to the door panel
before the door panel gets attached to the door.
It all makes the installation a little tricky.
Every bit of this car has been tricky.
The XMTC was built for an expected short life
and it was never intended to be taken apart and reassembled.
If I get ahead of the game
I end up taking something apart
because another piece has to be installed before that one.
So it keeps me on my toes.
I have to get the door and quarter windows installed and operating
before I install the panels
but I'm taking a break from that now and will finish the dash.
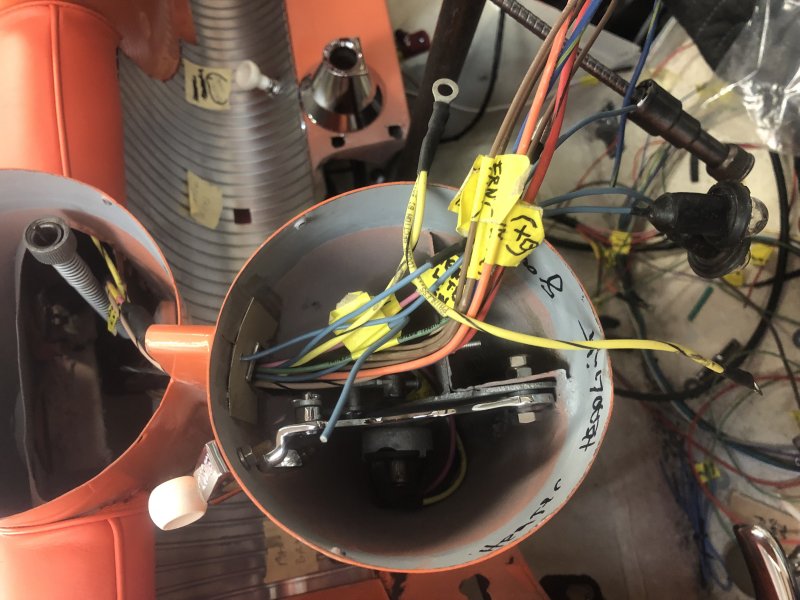
You may recall from an earlier update (March 2021)
that I restored all the gauge pods and have them ready to install.
I just had to solder the correct ends on the wires
sticking through the holes in the dash and attach them
to the gauges and control switches.
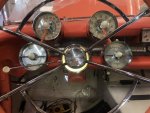
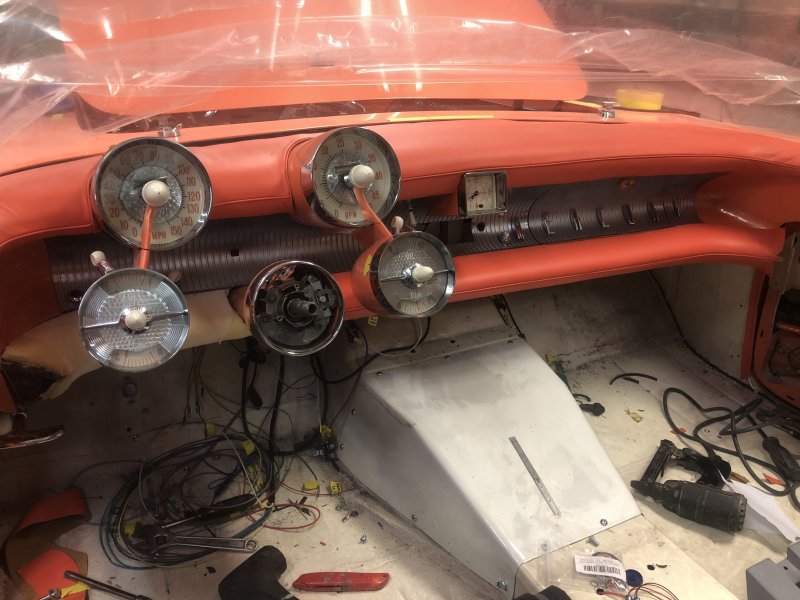
Along with the gauges the controls for the heat and fan
were installed reminding me of the person at Ghia
(The XMTC was built for Ford by carrozzeria Ghia in Turin Italy)
who engraved “VINTER” on the heat control bezel instead of “WINTER”.

The radio, clock and miscellaneous switches and lights
were also installed and connected to the appropriate wiring,
I hope.
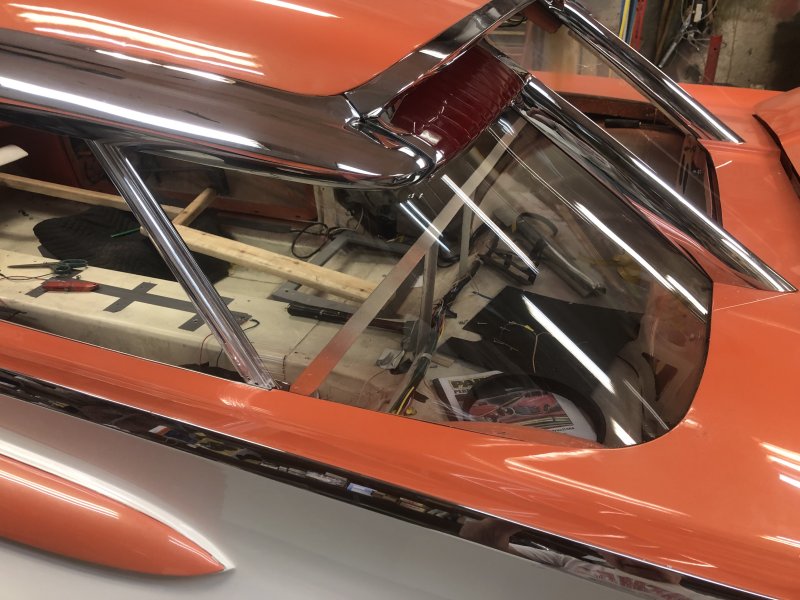
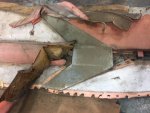
BUY STOCK IN PLEXIGLASS!
That's what I should have done
BEFORE I started on the Plexiglass rear windows and butterfly windows.
As I mentioned more than once,
everything has to be done in order on this car.
Before I can install the quarter windows
the Plexiglass rear windows have to be installed.
Although I have the original corner Plexiglass windows
you can imagine what 60+ year old plexiglass looks like.
There is no salvaging it so new ones need to be made.
Back in the September 2020 update I showed you an oven
I built large enough to hold the biggest pieces of Plexiglass
I needed to work with for this project.
That would be the butterflys which I'll show you in a bit.
Back to the corner windows.
I used the originals to make both male and female
plaster molds for forming the new windows.
After several failed attempts I found that 265 degrees
for twelve minutes worked best.
I heated the Plexiglass in my oven
and when I removed it it was limp like a piece of cloth.
I draped it over the male mold
and set the female mold over it to keep it from curling on the edges
as it cooled.
Once it cooled, with a little trimming with the angle grinder
I had perfectly formed rear corner windows.

The center section at the rear is slightly concave
but with a couple screws, shims and interior trim
it installed perfectly without having to heat it.
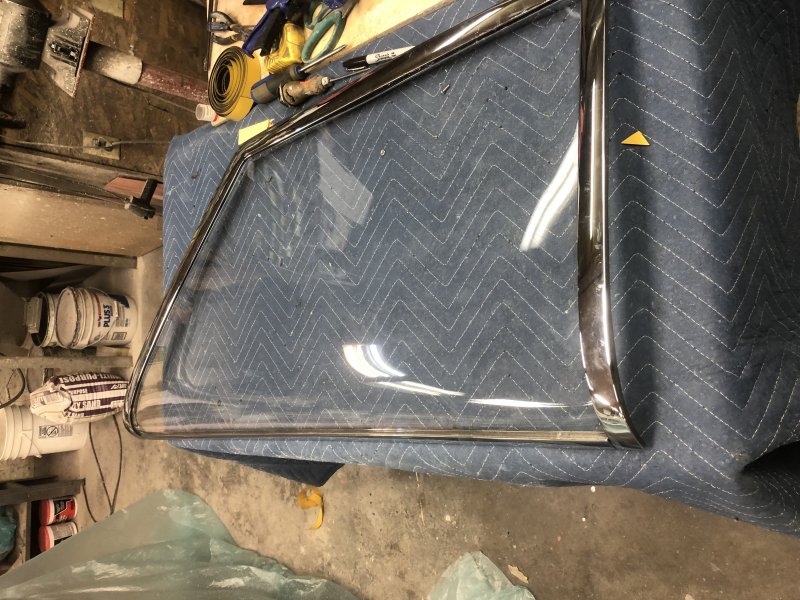
From here as long as I had the oven in the shop
I decided to make the butterfly windows
and be done with the Plexiglass fabricating.
One of the previous owners had a plaster male mold
made for the butterflys and on that I made a female counterpart.
From here the process was the same as on the corner windows.
In re-reading the above the process sounds simple enough
but I have a pile of bent up Plexiglass that proves quite differently.
That's why I should have bought stock in Plexiglass
before I started this part of the restoration!
I'm now complete with the Plexiglass windows
and can move on to the door and quarter window installation and adjusting.


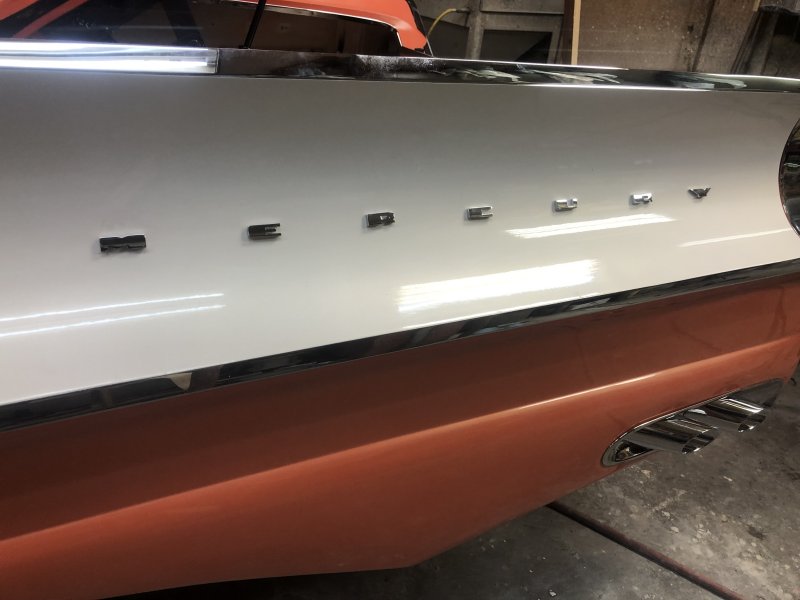
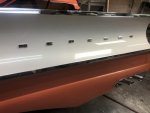
MORE ON THE EXTERIOR
Last time
you saw that I had installed the pearlescent white cove panels
on the quarters of the car.
Here is a picture with the MERCURY letters installed.
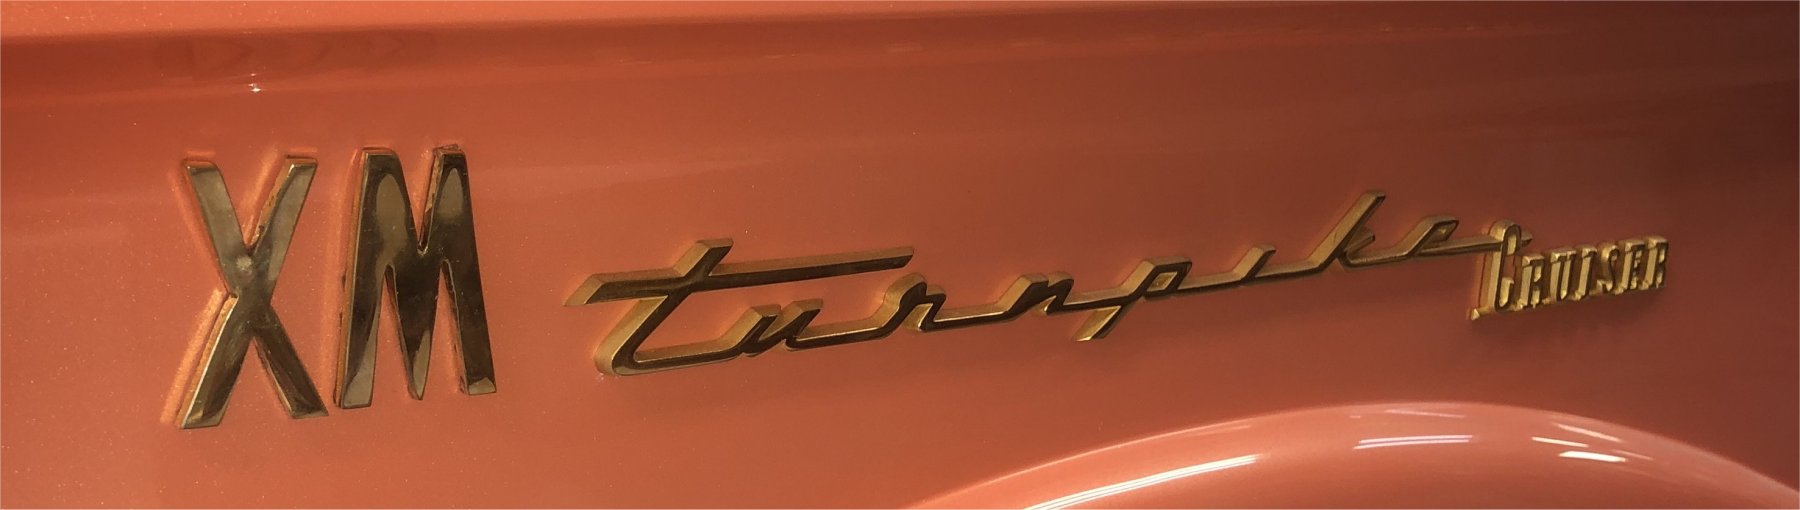
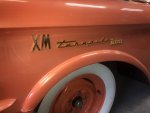
And I also made the large “XM's”
that appeared early on ahead of the “Turnpike Cruiser” script on the front fenders
and installed them with double faced tape.
I didn't want to drill any holes because there were none there from the original XM's
so I figure They must have had them taped or glued on originally too.
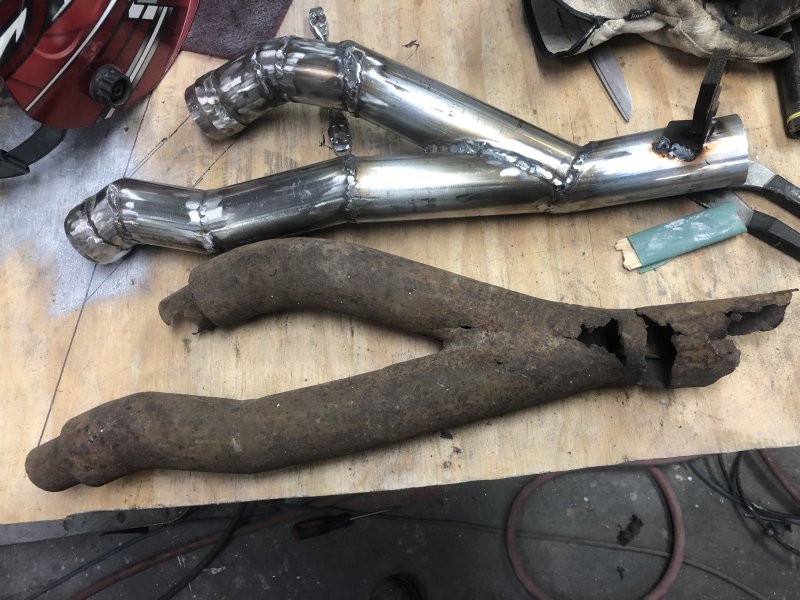
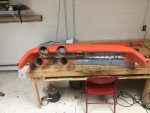
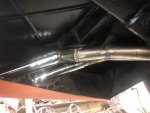
This was EXHAUSTING
Another fun little project was making the splitters
where the exhaust pipes from each side of the engine
split into two and attach to the outlets in the lower quarter panels.
I had one original left side piece that was rusted beyond use
except as a pattern which I used to make the new ones.
It took a while to make the first one (left side)
but The right side was a mirror image of the left and went much better.
They are both installed now.
I'll have a local exhaust shop complete the exhaust system
as the rest of it it fairly straight forward.

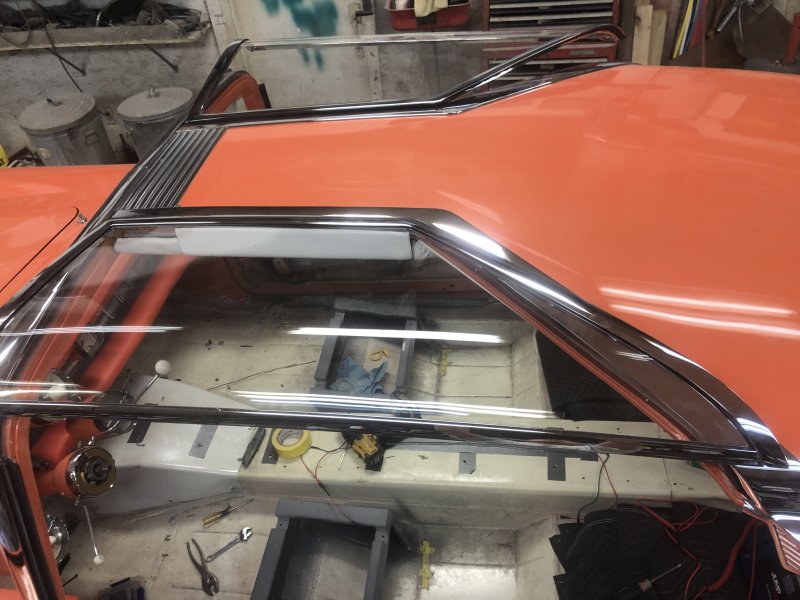
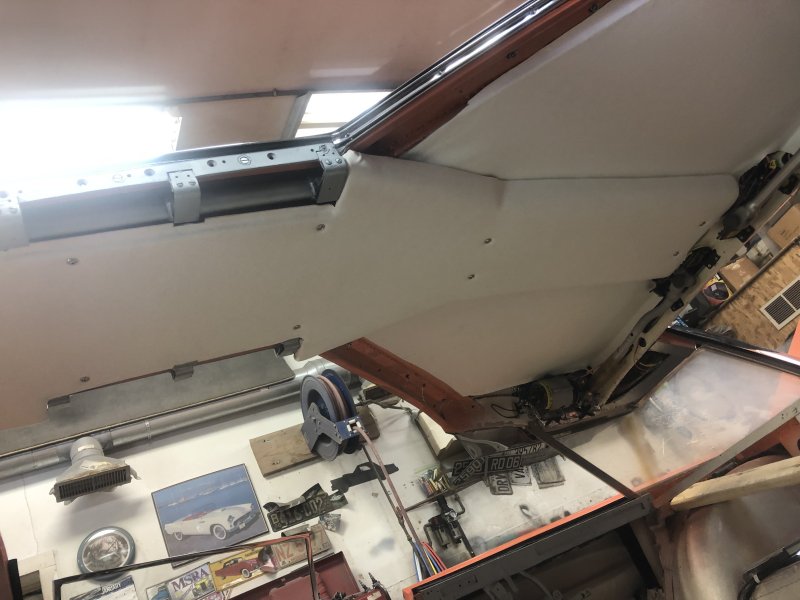
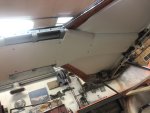
LOOKING UP
I'll finish this update with a picture of the ceiling
with a couple panels in place covering the butterfly mechanisms.
I still have a little to finish in the back
but this gives you an idea of how the finished headliner will look.
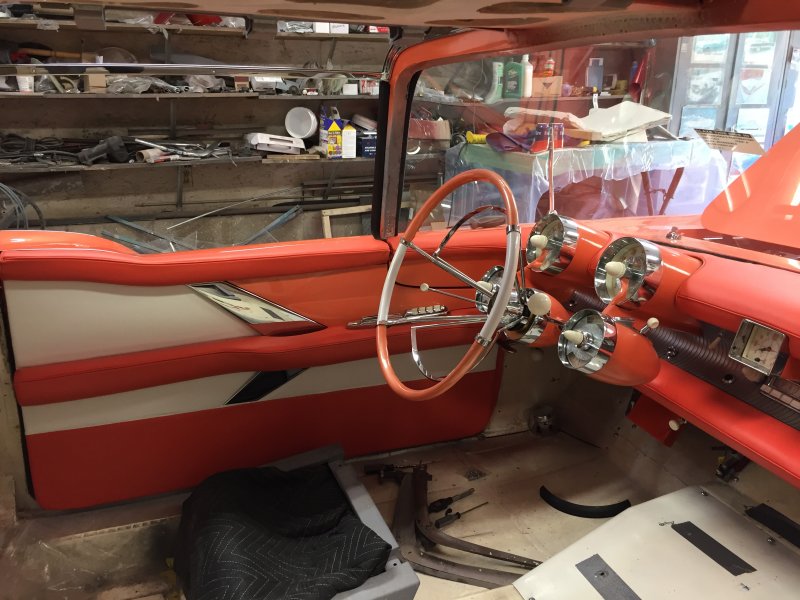
And also here is a sneak preview of the interior
which will be installed in the next two weeks.

Thanks again for your interest and watch for the completion of this restoration coming very soon!
Back to the Restoration index
Back to main page