Restoration update as of August 15, 2019
|
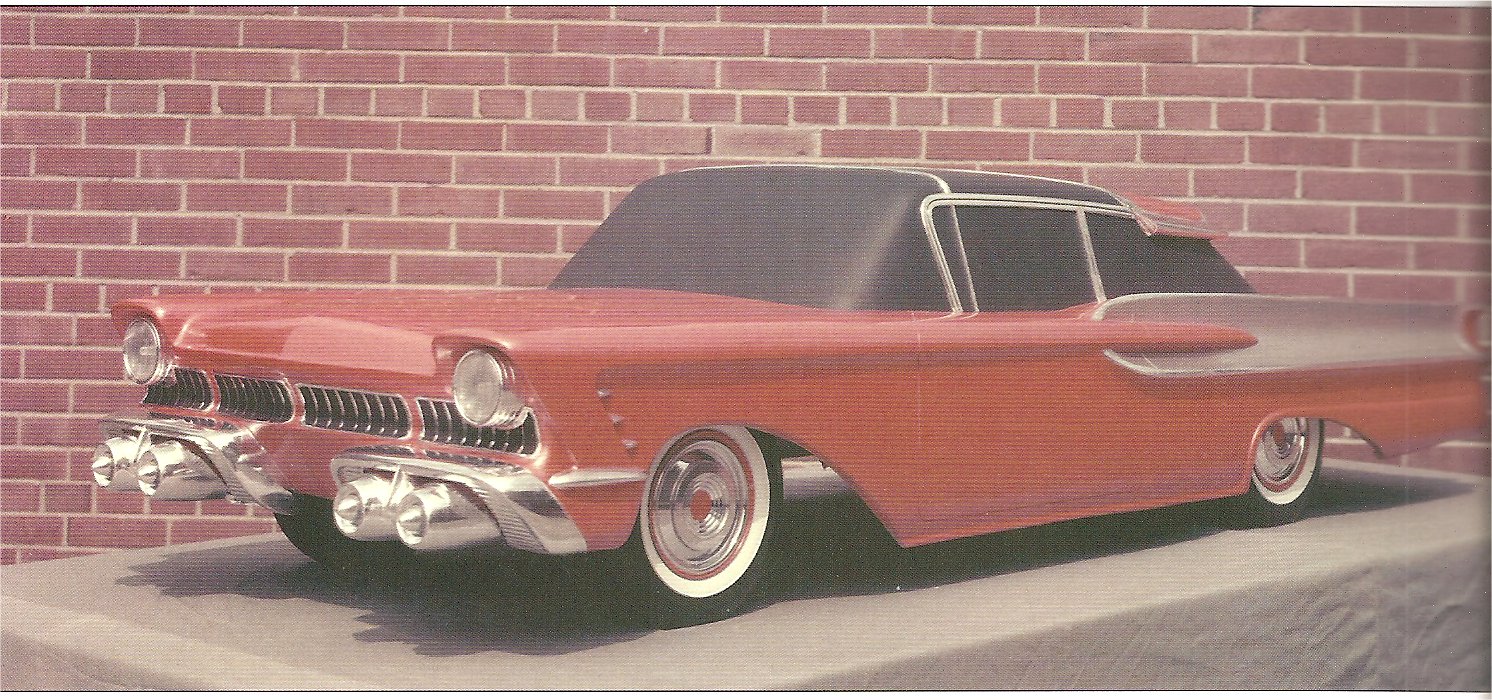
I want to start this update showing you some of the differences in the actual construction of the car that Ghia in Italy took upon themselves to do compared to how Ford wanted the car built and the model they sent them. The photo above is of that model. In this photo of the clay model that Ford sent to Ghia to have the XM Turnpike Cruiser built notice the vent window that is notched into the windshield. To Fords dismay Ghia ignored that detail and eliminated the vent window and continued the windshield down the A pillar as shown in the next photo of the actual car. 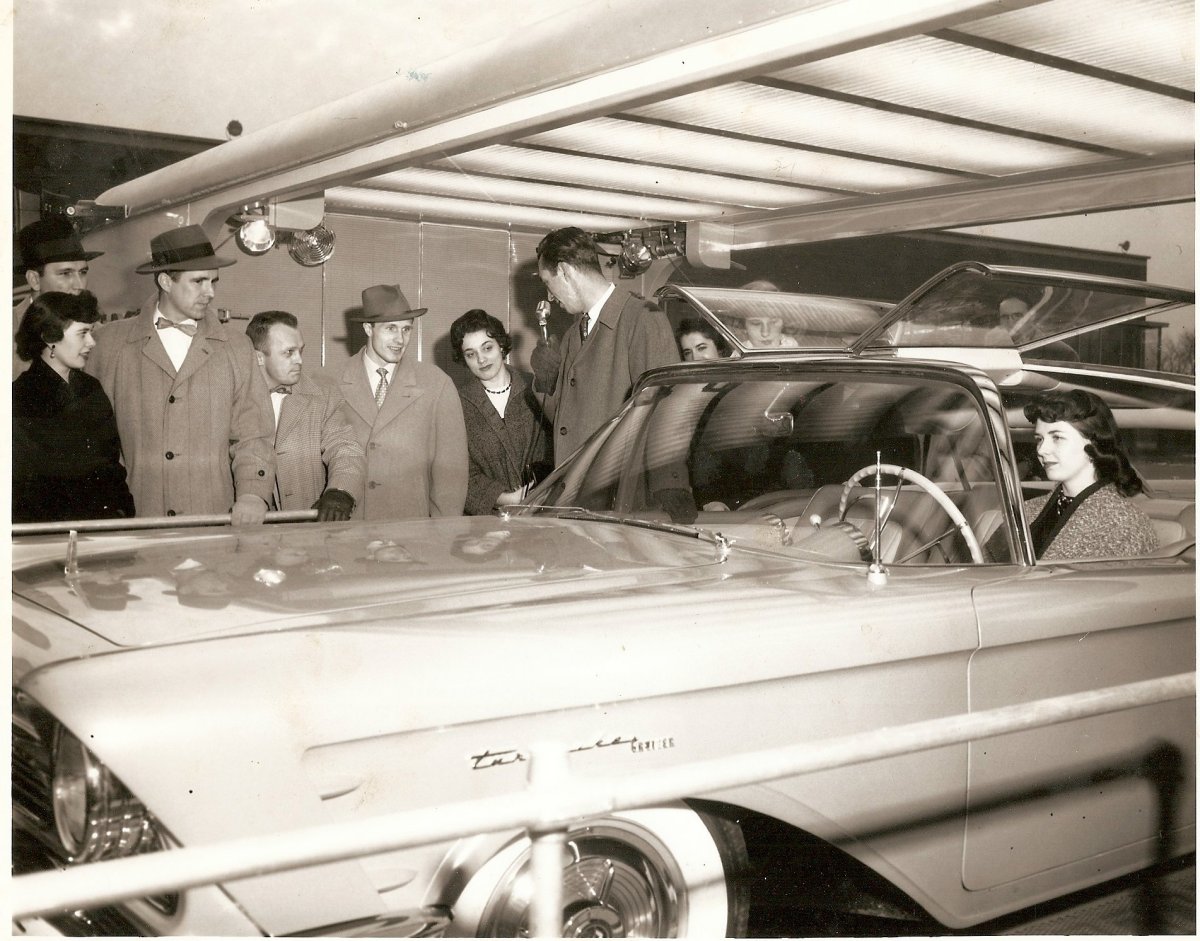
You can also see in this photo that the "gills" in the side of the fenders are painted instead of being chrome as shown on the model. In this next photo notice that the front bumper returns down the side of the car to the wheel opening, but again if you look at the picture of the model Ford wanted built the bumper ends at the corner and a small chrome trim adorns the side between the bumper and wheel opening. 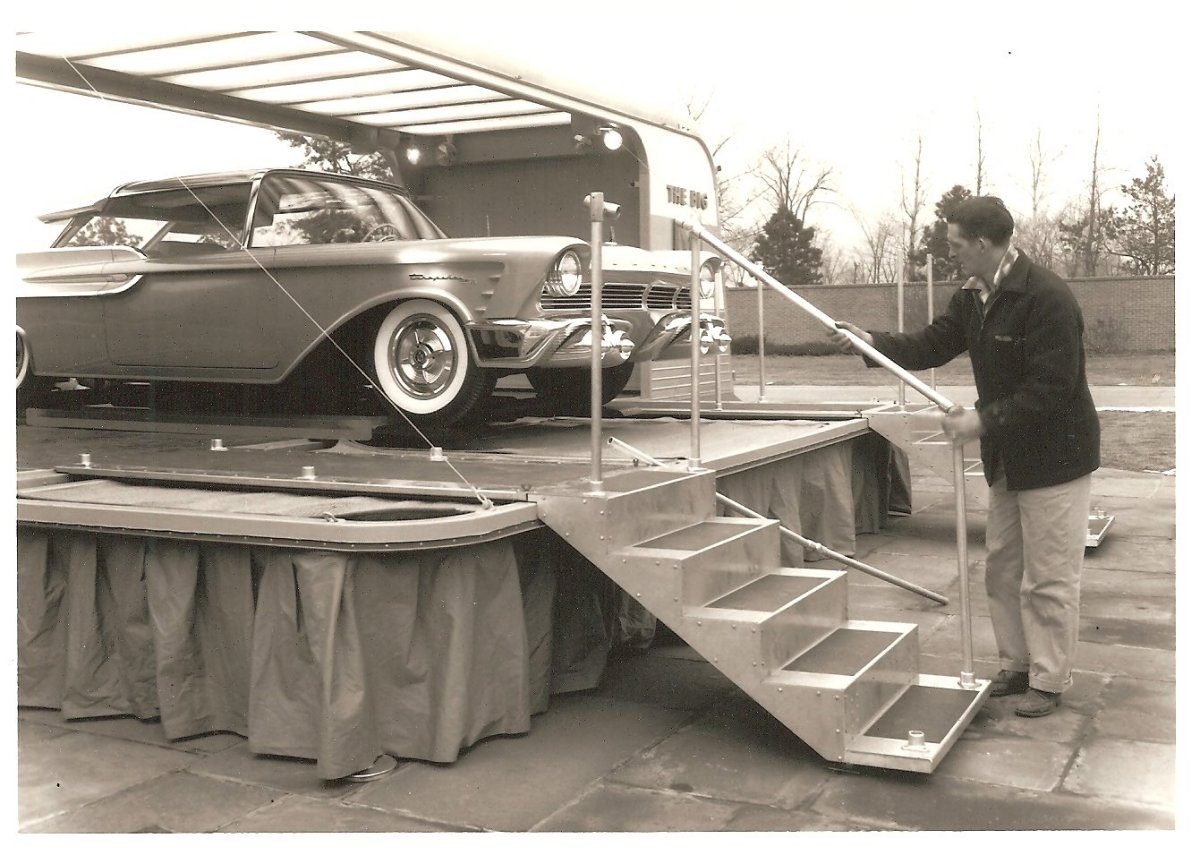
Another difference I've noted is that the slats in the grill inserts are actually horizontal and in the model they are shown vertical. 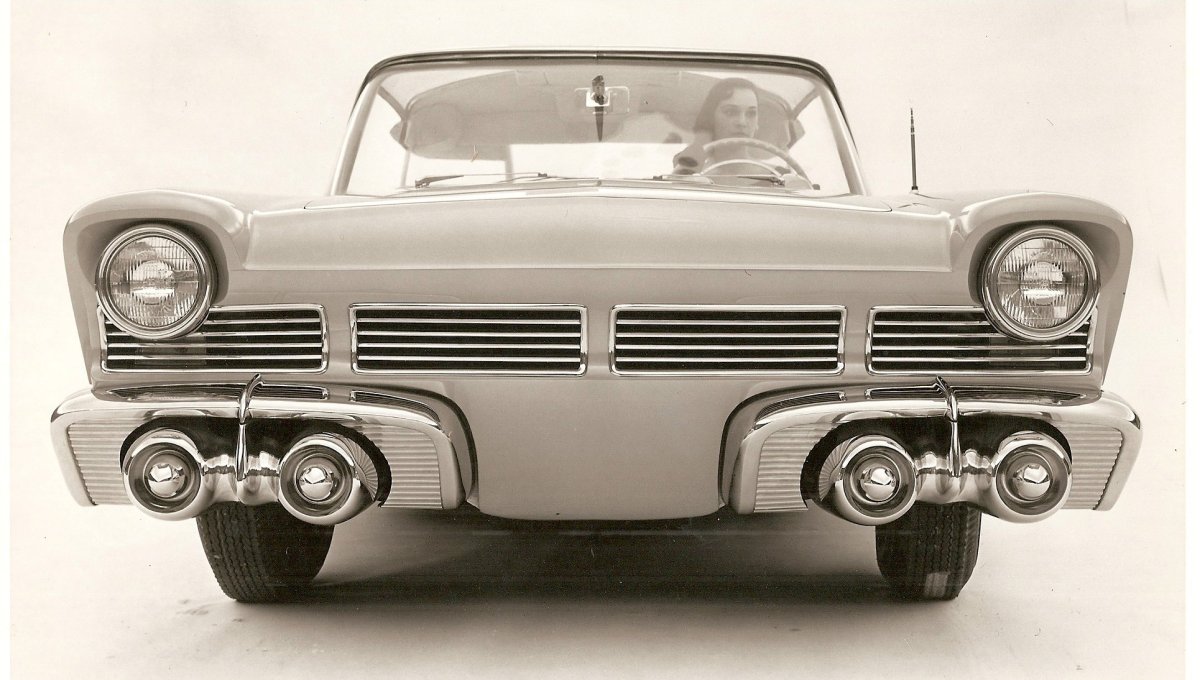
As written by Jim Farrel in his book "Ford Design Department Concept & Showcars "V.Z. Brink who was the Ford Styling Center Administrator wrote a report regarding the unauthorized changes Ghia made stating that "when future cars were built at Ghia, two and possibly three visits be made to make sure what Ghia was building was being done the way the Styling Center wanted"" As I mentioned in an earlier update, when The XMTC first arrive in the USA it was devoid of any identifying emblems. Ford was trying a couple different ideas on how they wanted it presented. Early photos show quite large "MERCURY" letters in the coves of the quarter panels and eventually they settled on the much smaller letters which I’ll be installing when I get that far. Here are a couple pictures showing the different letters: 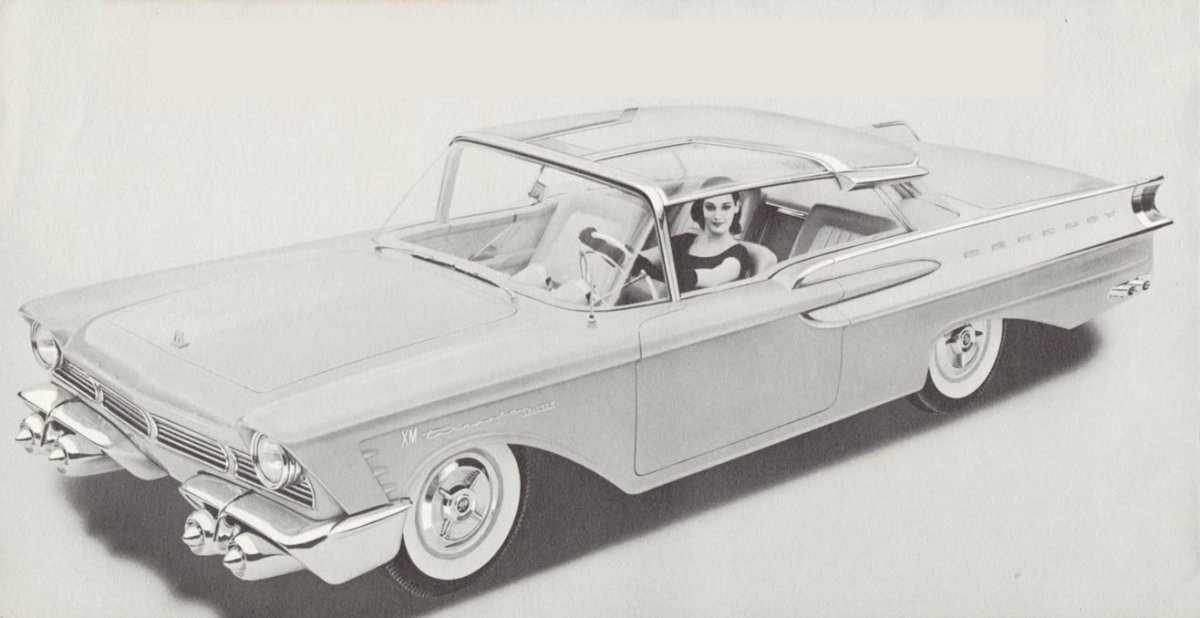
In the above photo they also have a large "XM" preceding the "Turnpike Cruiser" script on the front fenders. The "XM" was later removed leaving only the "Turnpike Cruiser" script. I've been trying to decide if I should fabricate the "XM" letters and put them back on the car, what do you think? 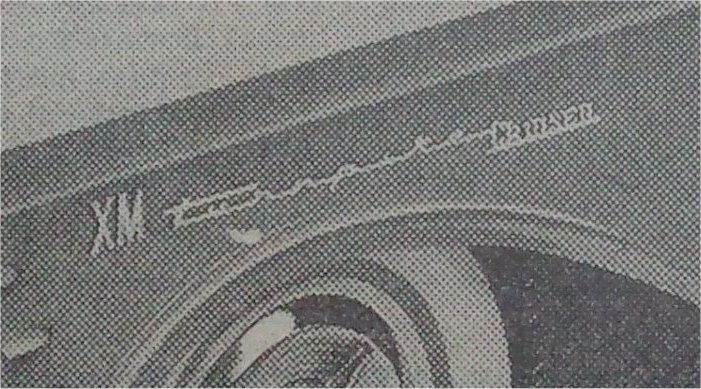 Here are a couple pictures of the original interior. It's all leather including the headliner. 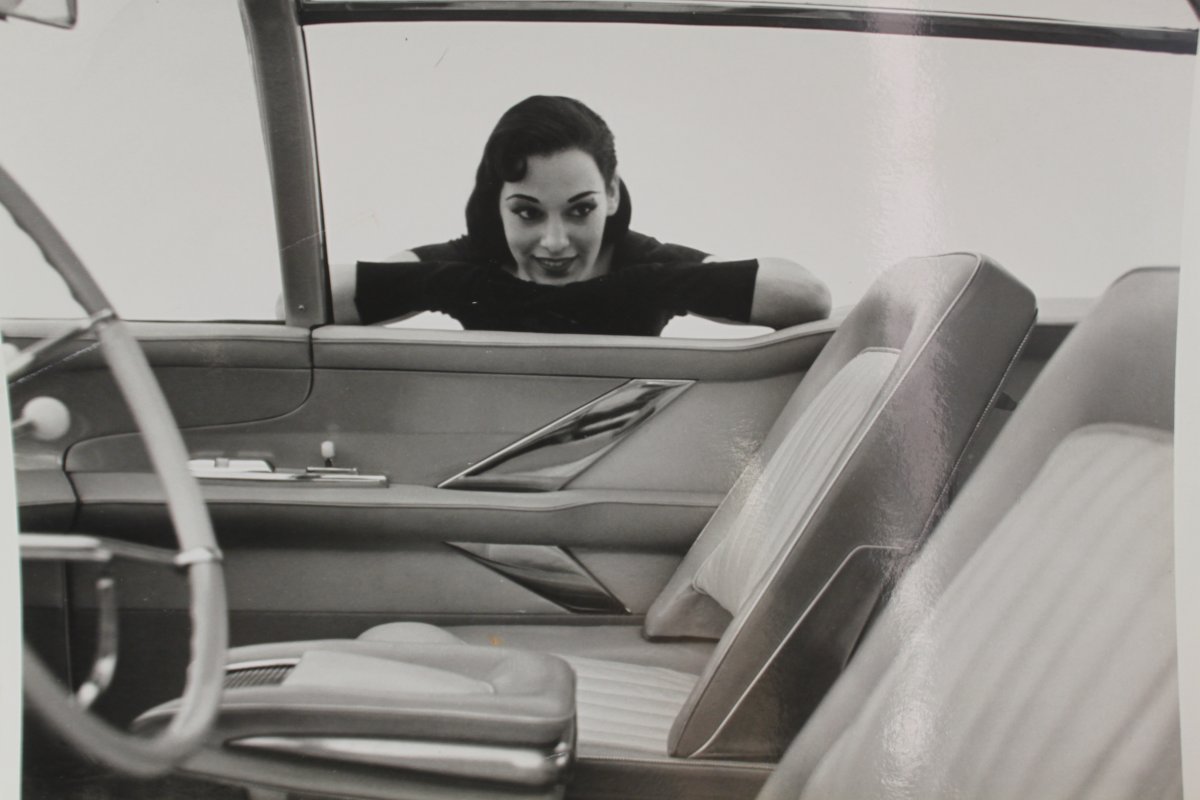 
This next photo is the back of the front passenger seat to give you an idea of the condition of the interior. It's pretty much like the rest of the car was. At this point I was removing the metal grab bar and finger cup to send them in for chrome plating. 
Here is one of the arm rests on the center console. There is one in the rear seat and also the front and they both have ash trays with sliding lids on them. Inside is also a cigarette lighter in each. Here again I was removing the ash tray the get new chrome plating. 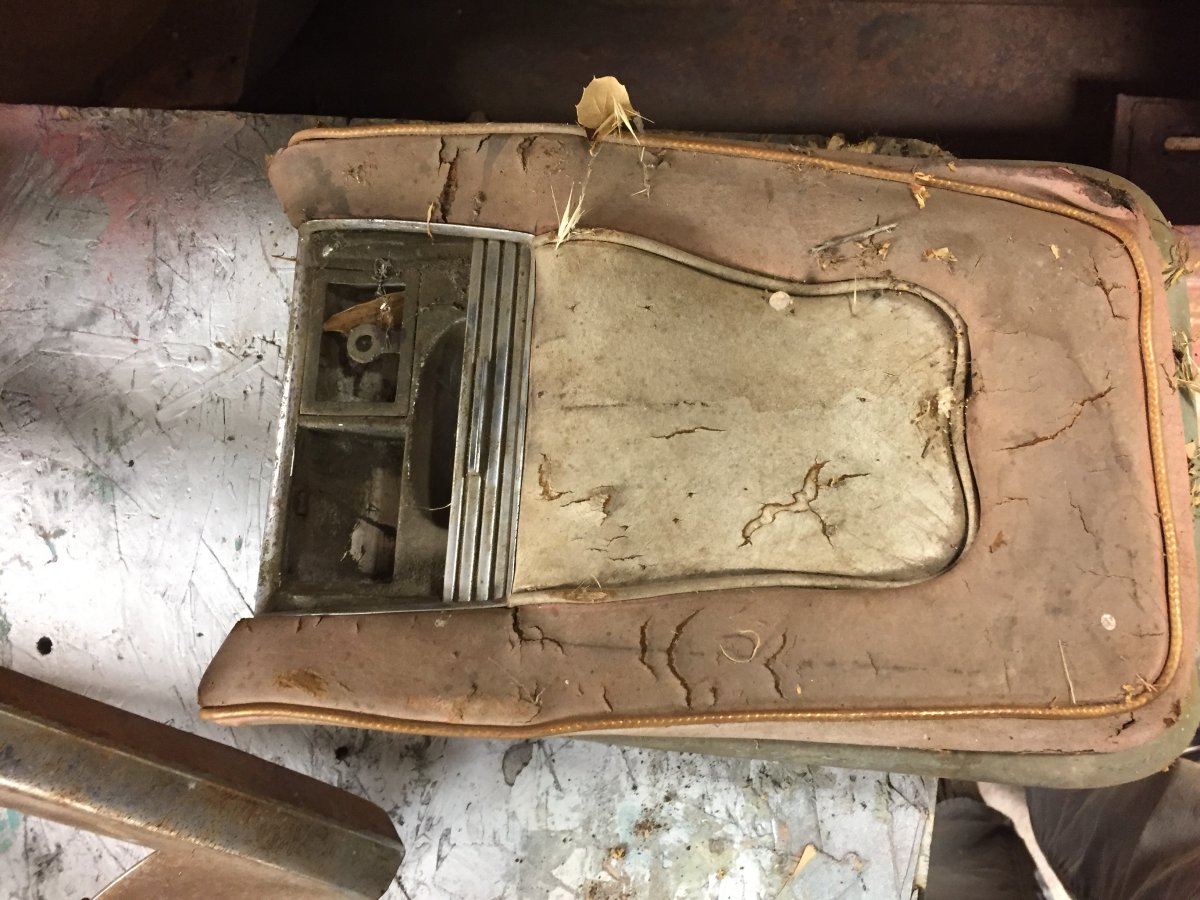
I like to plan ahead so when I need a break from one part of the restoration I can do something different for a change of pace for a few days. It all has to get done anyway so why not mix it up to break the monotony. Here is the new leather I purchased for the entire interior along with the piping that trims the seats. There is white piping around the white seat inserts and gold piping between the orange panels. One day I'll sandblast and paint the seat frames and build new foam and sew up new seat covers. It's fun to see what different parts of the car will look like as it comes together. 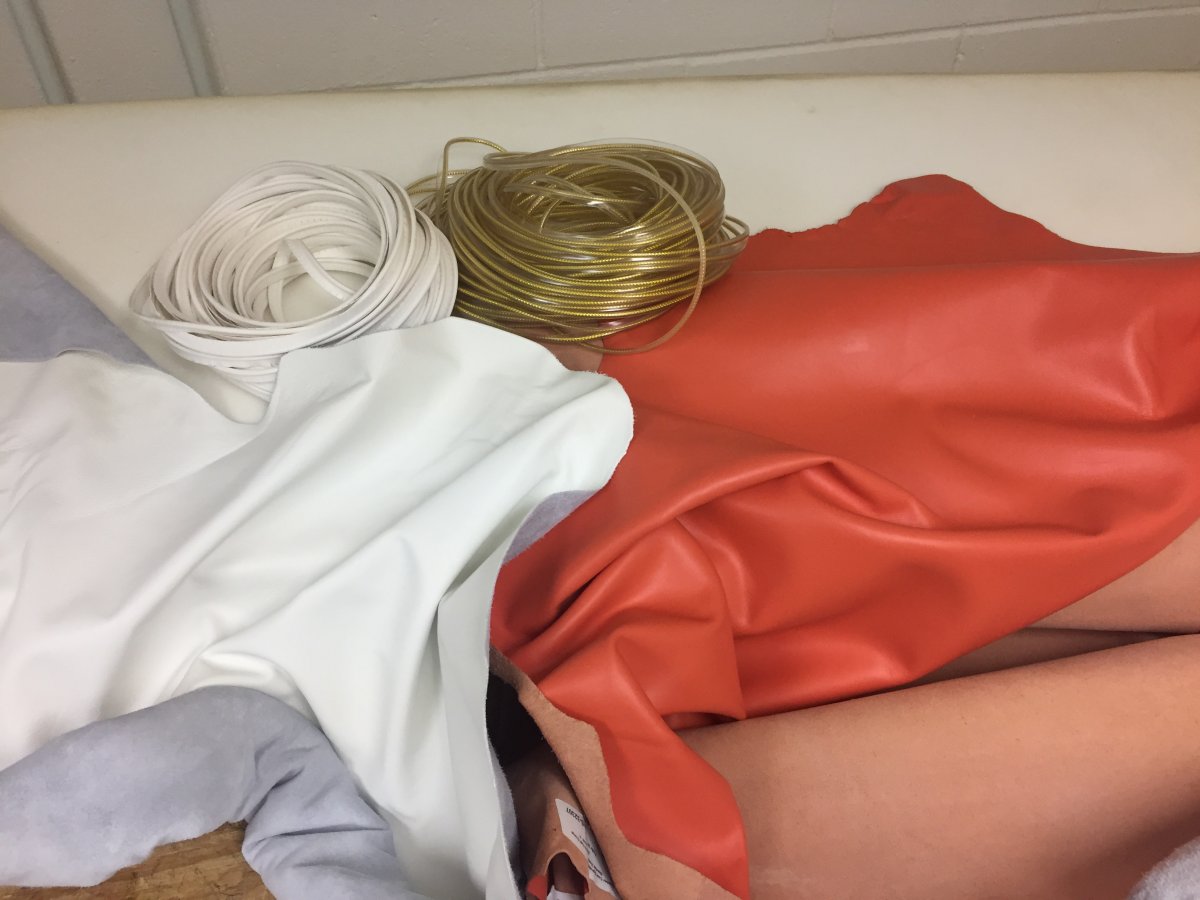
The other day I took a break from cutting and patching rusty steel for a couple days and sandblasted, primed and painted the wheels and then mounted the new tires. They turned out beautiful so I knocked one of the old hubcaps on and took a picture for your viewing pleasure. I have a set of NOS wheel covers and spinners for the finished product. The tires are 760X15 bias ply wide whites from Coker Classic Tires. 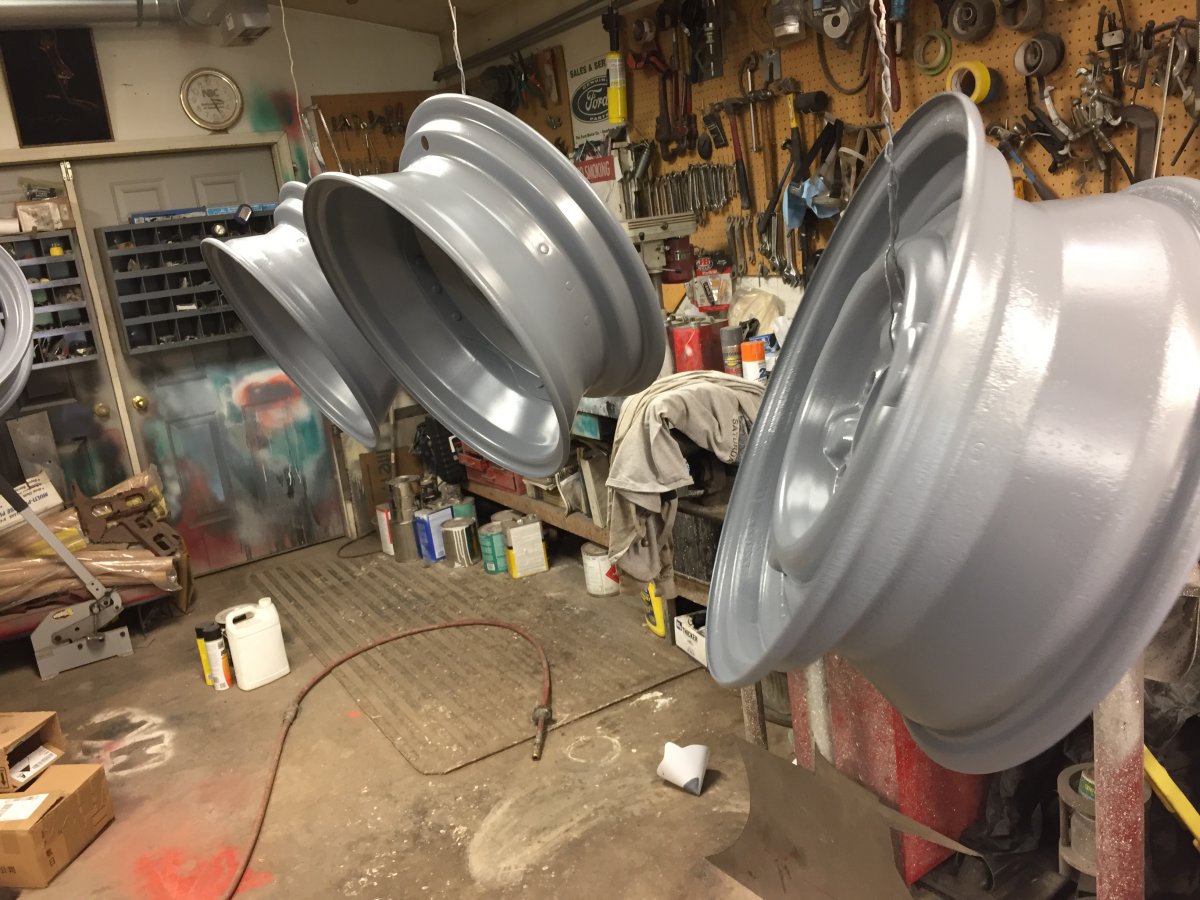 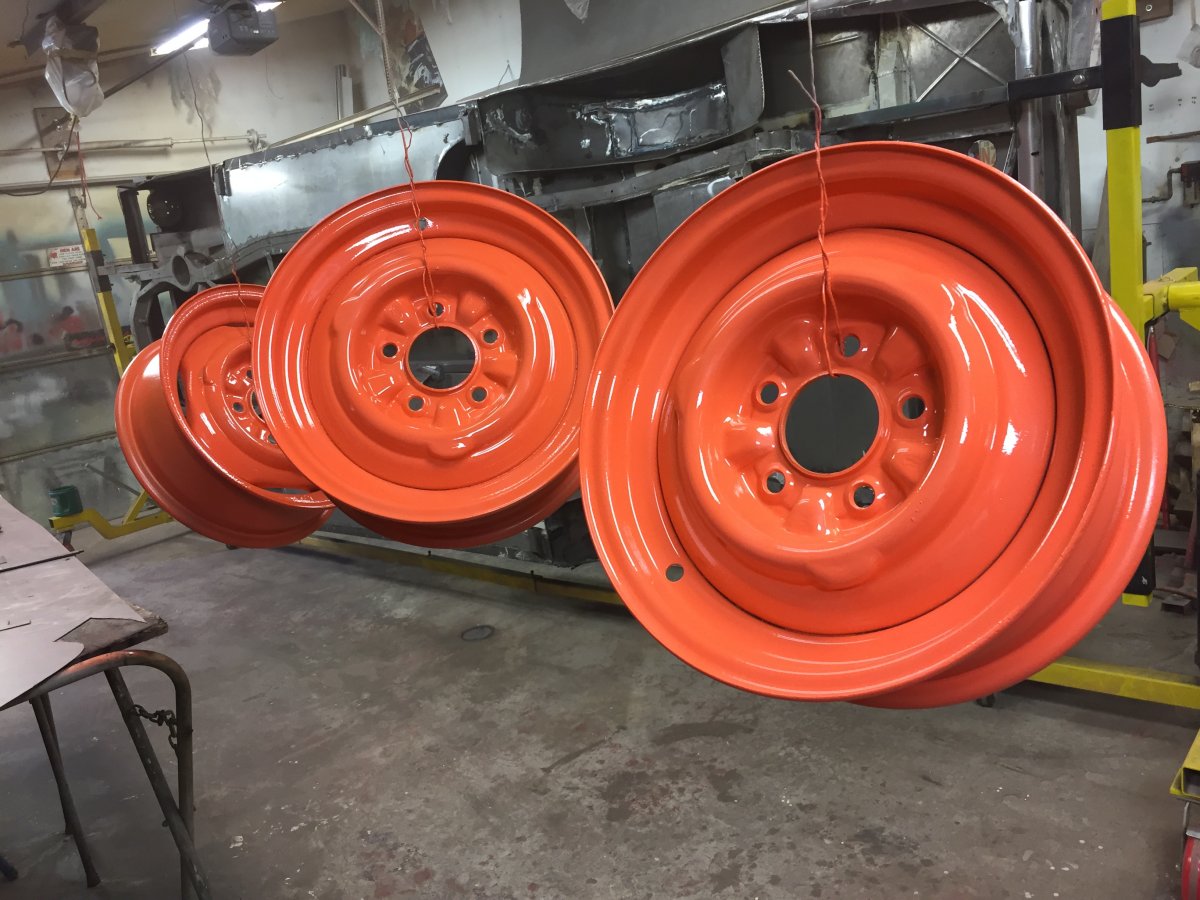 
As I mentioned I like to think ahead so I also recently ordered and received all of the new suspension parts for the car from Concours Parts. The parts include brake cylinders, brake hoses, U bolts for the leaf springs, different body bumpers, ball joints and tie rod ends and rebuild kits for the transmission, steering gear box , power steering pump, and everything else I could think that I would need as the restoration progresses. 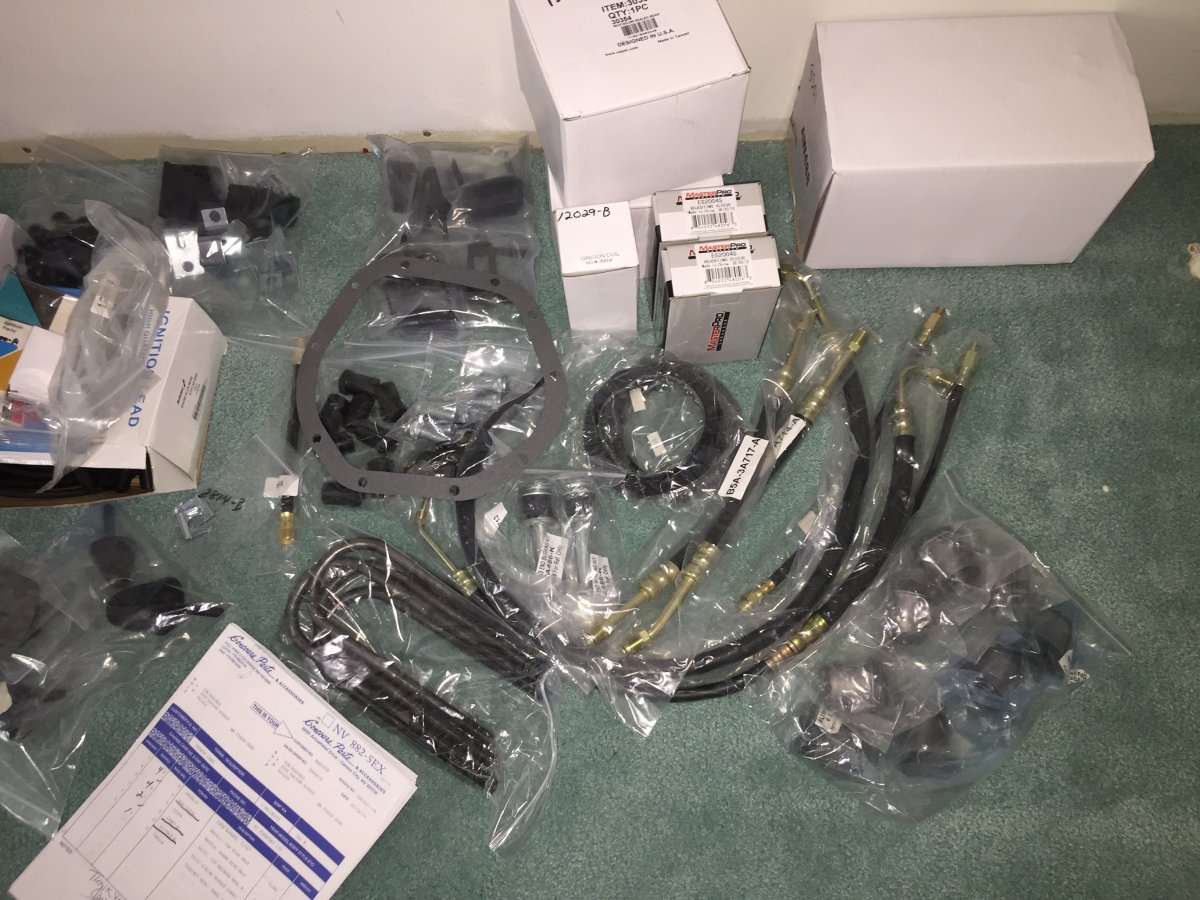
And yes, I have been working on the body of the car and it's progressing nicely. I have the rear end of the car rebuilt from about one inch above the license plate recess down. All of the trim and the bumper have been on to make sure they fit properly. 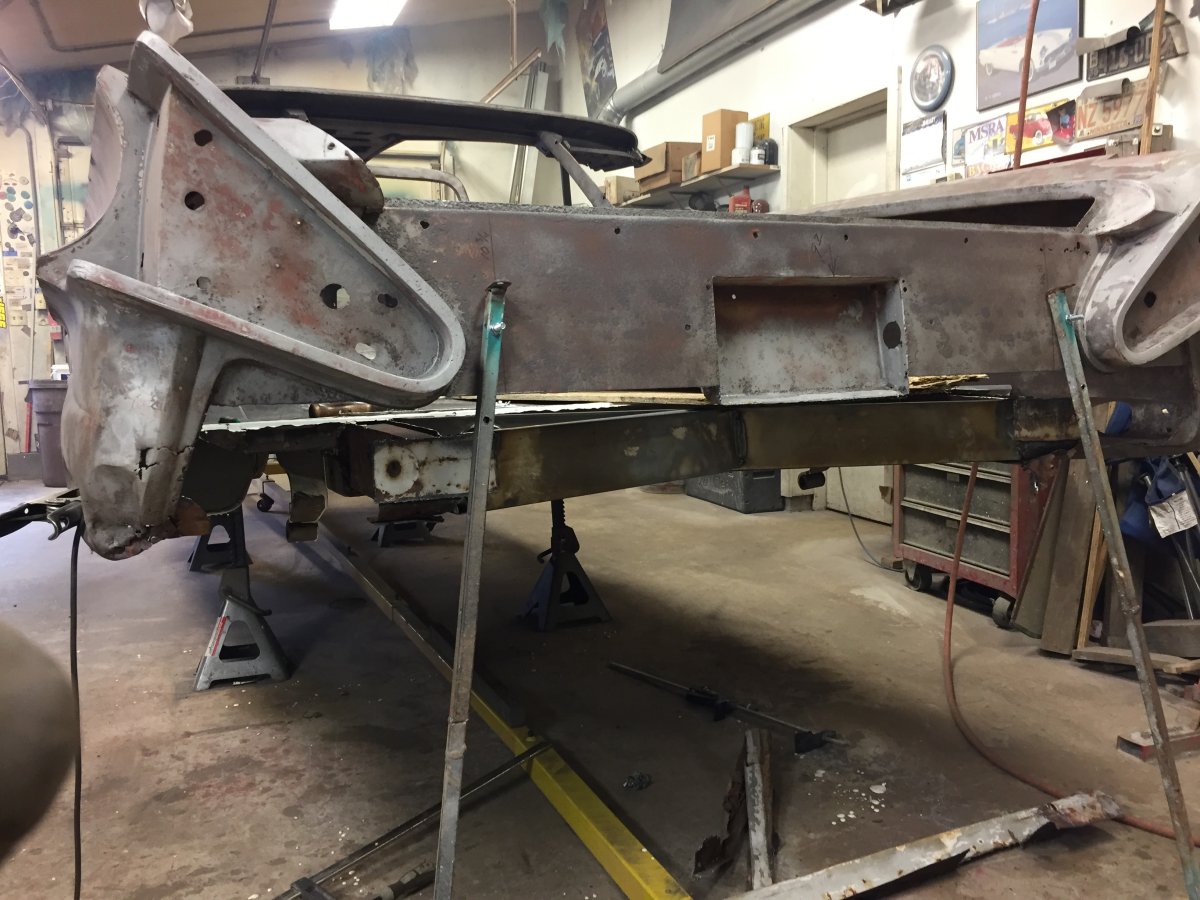 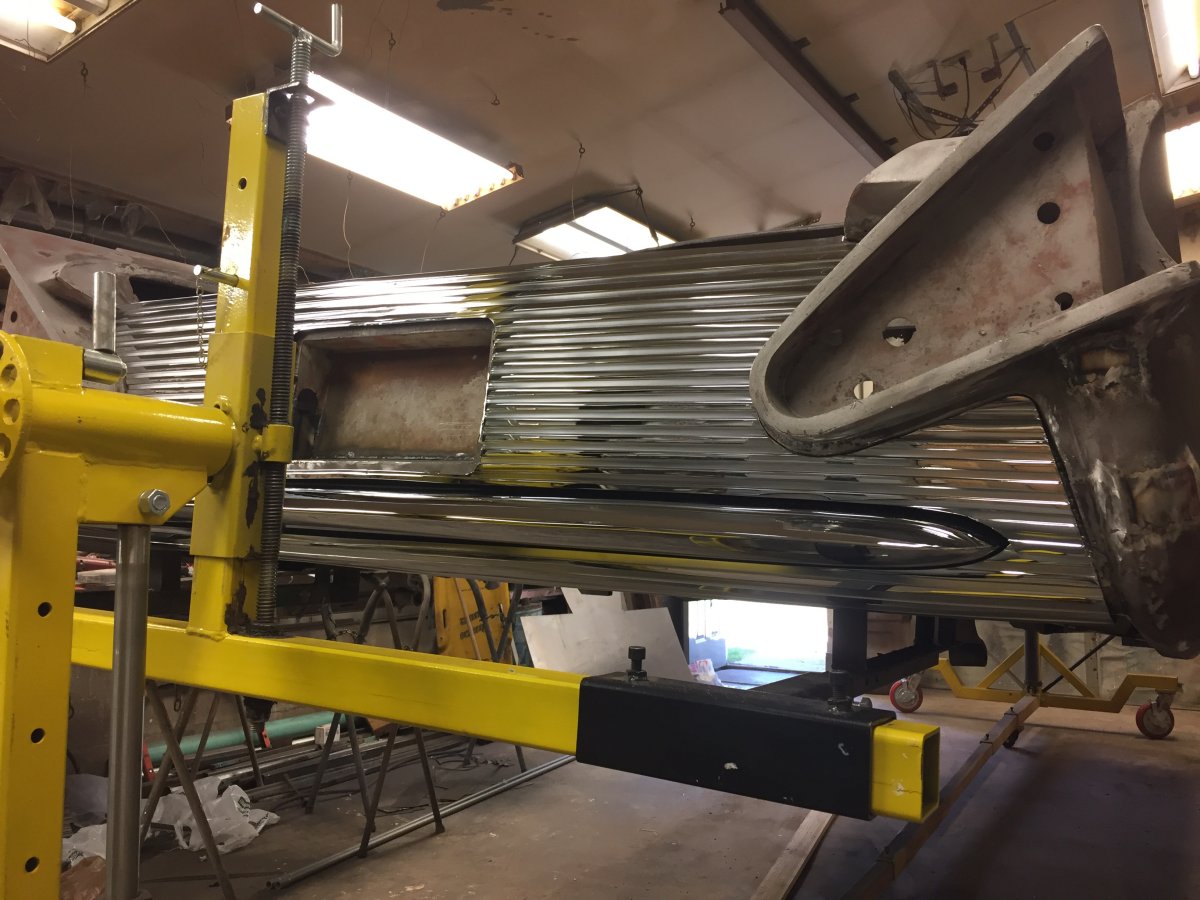
The lower part of the rear quarters was also pretty rusty and they are rebuilt as well and here is a shot with the newly plated exhaust outlet in place for fitting. There is one on each side of the car and yes, they are functional. 
The repair work is complete on the rear of the car as well as both sides with the exception of the passenger door opening. The chrome shop (AIH Chrome Plating) just finished lot of the parts including the main part of the front bumpers so I rebuilt the lower part of the front roll pan between the bumpers and hung the bumper pods on to verify fitment. This is interesting so I'll share it with you, I received the following text from John at AIH Chrome : "It's been really cool seeing how these parts were made and having the pleasure to be a part of something this cool. Been at AIH for 19 years doing classic car stuff for 15. This ranks at the top! Couple Packard's and Cadillac's came close but this takes the cake! Thanks for choosing us to do the work" Let me tell you, Johns workmanship is IMPECCABLE! In this next photo the car is upside down for easier access repairing the roll pan. I braced it below at the spring towers and removed the rotisserie brackets so I could hang the bumpers in place. Note the new sheet metal on the roll pan between the bumpers. 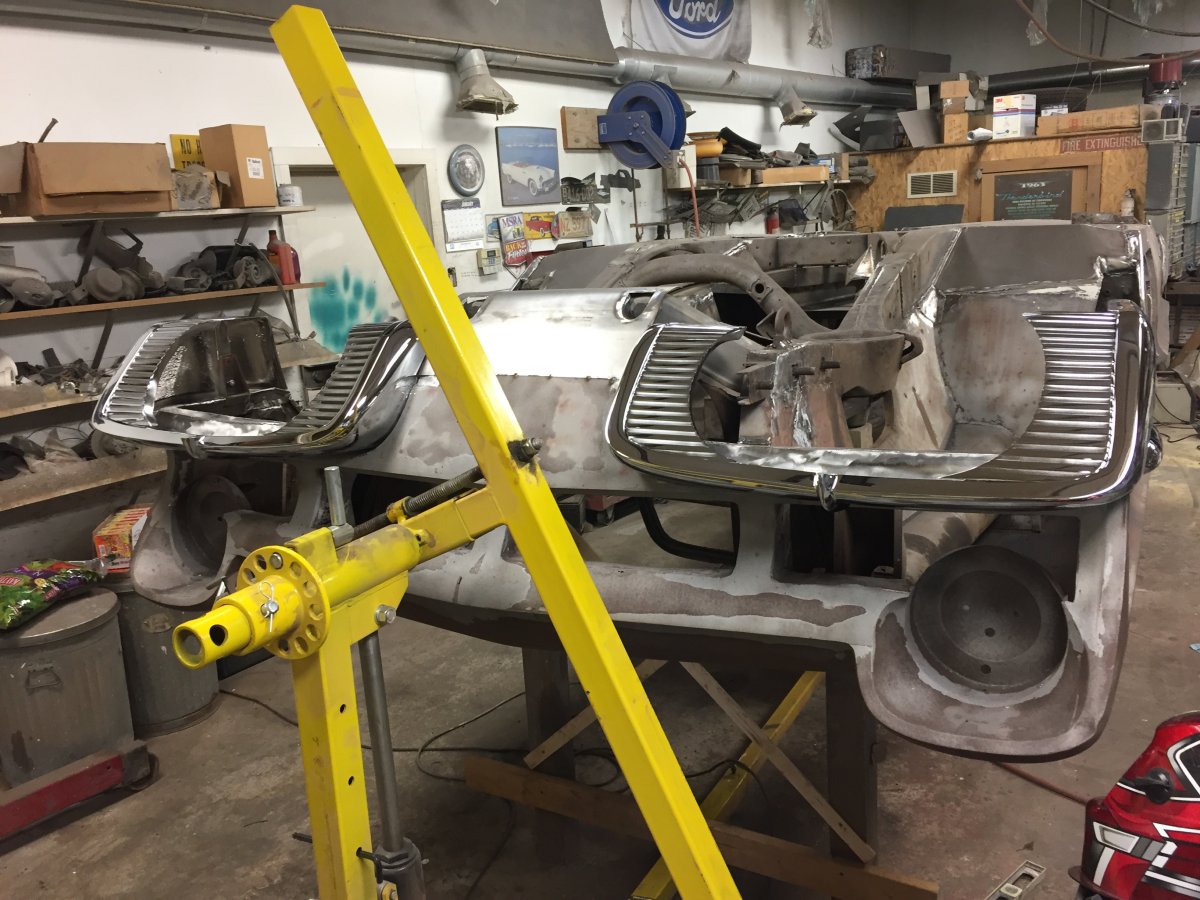
I had extensive reconstruction to do to the "A" and "B" pillars on the drivers side and still have to do about the same on the passenger side. Here is a series of photos showing the process: This is inside the "A" pillar at the lower door hinge mounting pocket. You can see it's severely rusted inside. 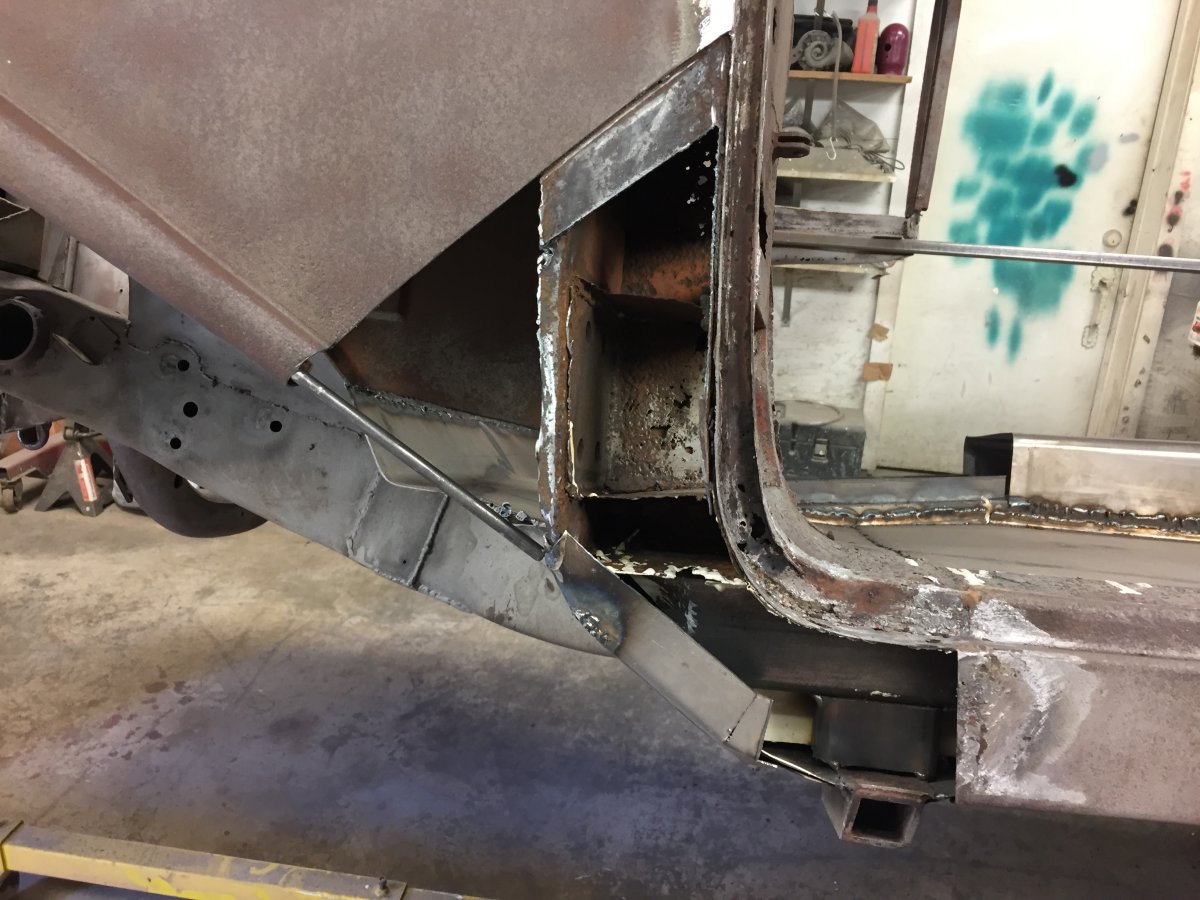
This is a close up of the same area 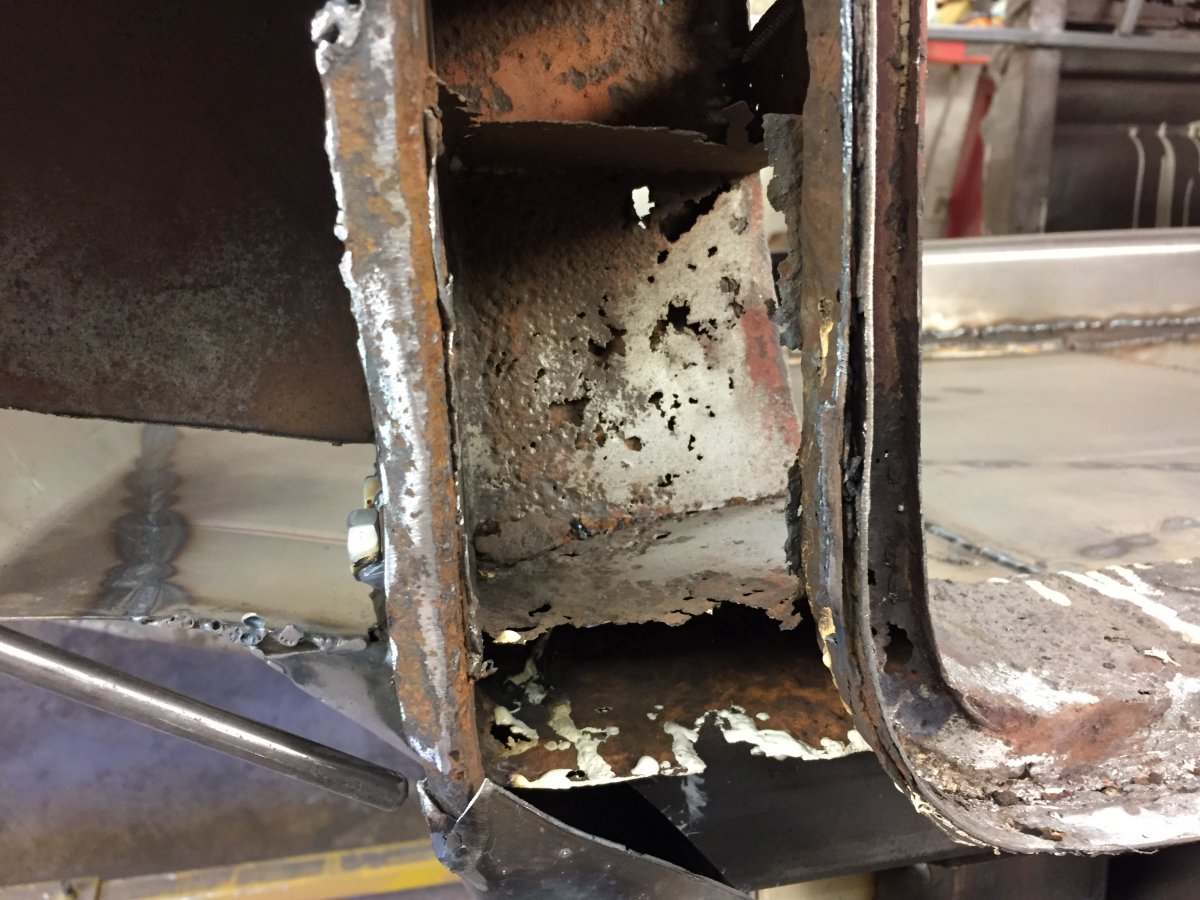
Looking inside through the hinge pocket 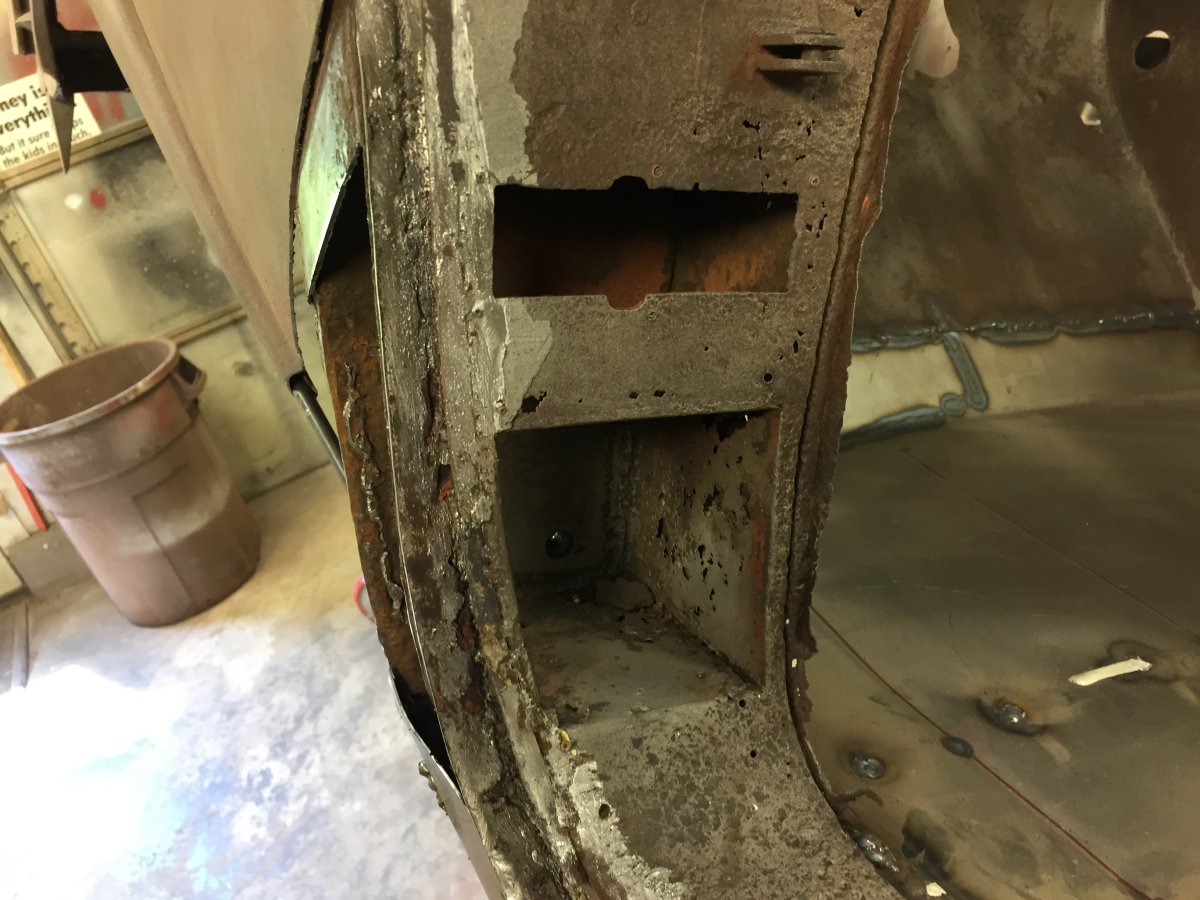 New metal fitted waiting for welding 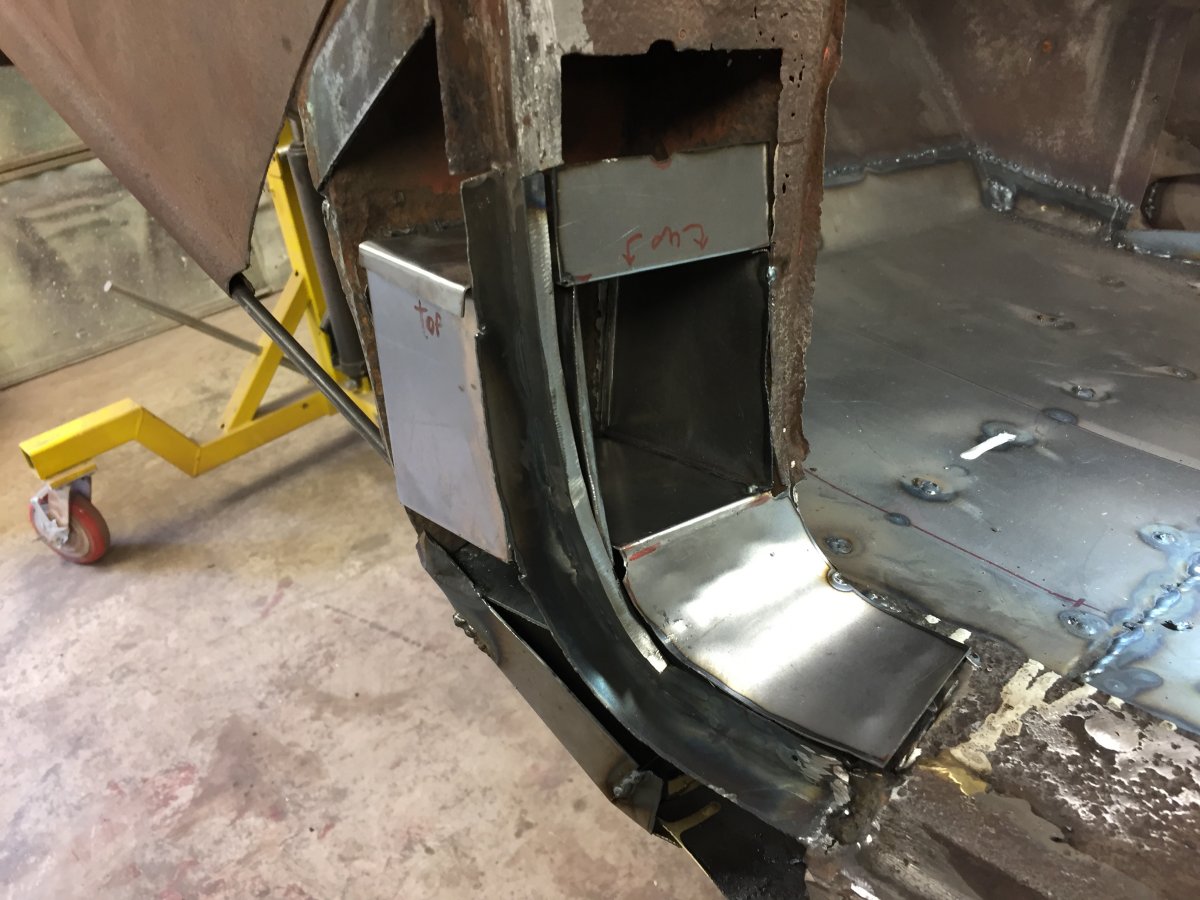 All back together 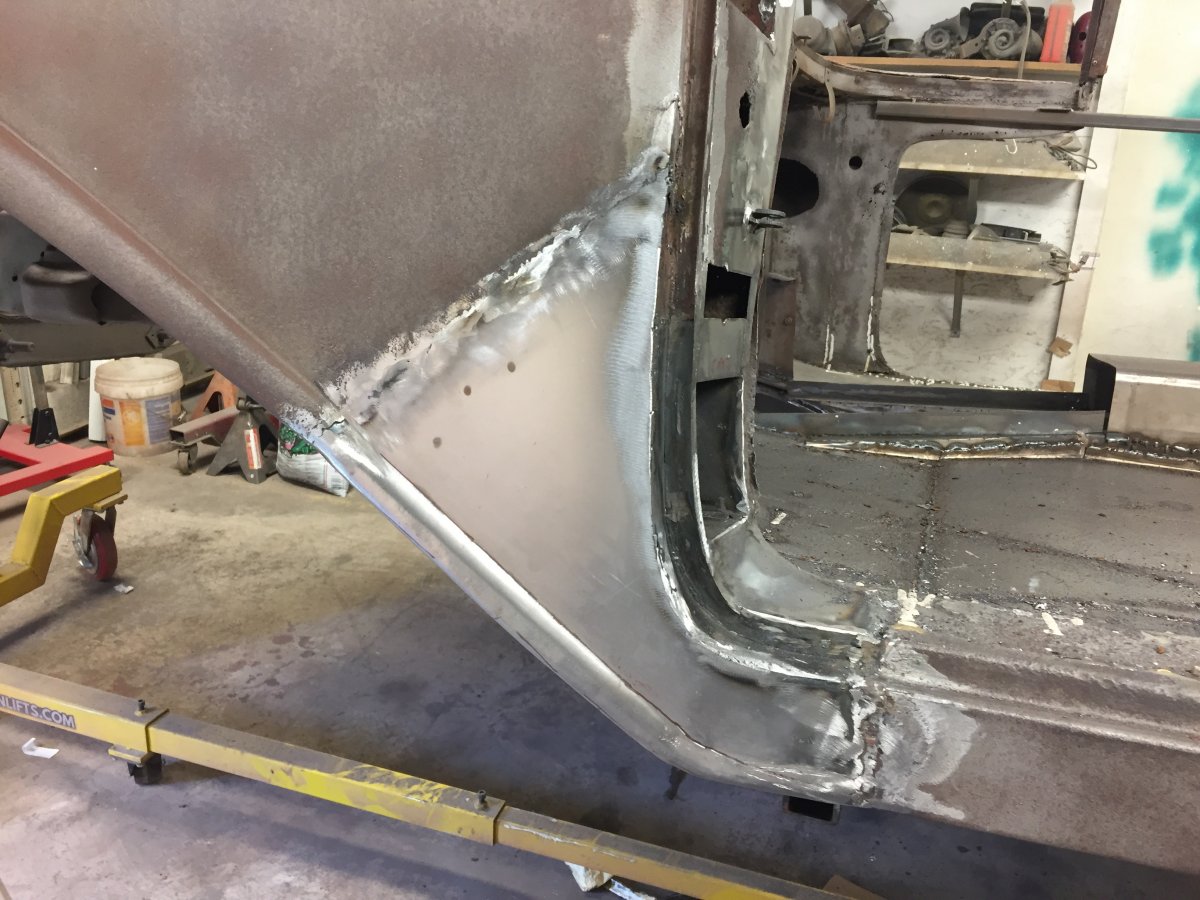 This is the driver side "B" pillar with the newly plated chrome cover in place. 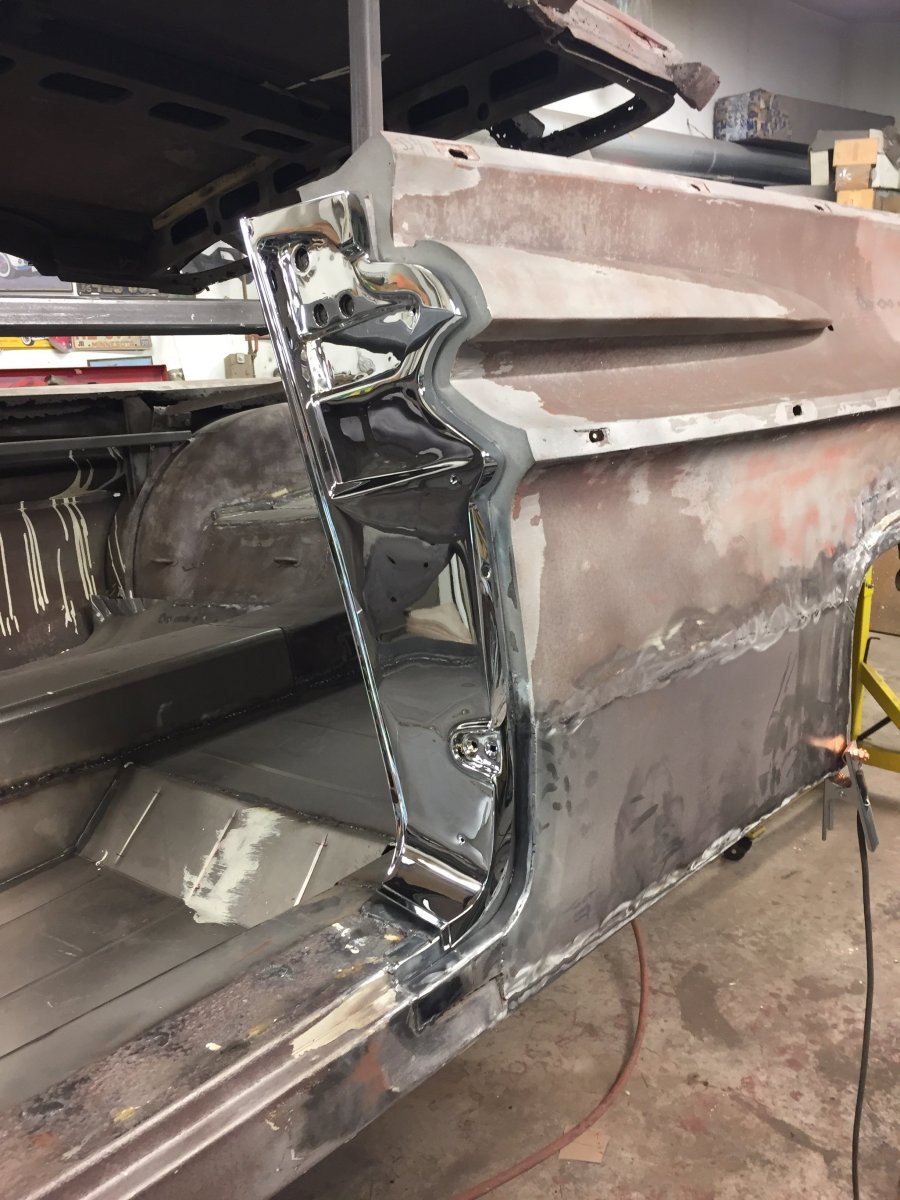 You're all caught up again so I have to get back to work and get something done for the next update. Thanks for reading along. |
Go back to TOM MARUSKA CARS