
The restoration of a 1957 Factory Supercharged Thunderbird By Tom Maruska
PAGE JUMPER
Back to Page 1 Home Page 6
| PAGE 5 Once I had the paint stripped from all the sheet metal I began the worst part of any restoration as far as I'm concerned, and that's the sand blasting. I sandblast with silica sand so again it's important to wear the proper protection. I wear a rain suit over my shop clothes, a 3M paint respirator for the dust, a heavy duty sand blasting hood over my head and heavy sand blasting leather gloves. The rain suit keeps my clothes free of sand (well almost) which makes it easier on my clothes washer. In the shop I set up a "tent" which is ducted to the exhaust fan. The "tent" consists of framework made from 1/2" electrical thin wall conduit and is covered with clear 4 mil poly and taped down to the floor all around the perimeter. This contains the sand within the 12'X20' space and keeps the shop clean. With a few openings cut in the side walls up high good cross ventilation is achieved while the exhaust fan is running and effectively removes the dust from the work area. A window at the back of the shop must be opened to provide make up air while the fan is running. I begin with sand blasting the areas of the body shell that don't really show like the floor inside the passenger compartment and trunk floor, then the underside of the floor front to back. Door jambs and troughs around the trunk and hood openings as well as the complete engine compartment, and inner fenders front and rear all get cleaned up by sand blasting. DO NOT sandblast any flat sheet metal that shows. The sand blasting will cause the metal to warp severely and you'll never get it to look right again. I also sandblast the webbing on the underside of the trunk lid and hood but I insert 30# felt paper under the webbing edges so the sand never hits the flat sheet metal skin of the hood or trunk. Make sure you don't leave any gaps in the felt. The ends of the doors and the interior surface of the doors get cleaned in the same manner but DO NOT sandblast inside the doors except it's OK to blast straight down and clean off the inside bottom of the doors being careful not to hit the face skin. I like to do the sand blasting AFTER the paint stripping because I can be a little sloppy with the stripper knowing that the sandblaster will clean up all the edges later. 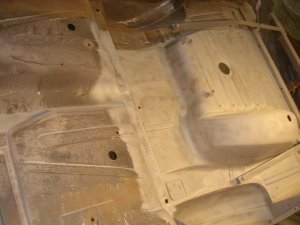 Here is the underside of the trunk floor partially sand blasted nice and clean. Next the body shell is moved out of the tent and replaced with the frame. 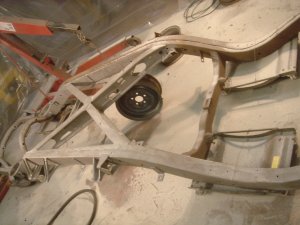 In this picture the frame is nearly completely sand blasted and you can see the bottom of the left rail (top of picture) still has surface rust to be cleaned up. I use the shop crane to flip the frame over so it can be thoroughly cleaned all around. Moving on the frame is rolled out and replaced by the mountain of small parts that need to be cleaned up before refinishing. I don't like to put any new finishes over old so every part gets stripped to bare metal and I start over from there. |
There's a helluvalot of area on all these parts and the sand blasting seems to take forever. 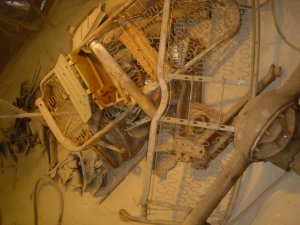 It's nice to finally get past this phase and take the tent down so I have my shop back. Here are the cleaned parts laid out and ready for some minor final sanding and wiping down with cleaner before refinishing: 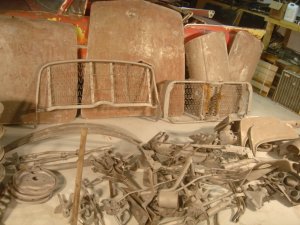 Here is the frame and some of the suspension parts all cleaned up and ready for primer and paint... The frame is suspended above the saw horses with a few eight inch long bolts in the body mount holes thus allowing me to get the entire top of the frame painted from underneath. (the frame is upside down on the horses) The other parts are suspended from the ceiling on wires again allowing complete coverage without having to flip them later when they're dry. This method assures no over spray to have to deal with. 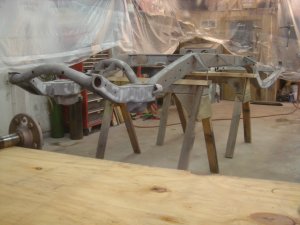 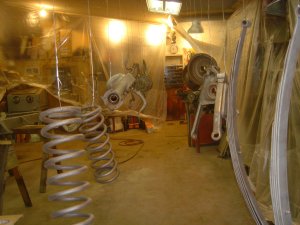 ...and here they are painted. In a few hours they can be taken down and stored for later reassembly. 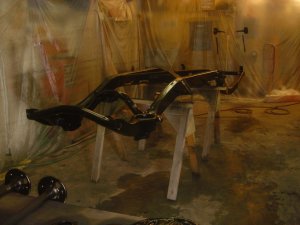 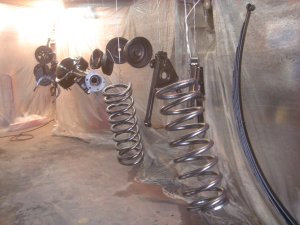 Well, we're caught up now. My next move is to paint the wheels and few other suspension parts and get them reassembled and ready to set the engine and transmission back in place before beginning refinishing the body. Return to TOM MARUSKA CARS TO PAGE 6 |