
The restoration of a 1957 Factory Supercharged Thunderbird By Tom Maruska
PAGE JUMPER
Back to Page 1 Home Page 7
| PAGE 6 I toyed with the idea of changing the color from it's original Colonial White to the late Gunmetal. I actually sprayed the wheels the Gunmetal color and they looked beautiful. It is a great color and I'm a little partial to grays anyway. The car would have looked spectacular in Gunmetal with the red interior and black top but some friends asked me if I had bumped my head recently and talked me into leaving this rare bird all original so back to the sandblasting room with the wheels. It hurt to blast away that nice Gunmetal paint... Once the wheels were painted Colonial White I installed the new Bias Ply tires and balanced them so they were ready to install on the chassis when I had it assembled to that point. 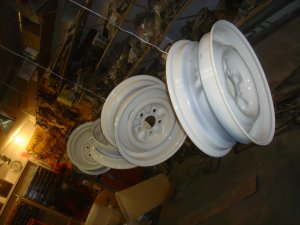 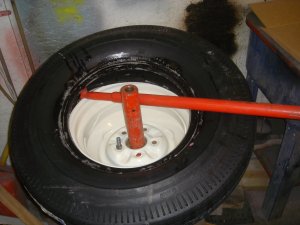 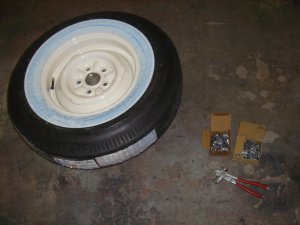 I left off last time just having finished painting all the suspension parts and frame and was just about to begin reassembly. I got a little sidetracked as I decided to rip the transmission, rear end and the steering gear and control valve down and rebuild them so they could all get installed back in the chassis when it was rolling again. The automatic transmissions are actually pretty easy to rebuild as long as you have the shop manualand you follow the procedure for disassembly and reassembly as written. It can be done with common shop tools except a shop press makes it a lot easier to take apart the clutches. I've done it with large "C" clamps in the past and for this project I purchased a 12 ton shop press and does that make the job easier! Front Clutch in shop press 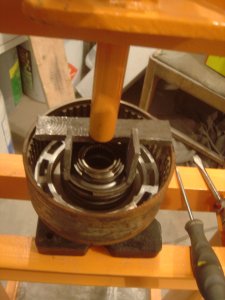 Front Clutch disassembled 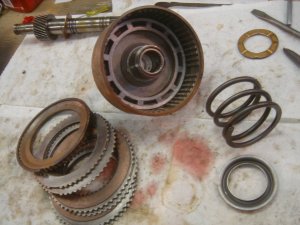 I had to make a part to place on the clutch spring retainer for the shop press to push on and then I was able to remove the snap ring that holds it all together. The large spring in the photo is why the shop press makes the job easier. Once it's disassembled to this point you must use air through one of the fluid holes on the clutch hub to blow the inner diaphram (the slotted ring inside the hub) out so you can change the "O" ring seals on it. The torque converter was also disassembled, thoroughly cleaned and resealed so it should provide years of trouble free service. |
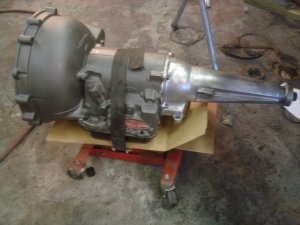 Jumping to the power steering control valve now you'll be surprised to see hao many pieces are inside that small part. And was it ever cruddy in there. Here's another item you better have the shop manual handy for when you tear it down. There are a couple of small square rings and "O" rings to replace in there and give it a good cleaning, paint the housing and reassemble everything. Power Steering Control Valve before cleaning 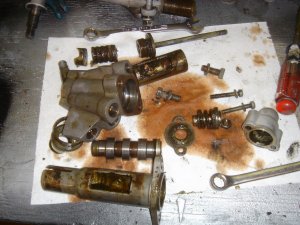 All parts cleaned, painted and ready for assembly 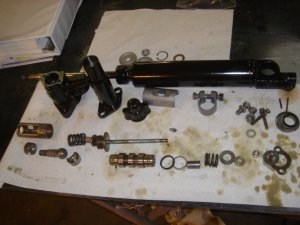 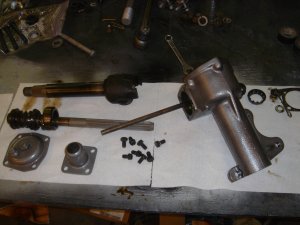 Steering gear cleaned and ready for reassembly. A new radial oil seal has already been installed in the lower end of the housing. You'll need several gaskets of different thicknesses for shimming under the top cover when you put the lid back on. The engine was due back from Midwest Engine Rebuilding any day and it would need some assembly and painting. I had the oil pan, valley pan, intake, and water pump in the shop as I cleaned them up and readied them for paint. These parts origianlly all got painted Ford Red with the engine once installed on the engine but I painted them seperately so I could get better coverage. It's nearly impossible to cover the valley pan with the intake installed over it. Check out my kewl valve covers, they'll remain in place until I get the body back on the chassis so there's less chance of damaging them. All of the gasket mating surfaces were masked off as well to keep the paint from interfering with a good seal. 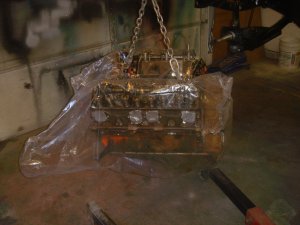 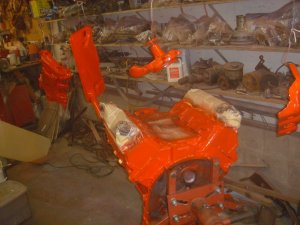 Return to TOM MARUSKA CARS TO PAGE 7 |