
The restoration of a 1957 Factory Supercharged Thunderbird By Tom Maruska
PAGE JUMPER
Back to Page 1 Home Page 8
| PAGE 7 Here is the engine/transmission all ready to be installed once the chassis is ready. 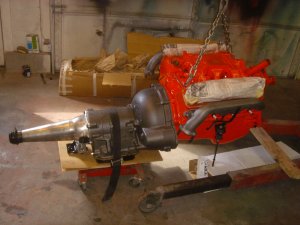 Now it's time to get the suspension and brakes installed on the chassis. It's nice to be working with all new and freshly painted parts. First up was installing new bushing on the upper and lower control arms. Here again, the shop press works wonders. The job can be done in a 6" bench vice but the press makes it a lot easier, especially the part where you have to remove the old bushings. They are generally bonded in the hole with rust and don't want to come out. The shop press makes short work of it. When the new bushings ar installed, assemble the upper and lower ball joints onto the control arms and then install the spindle. Do not tighten the control arms at the bushings yet as you need to have the weight of the car and engine on them first otherwise the rubber in the bushings can tear when you add the weight. It's OK to tighten the ball joints and tie rods as you go. 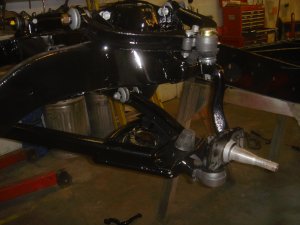 When the control arms and spindles are assembled the coil springs can follow. You need a good spring compressor for this job. I have a Ford service tool that works great. 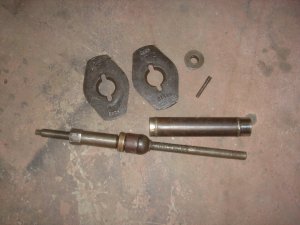 Some of the coil spring compressors available at auto parts stores are very scary to use. They have a couple of hooks on each end that hook over the ends of the coils and you tighten the nut on the threaded rod. The problem is that the hooks have a tendency to slip, and spin all the way down the spring. If you have a good amount of compression on the spring and this happens, it can be very dangerous and that sucker spins FAST! I've never had a problem with the Ford spring compressor. It's shown here on an extra spring I had as I spaced taking a picture while I was installing the springs. 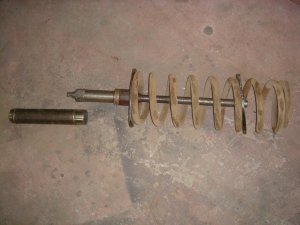 The spring installation was followed by the steering parts and then I went to the back end and installed the leaf springs and rear end assembly. The "new" rear end 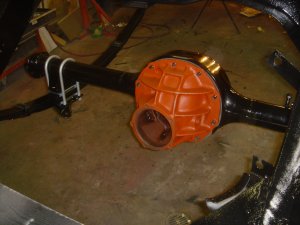 Here's how it used to look, does your look like this? 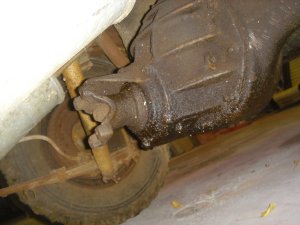 New bearings were installed on the rear axels before installing them back in the rear end housing. The shop press made short work of that as well as the bearings are pressed onto the axels along with a retaining ring. You can't do that in a vice. This was followed by installing the backing plates, braking mechanisms, bearings, seals, drums and finally the wheels and it was a rolling chassis again. |
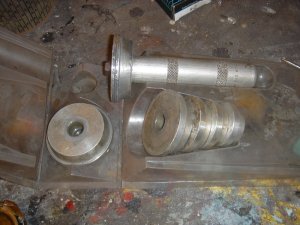
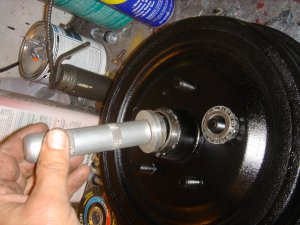 This handy tool is for installing grease seals and bearing races. Use the tapered end down to install races, and the flat end for installing grease seals. 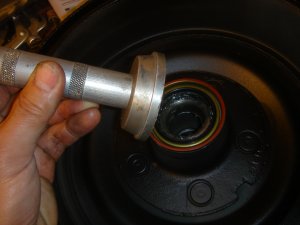 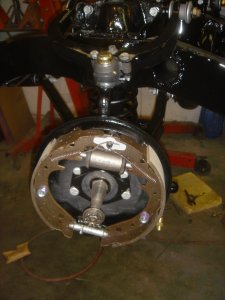 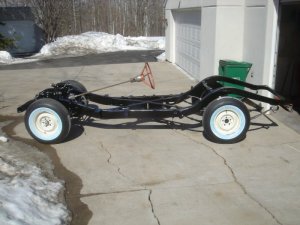 Now it's time to drop in the power plant. It's a pretty easy job with no body in the way. 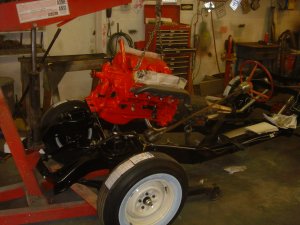 Ha ha ha! Did any of you Tbird people catch that I painted and put the wrong oil pan on the engine? In the picture the oil sump is in the front, but Tbirds require a rear sump so the pan can clear the steering mechanism. I didn't catch it until I couldn't figgure out why the engine wouldn't drop down into place. A little cussing and a few chuckles later and I had the correct pan and parts cleaned and painted and the next day installed on the engine and the unit installed in the chassis. Anyone need a front sump oil pan and pickup for a Y block? 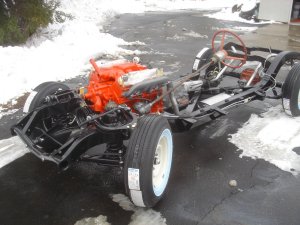 In this picture you can see I have the driveshaft laying on top of the exhaust pipe on the passenger side. This is because without the weight of the body on the chassis, the driveshaft binds and will not turn because of the steep angle from the transmission to the rear end. 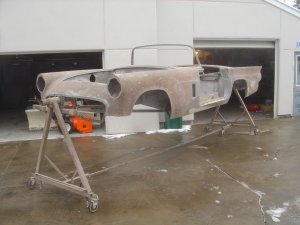 Now it's time to begin the body work in preparation for painting. In a few weeks time it'll look like new again. Return to TOM MARUSKA CARS TO PAGE 8 |