|
The Restoration of the XM

Continues
(When you click on a picture to enlarge it you can move it around by clicking on the grey bar along the top. To close it click on "CLOSE" at the upper right corner of the picture)
|
|
 Restoring Component Parts
|
While waiting for less humid weather....
...for sandblasting I decided to restore/rebuild many of the component parts for the car.
When the weather is humid as it has been here for several weeks as we've been getting rain often,
the sandblaster clogs up from the moisture in the air mixing with the sand
making the job miserable as I have to constantly disassemble
the sandblaster to un-clog it.
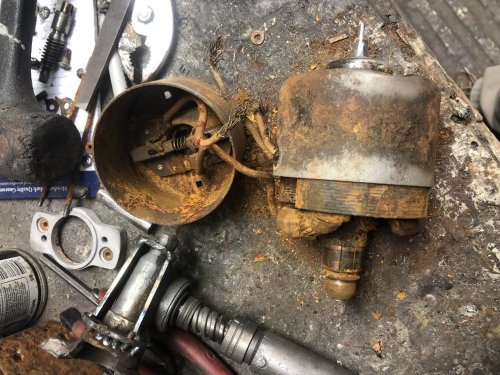
The picture above is one of the Butterfly window motors.
As you can see it was pretty rusty inside and inoperable.
I took it completely apart and sandblasted the case inside and out,
(the sandblasting cabinet for small parts doesn't clog up)
cleaned the armature and brushes,
soldered new wires in place and painted and reassembled them.
When completed they both run like new.
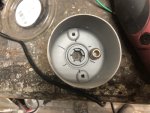
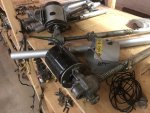
The rest of the Butterfly operating mechanisms were also cleaned,
repainted and greased for years of smooth operation.
Butterfly operating mechanisms
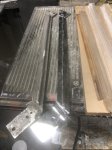
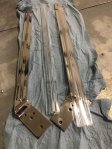
An item that was difficult to make was the acrylic dividers that rest on a chrome bar
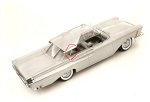
and separate the quarter window glass from the acrylic windows at the rear corners of the car.
They're intended to give the illusion that theres nothing there while they are actually supporting the roof
as well as acting as dividers between the two types of windows.
The original chrome steel supports were too far gone for the chrome shop (AIH Chrome Plating in Dubuque Iowa)
to plate and they sent them back to me and told me to make new ones, which I did.
They were relatively simple. The Acrylic coverings however were not.
I purchased a small piece of 3/4" Plexiglas from a vendor on ebay
and using an original for a pattern used my table saw to cut the basic shape and cut out the grooves and notch.
Then the difficult part was sanding and polishing the acrylic inside the grooves and notch
to end up with them perfectly smooth and clear as glass
in order to get the desired effect when installed on the car.
Here are a couple pictures of the old and new,
and where they are on the car in the red circle.
That got me thinking...
...about the acrylic windows.
There used to be a place in not too far away in Lakeville Minnesota
that specializied in making acrylic displays for retail stores.
The owner was a 'car guy' and would make custom acrylic parts for various car projects.
He did some of the Domes for Big Daddy Ed Roth's cars
as well as cockpits for small aircraft.
When I heard about him while I was restoring the Thunderbird Italien concept car
on which the large rear window was acrylic, I contacted him.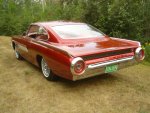
He was more than happy to make that window for me and then later when I restored the Mercury XM-800 Concept car
He also made the windshield and back glass for that project.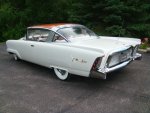
I also had him make the windshield for a 1956 Larson Pla-Boy boat I restored.
When I purchased the XM Turnpike Cruiser and again had the need to have acrylic windows made
I called Steve at Master Glass only to find out that he had passed away
and they were shutting down his business.
I started searching the country and even Canada looking for a place,
hopefully within driving distance, to make the acrylic windows for this project.
I did find one place in California and another up in British Columbia.
Their prices were reasonable but the kicker was that I had to ship these heavy and fragile plaster molds
accross or out of the country and if they got broken in transit I'd be starting all over.
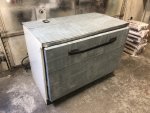
Then I got the hairbrained idea to build my own oven large enough to accomodate
the size sheets of acrylic I needed to make the windows.
I searched on craigslist and found 2 electric oven close by for free.
I brought them home and stripped them of the side panels, heating elements, oven controls,
door hinges and seals and insulation.
I purchased 2 sheets of 18 gauge sheet metal
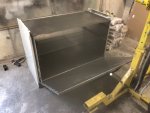
and went to work cutting and welding and built my oven.
Here it is.
I did a test piece with some old plexiglas I had in the shop and it turned out fine
and except for the scratches from laying around the shop for a couple years would have been a good window.
I put the forming of the actual windows off until I get the sandblasting done.
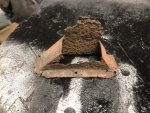
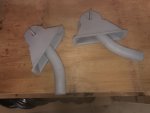
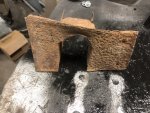
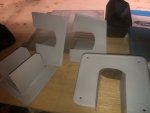
  The XMTC has unique conduits for the wiring to enter the doors for the power windows.
There are also unique covers for the openings in the A pillars for the door hinges once the doors are properly in place.
These items were quite rusty and I had to rebuild them,
here are before and after pictures:
and now, The rest of the story...
I kept busy over the next few weeks rebuilding other component parts for the car.
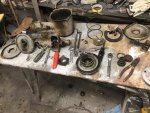
They included the master cylinder/Brake booster. It's a Bendix Treadlevac booster,
comonnly used on a lot of Ford and GM products of the day.
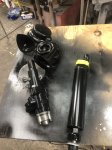
The power steering pump, steering gear box, power steering control valve and ram,
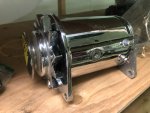
starter, generator, all of the brake parts for inside the wheels,
limit switches for the butterfly roof sections, power seat relays and circuit breakers,
power window mechanisms and gear boxes, power antenna
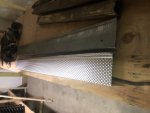
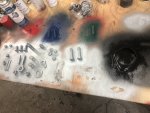
and I made new door sill plates. Here are pictures of these items,
some while apart.
 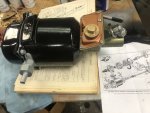 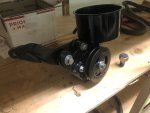 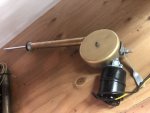 MC/BOOSTER apart MC/BOOSTER P/S Pump P/Antenna
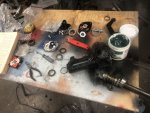 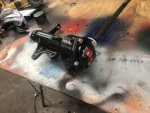 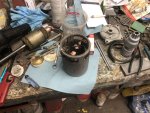 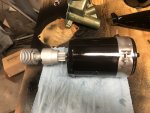 Steer Gear apart Steer Gear Starter apart Starter
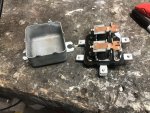 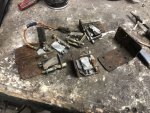 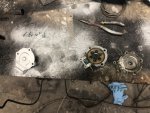 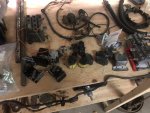
Seat Relay Limit Switches Seat gears Msc Electric
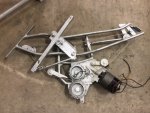   
Pwr Win Mechanism Sill Plates Brake parts Pwr Steer
Gen apart Generator
That's it until the next update. Stay tuned right here....
|
|

