<bgsound src="http://www.cpinternet.com/~tpls63/undersea.mid" loop=infinite>


Saturday 1-31-04 update:
I sandblasted all of the rest of the areas I exposed when I cut
off the quarters. That should do it for the sandblasting
except for some small parts, and I have a cabinet blaster for them
Yesterday when I got the sandblasting done, I also took down the tent.
it's nice to have the full open shop again, and it's even pretty clean!
The tent did it's job well!.
Next step will be to start welding TRFNSRF back together.
Well today is Super Bowl Sunday
and this morning I put the new battery tray in.
I bought it from Gordons and to tell the truth,
&*+%%#@#$()&*&)(*&()*^%%@$#@())($_+)$@_)*$*)(&*(&!^%!!%$!!!!
The grooves didn't line up with those on TRFNSRF,
and it was too wide towards the front.
In addition to that, I think they should put the curve
in the front of it too. I had to heat it and flatten
the beads in the front 4" and re-bead it so they would
line up. I also had to narrow the front 4" - 1/4".
and you think tbirds are fun, fun, fun...
I'm trying a new image viewer here (or you are, hehehe)
let me know what you think of it.
Click on a picture like normal, only it opens right on top
of this page as a new layer. You can left click and drag
it around by the white bar on top. When you click on another
thumbnail it'll replace the previous one. Only problem with it
is that it works best with smaller images.
Anyway, let me know what you think.
Enjoy the Super Bowl!
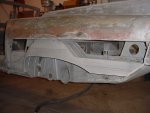
Left quarter clean
| 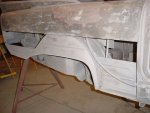
Right quarter clean
| 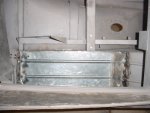
New Battery Tray top
| 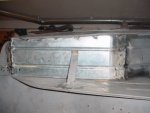
New Battery Tray Bottom
|
Updated 2-19-04
These pictures work the regular way, which do you like best?
I cut the quarter repair panels out of a sheet of 20 ga sheet metal
and used the english wheel to put a slight curve in the panels
Then I tack welded them in place using the intergrips mentioned earlier
and skip welded to complete the welds. After grinding the welds
smooth, I squirted some rust neutralizer inside along the bottom
seam to check for leaks. It's very watery and turns black when
it dries so it's easy to spot the leaks.
I found a couple so I welded some more,
ground off the welds and checked again for leaks, none.
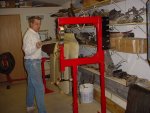
Adding slight curve
| 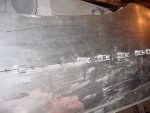
Tacking in place
| 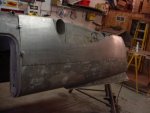
Quarter tacked
|
Page 1
Page 2
Page 3
Page 4
Page 5
Page 6
Page 7
Page 8
Page 9
Page 10
Page 11
Page 12
Page 13
Page 14
Page 15
Page 16
Click here to go back to

If you want to contact me, click the mailbox 
Images and text Copyright © 2003 by Thomas Maruska